12 DIY Home Improvement Projects You Should Try Before Calling The Pros
We may receive a commission on purchases made from links.
Home ownership is its own hobby. There are so many things to do around the house, including maintenance, repairs, and home improvements. For the most part, homeowners can do most of these tasks themselves. Repairing toilets and painting walls may seem overwhelming at first, but once you get into it, it's really not so bad. I didn't know much about home improvement when I bought my home in 2019, but after making many mistakes and learning from them, I rarely hire out things anymore.
You too can do your own home improvement projects. The key is to start with simple things and work your way up. Skills are transferable, so once you learn how to attach an electrical outlet, you can install almost any fixture, as it's largely the same stuff. Some things, like a new roof or a new water heater, are best left to the pros due to complexity and building codes.
Other than that, there are tons of home improvement projects that require only simple tools and materials. After that, you'll have the knowledge and confidence to tackle bigger projects.
Perform basic maintenance

Many maintenance tasks require few tools and minimal effort and can have a profound impact on your home. These include cleaning gutters, changing your furnace filter, draining your water heater, cleaning your dryer vent, clearing your dishwasher filter, and even smaller stuff like cleaning the splash guard in your sink. These fixes help appliances last longer, keep water from damaging your house, and keep the air coming out of your vents clean.
Generally speaking, most of these tasks barely require tools. A dryer vent may need a ratchet or a screwdriver to detach it from your dryer, and obviously, cleaning your gutters requires a good ladder. Draining your water heater may require some extra tools and preparation, but most of it is just waiting for the water to drain. We also recommend a good pair of gloves for cleaning gutters because it can get a little gnarly in there.
These tasks take minutes (except the water heater), and they're things you should get into the habit of doing regularly. They may not be home improvement projects on the face of them, but they'll save you a ton of money over the life of your home by making major repairs and purchases less frequent.
Painting things
A fresh coat of paint can brighten almost any living space, and if you extend that to exteriors, can make your house look much better-kept. Painting is one of those things where it's easy to start but does take some practice to do very well. The good news is that there are literally thousands of YouTube videos on how to do this correctly. This should minimize mistakes on the first go-around while also giving you some confidence because your fresh, beautiful new walls are something you did, and not someone else.
Tools for this project are simple. You need the paint, of course, along with painter's tape, whatever painting tools you believe you'll need, and while it's not strictly necessary, a drop cloth to cover the carpet and furniture isn't a bad idea for obvious reasons. You can find all of these items at any home improvement store. The paint will no doubt be the most expensive thing you purchase.
You can paint rooms, ceilings, and even outside things like window shutters and your garage door. This can breathe new life into an old-looking home and add a layer of customization that really makes it yours. Just beware, though, because painting a garage door is a lot harder than all the other things we listed.
Freshen up your caulk
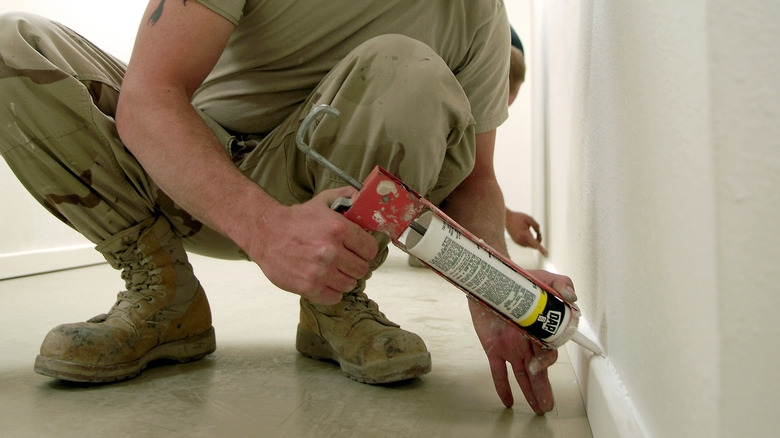
Caulk is one of those things that is all over your house, and most people probably never think about it. You'll find it around windows, on baseboards, around door trim, and in your bathroom. Caulk helps keep indoor-to-outdoor things like windows and doors sealed against the weather while also protecting your tub and bathroom walls from water damage. It's an incredibly important substance, and it's surprisingly easy to use.
Caulk doesn't last forever, so those living in older homes may have noticed their caulk peeling, changing colors, or drying out. That's normal, and that means it's time to consider reapplying the caulk in your home. All you need is a solid caulk gun, and you can even get electric caulk guns that make it that much easier. Pair your newfound (and generally inexpensive) caulk gun with a little bit of technique, and you can caulk almost your entire home in a day or two.
There are hundreds of YouTube videos from pros teaching how to get really clean caulk lines, so there's no reason to hire someone to do this for you. You'll be surprised how much cleaner your home looks with fresh caulk everywhere.
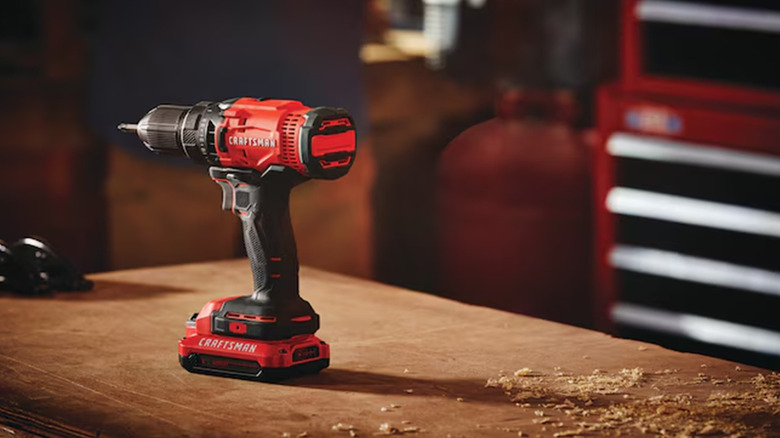
Changing out electrical sockets and light switches
This one steps up the difficulty a little bit, but it is still something that any homeowner can do with a little patience and some safety precautions. Much like everything else in a home, electrical outlets and light switches wear out over time, leading to improper behavior. For instance, when I bought my house, my electrical outlets were so worn out that smartphone charging bricks just fell out of them. A round of electric outlet changes has made my house much more functional.
While there are safety considerations you should make sure to follow, actually installing a light switch or an electrical outlet is a pretty simple process. You turn off the power for that outlet or switch so that no electricity is running to it (this is the single most important step), and then all you really need is a screwdriver to unhook everything and maybe a pair of pliers to help you navigate the wires. Connect the wires to their respective parts of the switch or outlet, reinstall it, and then turn the power on to test.
I also recommend getting a circuit tester like this one. After you turn on the power, you just plug that guy in, and it'll tell you if you messed something up so you can fix it before it causes problems.
Installing a new ceiling fan
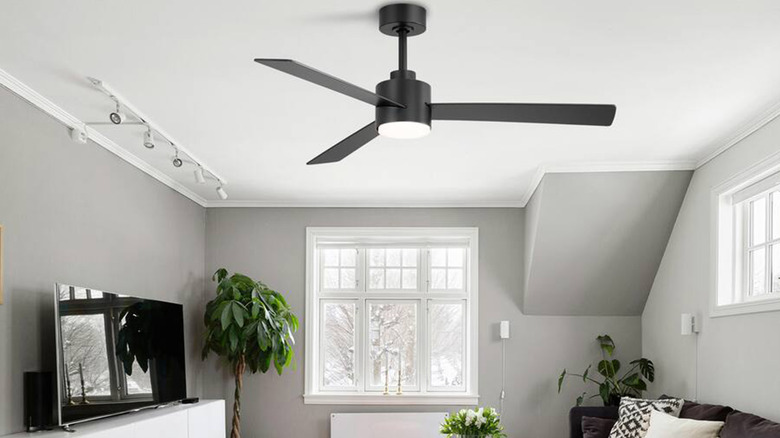
Replacing a ceiling fan is only slightly more difficult than replacing an outlet or a light switch. The hard part is holding the ceiling fan while you connect all the wiring and mounting hardware. You will want to turn off all electricity to the ceiling fan before starting to avoid getting shocked, but otherwise, it's just removing the fan, attaching the new one, and turning the power back on. Here's an instructional video that should help.
Replacing a ceiling fan can help rid you of the old one that wobbles and makes weird noises when you turn it on, while also adding a pop of modern aesthetics to a room. An effective fan can also help save you money if you use it instead of your air conditioning on warmer days.
Replace your sink, faucets, and garbage disposal
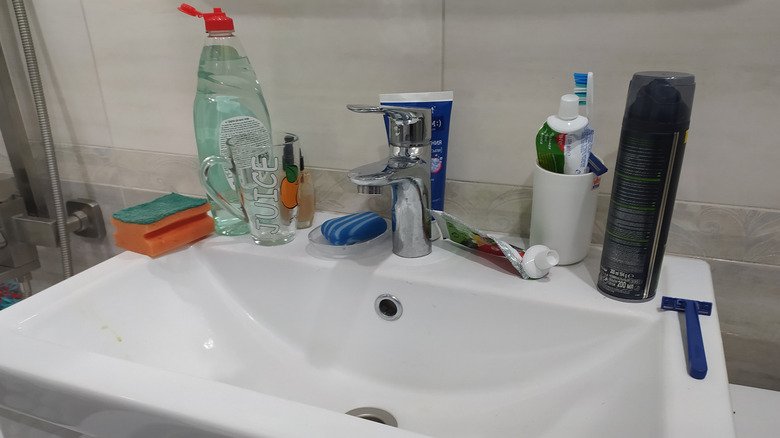
We're going to bundle all of these together because they're interdependent. Replacing a sink can improve the look, improve functionality, and add a pop of modern flair to any room. In my case, I replaced my sink in the winter of 2022 after the old sink cracked and leaked. It took most of an evening, and that's including trips to the hardware store.
Outside of some plumber-specific tools, you can replace the faucets, the garbage disposal, or the sink itself with only basic tools. I will note that installing a garbage disposal where there wasn't one previously is much harder, and you'll probably need a pro for that one. In any case, you start by turning off the water, disconnecting the water lines, and then you're free to pop everything out, pop the new stuff in, and then turn the water back on to test for leaks.
Tutorials abound for all three projects, so finding step-by-step instructions is as simple as a YouTube search. Most faucets and sinks have the same general installation steps, so at worst, you may have to infer a step or two from context.
Install a handrail for your stairs
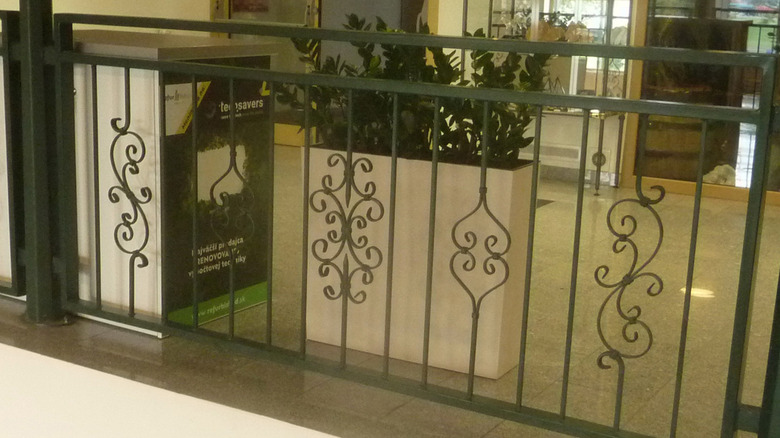
Handrails are nice to have in any stairway, especially as you get older, when some additional support helps. It's generally regarded as a fairly easy DIY job, although you'll likely want to enlist at least one volunteer to help because holding up a guardrail while installing it can be a royal pain in the rear end. A new handrail can add some flash to an otherwise empty staircase on top of its functionality, and replacing an aging one can be a safety improvement if the old one is wobbly or not securely mounted anymore.
There are some great tutorials online, but the steps are pretty easy. The worst part is all of the measurements to make sure you're mounting the brackets in the proper spot and that your handrail is long enough. You'll want a stud finder to mount the handrail to the studs. Otherwise, it'll just rip out of the drywall. Most handrails come unfinished, so you'll want to prepare for that as well, especially if you need to cut it a bit to fit your staircase. A little handsaw wizardry and you'll be well on your way.
The style, location, and size of your staircase will be huge factors when installing one of these. That's why the measurement and cutting phase is often the most painful part of the process.
Installing shelves
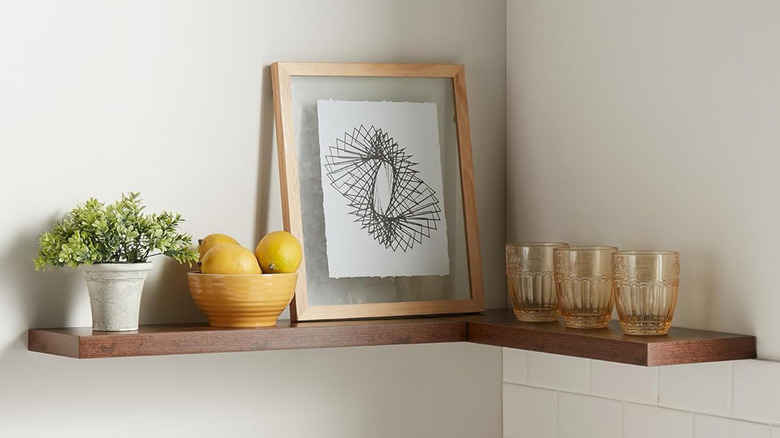
Installing shelves is easily one of the most popular DIY home improvement projects that you don't need a pro to handle. Shelves are supremely useful as they turn a blank wall into usable storage for decorations and other knick-knacks. The addition can make a house feel cozier, and with some good contrasting material, you can add some pizzazz and flair to whatever room you want. Shelves also come in all shapes and sizes, so you can customize to your heart's content.
Installing a shelf is dead easy, and I've done it several times. All you need is the appropriate tool for the mounting hardware, which is usually any old screwdriver or Allen wrench you have laying around. Many shelves have drywall anchors, but you should always try to mount to a stud if you can for more stability over time. That means you'll need a stud finder as well. Otherwise, this should take an hour or less in most cases unless the shelf is complex or you're mounting more than one.
Since these are so simple, it opens a ton of options for DIY as well, such as cutting your own wood to hang a shelf or aligning shelves in fancy ways to make them look nice. The tools are largely the same either way, and most of them are fairly small and inexpensive.
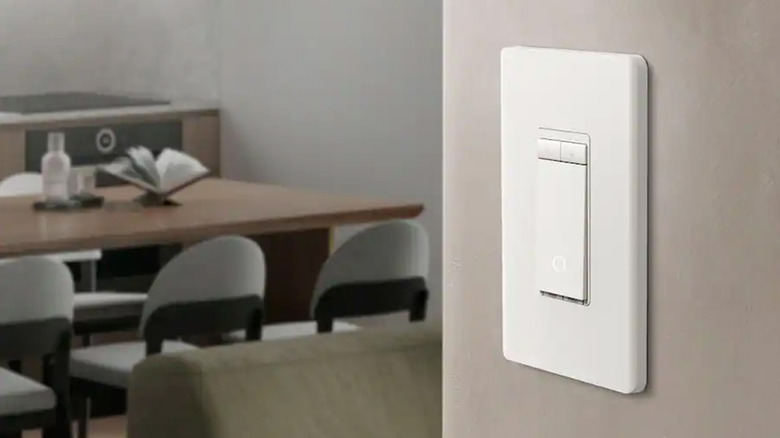
Upgrading your hardware
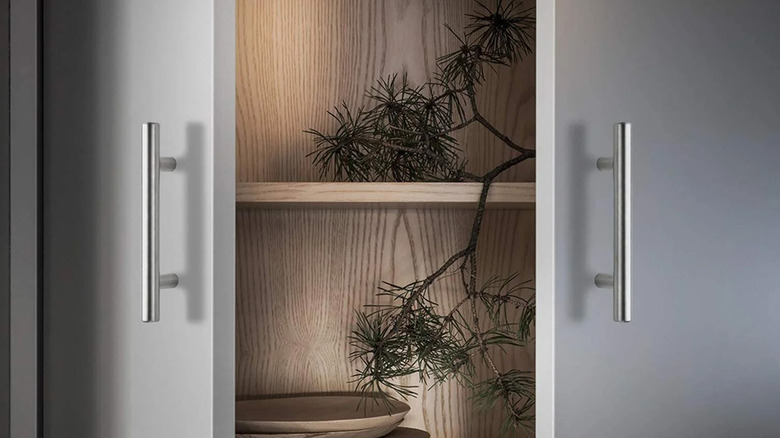
A nice and easy home improvement project is replacing the hardware in your house. This includes the knobs, handles, and pulls on cabinets, nightstands, closet doors, and various other drawers and doors in your house. This can solve some problems, like loose and wobbly handles, while also adding a bit of color to your interior space. Plus, if you do your front door, you can even opt for a smart lock to add some extra tech to your home.
Removing and installing handles, knobs, and pulls is almost the same process, no matter what kind of door or cabinet you're working with. Most of these things just screw together through the piece of wood or metal they're attached to, so all you really need is a screwdriver, an Allen wrench, or a ratchet, depending on the attachment mechanism. Unscrew the old ones, remove them, line up the new ones, and attach. You'll want to measure to make sure everything fits properly beforehand.
Doorknobs are a little more complicated since you must deal with the mechanism that opens the door, but it's not a massive step up in difficulty. I've replaced most of the knobs, handles, and pulls in my home at this point, and it's something you can do in an hour or two.
Installing a smart thermostat and video doorbell

Both of these tasks largely involve the same process, just in different parts of your home. Doorbell and thermostat wiring are largely standardized, so you can look up just about any tutorial to do it. A smart thermostat lets you control the temperature of your house from your smartphone, even when you're not home, and a video doorbell can let you catch porch pirates in the act or see who's at the door before answering. There are loads of video doorbells and smart thermostats on the market, each with their own set of features.
You'll want to look up an installation guide to ensure you do it right, but it's not a difficult process. The first thing you'll want to do is shut off the power to avoid any electrical accidents. From there, it's a matter of attaching the proper wires to the proper terminals, mounting the new thermostat or doorbell, and then turning the power back on. For outdoor applications, you may want to add a bit of caulk to the outer area to prevent water from getting in.
This is another one of those tasks that can be done in an afternoon. I installed my Ecobee 3 Lite thermostat in early 2020, and it's been chugging along just fine for six years now, with no electrician needed.
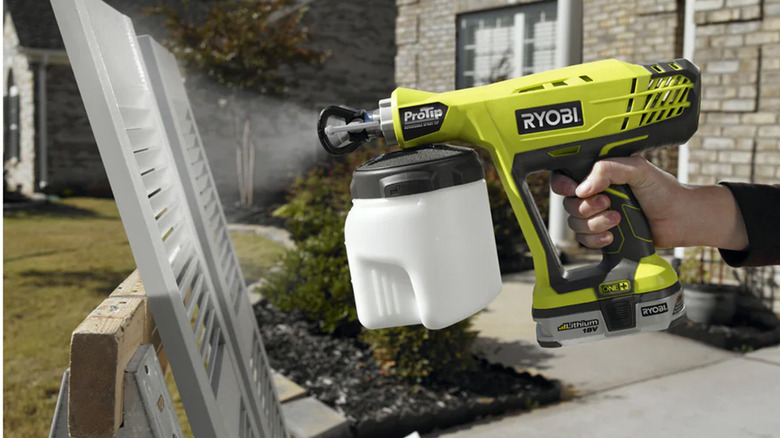
Power washing your property
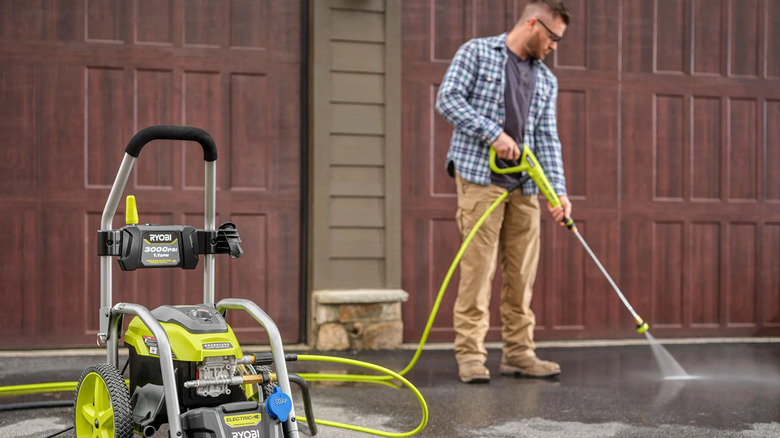
Power washing isn't something you need or want to do terribly often, as too much can cause a lot of damage. However, the counterpoint is that houses get dirty after years of storms, dust, pollen, and other general outdoor dirtiness, and it can make an otherwise perfectly good house look and feel dingy. There are a ton of power washers available on the market, and they're all powerful enough for this task. A good power wash can brighten up your home, driveway, sidewalks, and patio.
As with most things, there is a right and wrong way to power wash your house. You'll want to make sure to use enough PSI to clean everything, but not so much that you blast the siding right off your house. Most tutorials seem to recommend lower pressures like 1,200-1,500 PSI to avoid damage. In any case, it's pretty much point and click after that. If you notice any damage, stop immediately. You'll also want to be exceptionally careful around soffits, as a power washer can dislodge them pretty easily.
The big thing here is safety for both you and your house. Nab yourself a good pair of safety glasses because power washers can fling things at speeds not conducive to eye health. This will take a while, perhaps an afternoon or two, but once your sidewalk is returned to its original color, it'll be worth it.
Under cabinet LED lighting
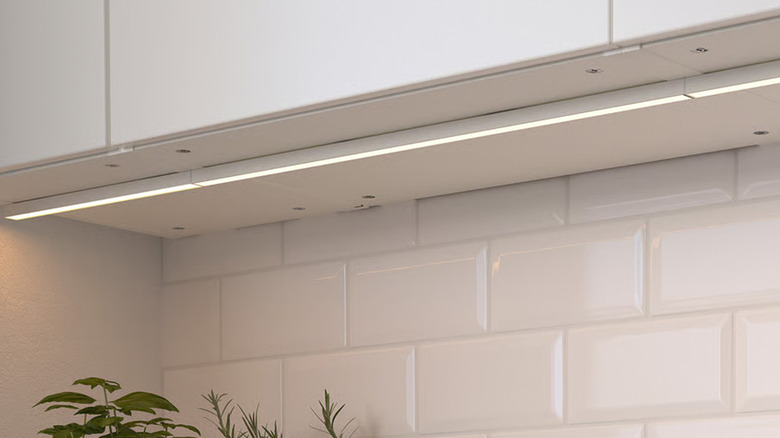
Some under-cabinet lighting is honestly a great way to spruce up a kitchen, especially if it's already fairly dimly lit. There are many ways to do this, but the underlying premise is the same. You find a stick or strand of lighting, mount it under your cabinets, and then you have accent lighting ready at a moment's notice. As someone who has a slightly dimly lit kitchen, I also like cranking mine up to max brightness to better light the countertop while I'm doing food prep and cooking.
Installation depends on your cabinets, where you mount them, and whether or not you want to lose an outlet. You can link it directly to the house power, which makes it controllable with a switch. However, you'll likely want an electrician for that based on your skill level. In general, the lighting source you choose will largely determine your installation method, so you'll want to start there.
If you have battery-powered lights or are using an outlet, all you're really doing is mounting lights under your cabinets as cleanly as you can and then turning them on. There are dozens of ways to do it, be it with brackets, sticky tape, or more creative solutions.