

15 Essential Apple Watch Features For Your Next International Trip
When you think of an Apple Watch, you think of a device for tracking your physical activity and important health metrics. But another area where the Apple Watch can be incredibly useful is as a travel companion. After all, an Apple Watch is basically an extension of your iPhone on your wrist. Many of the things your iPhone can do, your Apple Watch can as well, except in a smaller form factor that's always within arm's reach.
Good thing is, you don't need to install any extra apps to get the most out of your Apple Watch on your travels. Everything we'll mention here is built-in. Note, some of these features may not be available on your model of Apple Watch, but most will be. Try out these 15 features on your next trip.
Translate your words
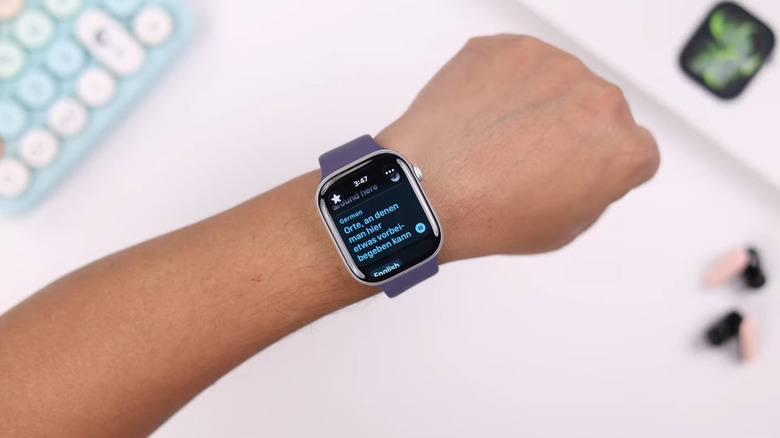
Using your phone as an interpreter between you and a person whose language you don't speak has been commonplace for some time now. All you need is Google Translate and a bit of patience. But your Apple Watch can do this as well with Apple's Translate app. It's quite similar to Google Translate; choose your language (you can download it offline in advance), hit the microphone to translate your words, and use the play button so your interlocutor can hear them in their language. Also quite conveniently, Apple Translate can separate grammatical gender, something Google Translate is only catching up with. Translations can be favorited for later by swiping left and tapping the star.
Bear in mind, the Apple Watch cannot yet do Live Translation like the iPhone. Further, the Apple Translate app has quite a bit fewer language options; Google Translate supports over 100 languages, while Apple lags behind with less than two dozen. All the major ones — Spanish, Mandarin Chinese, French — are there.
Anecdotally speaking, the Apple Translate output is not always the greatest. We'd say this does a solid job for simple, straightforward translations, but not for long, complex back-and-forths. Despite these caveats, it's pretty cool that you can translate a conversation on your wrist — something that would have been sci-fi magic just two decades ago. If you have a recent pair of AirPods, however, we'd recommend trying out Apple's Live Translation.
Have all your digital travel documents ready
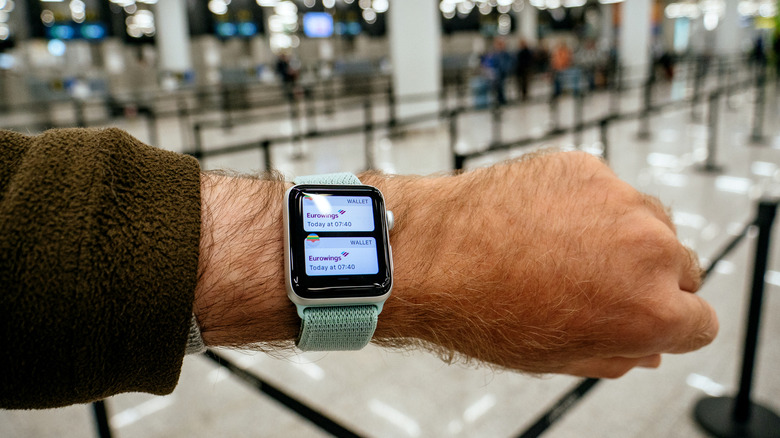
It's not hard to blame people who don't have their documents on hand when they get to the ticket counter or customs and immigration, because there are so many documents to keep track of. Boarding passes, passports, proof of onward travel, you know the rest. Your Apple Watch can take care of the most important ones by keeping them ready on your wrist while your hands are busy with luggage.
For one, you can add your boarding pass to the Apple Watch. Use your iPhone to add it before arriving at the airport. Choose the "Add to Apple Wallet" icon that appears in the pass's email. From then on, the pass will be available in the Wallet app on your Apple Watch, and it may appear automatically in the Smart Stack. Airport officials can scan it instead of making you dig out your iPhone. You'll be able to add almost any QR-code-based pass in the upcoming watchOS 27, such as event and location tickets.
Digital ID, a digital version of your U.S. passport that can be used at over 250 U.S. airports, is another cool use of the Watch's Wallet app. Although it can't yet be used for international travel, you may be able to use it for connecting flights to an international airport before leaving the country. Definitely make sure you create it well in advance of your trip. On your iPhone, tap the plus button in the Wallet app, then Digital ID under "Driver's License or ID Cards." It may take some time to be approved.
Use local transit cards
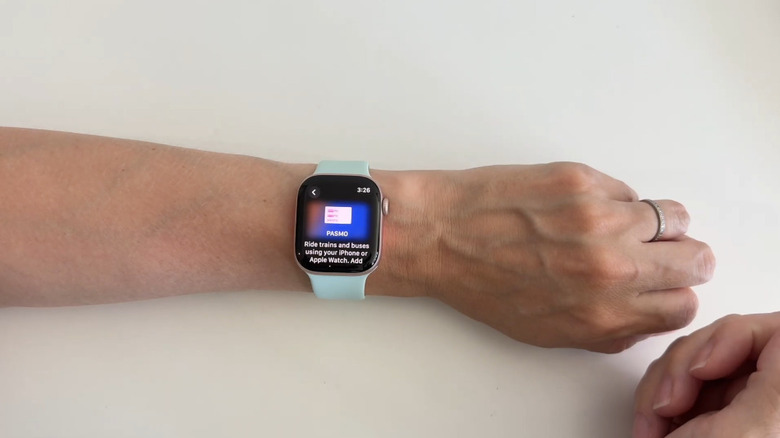
Many countries support rechargeable transit cards that you can scan when getting onto a bus or entering the subway. Some of them may have a digital version you can use on your Apple Watch (and iPhone). If you can add a transit card, do so in advance, preferably before your trip, since doing so when trying to catch a train in a crowded station with a weak signal is no fun. Open the Wallet app on your iPhone, hit the plus button, choose Transit Card, and find the one you want on the list. Once you've purchased and topped up the card, you can simply open the Wallet app and select it before scanning.
We'd recommend using Express Mode. This allows you to use your transit card on the Apple Watch without opening Wallet or even authenticating. Express Mode should be enabled by default as soon as you add your transit card, but just in case, open the card in the Wallet app, select the three-dot More button, then, under Express Transit Settings, make sure your transit card is the default. It's also worth noting that some transit systems may allow you to use Apple Card (or another credit card) to pay for fares.
Fair warning, there is a known exploit affecting Apple devices where thieves can leverage Express Mode to steal your money by simply tapping your phone, even when it's locked. If you're going to use this feature, be wary of your iPhone in public spaces. But otherwise, digital transit cards and Express Mode are invaluable tools for travel — based on my own experience — especially when you're navigating a hectic metro station.
Pay with your Apple Watch
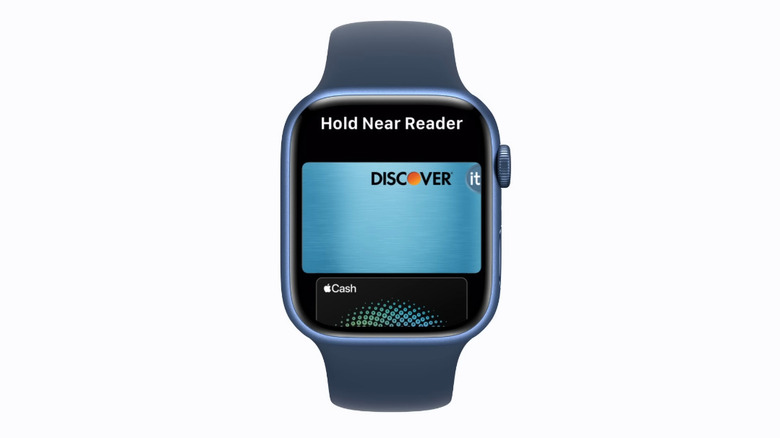
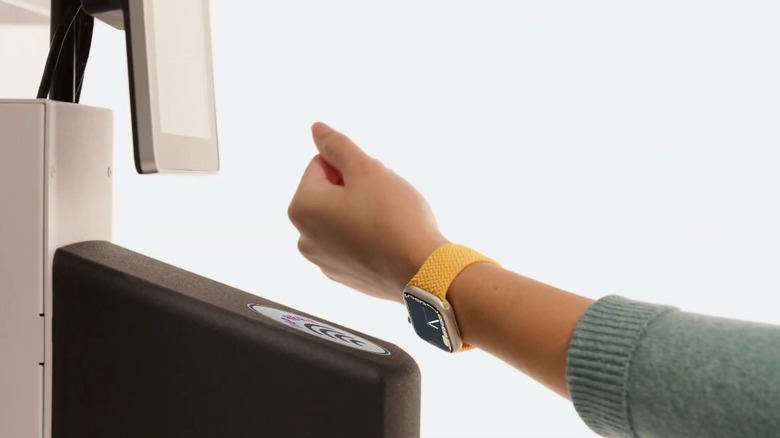
Most people reading this are likely well aware of Apple Pay, Apple's tap-to-pay system using your Apple Watch (or iPhone). If you're not, though, you're missing out. Apple Pay makes transactions quick, convenient, and secure anywhere there's a contactless terminal. It's especially valuable abroad, where you may be hesitant to flash your credit card. Just make sure you set this up in your home country before you leave, as anecdotally speaking, your bank and/or credit card provider may make it difficult to add payment cards when you're abroad.
From your iPhone, open the Apple Watch app, go to My Watch, Wallet & Apple Pay, and then choose the cards you want. We'd recommend choosing a default card in the Wallet app to expedite purchases. On the Apple Watch, go to your Wallet app, press the three-dot More button, and look for Default Card. You can rearrange the order of your cards by dragging and dropping.
From then on, all you have to do is make sure your Apple Watch is unlocked, double-press the side button (not the Digital Crown), and your card will be ready to scan. The display should be aimed at the reader. A tap and a beep confirm your purchase. In the event your Apple Watch goes missing or is stolen, go to Find My and putting it in lost mode; this prevents it from being used for payments.
Track people, devices, and items on Find My
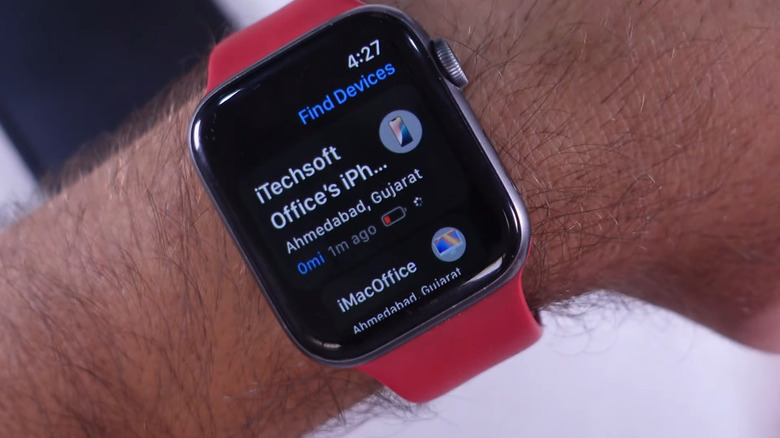
If you own an Apple Watch, you own an iPhone, and perhaps a MacBook, AirPods, and other Apple devices that were not cheap and could get lost on your travels. Fortunately, the Apple Watch — the device you're least likely to lose since it's attached to your wrist — has a fully functional Find My app to keep track of people, devices, and AirTag-equipped items.
Admittedly, the screen is quite small, so this won't be the best choice for tracking down a device on the map. However, if you're looking for an iPhone, iPad, Mac, or pair of AirPods or Beats that's somewhere nearby, you can home in on it with Precision Finding or make that device play a sound. You can also get turn-by-turn directions to the device if, say, you left it at a restaurant. If you fail to find a device, you can mark it as lost, and you can share an item's location with airline staff if necessary.
Even more helpfully, your Apple Watch will let you know the moment you've left something important behind. To do this, make sure this is on by enabling it for all the devices you want it to show up for. You can mark your hotel or Airbnb as a trusted location, too, so these notifications don't pop up as soon as you head out for the day. Apple Watch Left Behind notifications are a godsend for anyone who's forgetful.
Get directions, and avoid getting lost
Yes, your Apple Watch is fully capable of providing map directions. It's particularly helpful when driving, walking, or bussing your way around an unfamiliar foreign city. It works almost the same as the Maps app on your iPhone; hit search, choose your destination, then switch between driving, cycling, walking, and transit directions. The Apple Watch's directions may be better in the latter case, since it indicates an upcoming stop by tapping your wrist, then a vibration for arrival. On a busy train, you can just leave your iPhone in your pocket. Just make sure you download a map of your destination city ahead of time so you don't need to rely on a spotty signal. Also check out the Walking Radius feature if you want to stumble upon things spontaneously nearby, or the guides for recommendations from travel experts.
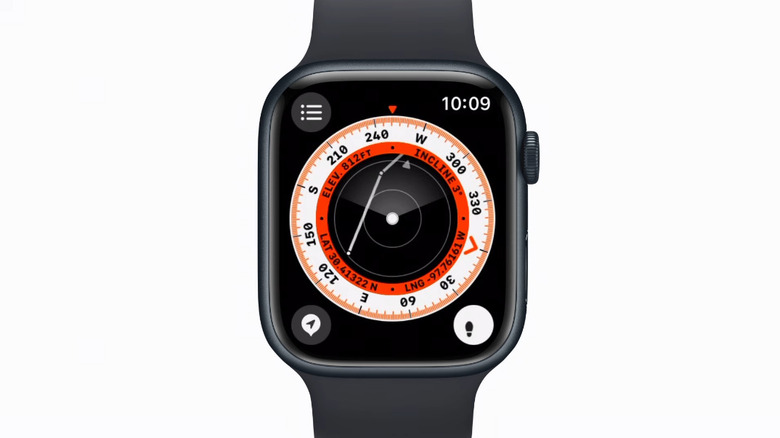
Perhaps even cooler than that, though, is the Apple Watch's Backtrack feature. It uses the Compass app to help you find your way back if you're going to venture off into unfamiliar, unmarked territory. It needs to be manually turned on. With the Compass app open — and before you set out — choose the squiggly line icon and tap Record Path. Continue walking. When it's time to head back, tap the Retrace Steps option. The Compass app will direct you turn-by-turn back to where you started.
Apple notes in its support documents that this feature is meant for remote areas lacking Wi-Fi or signal. So Backtrack is preferable for, say, doing a spontaneous, brief day hike where you don't want to get lost. Use Maps for anything urban. Conversely, check out the hiking trails available in the Maps app in case the trail you want to take is documented.
Check the weather
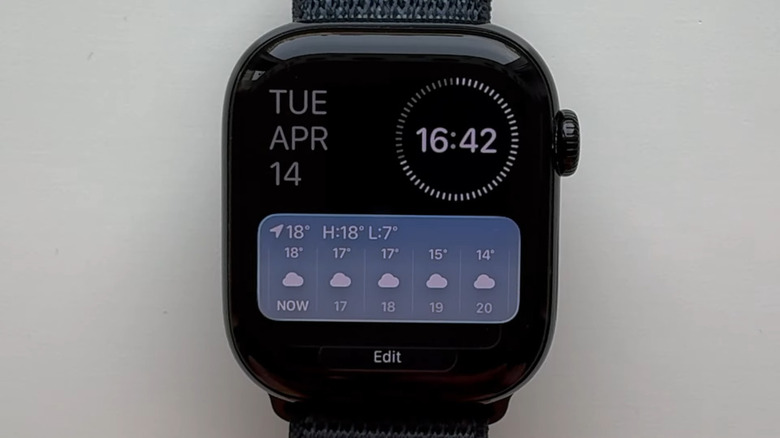
The iPhone Weather app is a lot more powerful than you might think. The same goes for the Apple Watch version. Aside from typical hourly and daily forecasts at your destination, you can see detailed info on temperature, humidity, precipitation, UV index, and air quality. One additional helpful feature is severe weather alerts. With the Weather app open on your Apple Watch, you may see an alert for a severe weather event with more info.
The big question is why bother with the Apple Watch Weather app when the iPhone version is right there in your pocket. For one, the Apple Watch has excellent at-a-glance forecasts. The Weather widget pops up in the Smart Stack to show you five-day forecasts for your trips. It'll also tell you if it's going to rain before a planned calendar event that has a set location. So if you're a meticulous vacation planner, definitely set up your events in Calendar with a location. Your Apple Watch should alert you in advance if an upcoming downpour might spoil those plans.
Get emergency help
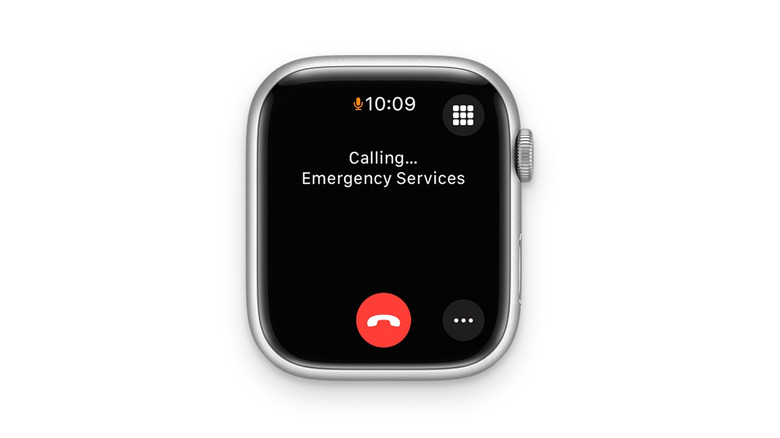
The last thing you want is an emergency spoiling your vacation, but you should at least be prepared for the possibility. Fortunately, the Apple Watch has a whole suite of emergency features that can help you — even if you're unconscious. For starters, you can call local emergency services automatically. Hold the side button, wait for a set of sliders to appear, and drag right on the Emergency Call option. This is especially helpful when you're in the thick of a stressful situation, can't think straight, and have shaking hands.
In addition to this, your Apple Watch can also detect crashes and falls, alerting emergency services on your behalf if you appear unresponsive for a certain amount of time. The former is turned on by default; for the latter, you'll need to enable it in the Watch app under Emergency SOS > Fall Detection, unless you're 55 years of age or older. For the record, the Apple Watch has saved many lives with crash and fall detection, so it really doesn't hurt to turn these on.
Additionally, your Apple Watch can store your Medical ID with important information, like blood type and allergies. View this by holding the side button, too. Before your trip, take a few minutes to input all your most important health information in the iPhone's Health app. If you're in the U.S. or Canada, you can share this information over the phone when you call emergency services. What's great about the Apple Watch is that it handles Emergency SOS features automatically based on your location, facilitating things when you need to get help and can't afford to spend precious minutes looking up emergency numbers.
Add extra time zones in World Clock
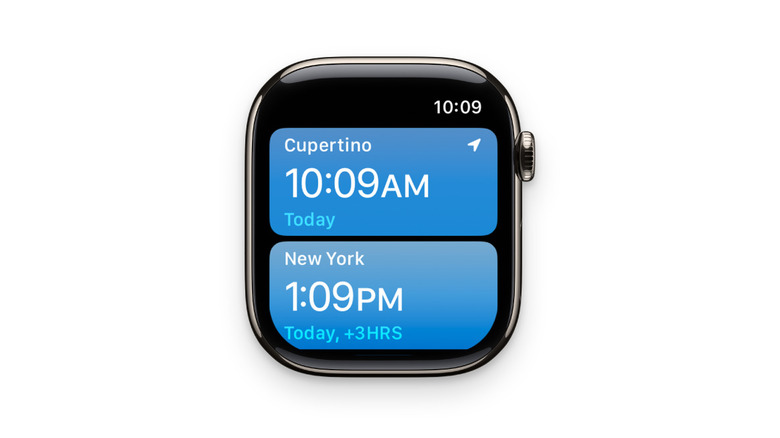
Keeping track of time zones is a huge pain. If you're traveling and still need to deal with things back at home at the right time of day — work deadlines, meetings — then the Apple Watch's World Clock app can be an irreplaceable tool. Just like the World Clock section of your iPhone, the World Clock on the Apple Watch supports multiple cities; any cities on your iPhone automatically sync to your watch. To add more directly on your Apple Watch, choose the list icon, then the plus icon, and type in or dictate the city name.
Even more helpfully, the World Clock can do some basic time comparison calculations. Tap on a city, spin the Digital Crown, and it will change the time at that location in relation to where you are at the current moment. If you want to always see the time at a certain location, the World Clock has its own watch face complication. Again, since it's right there on your wrist, it's easy to stay mindful of the time back at home in case you need to contact someone or take care of something before businesses close and everyone goes to sleep.
Track swims and dives
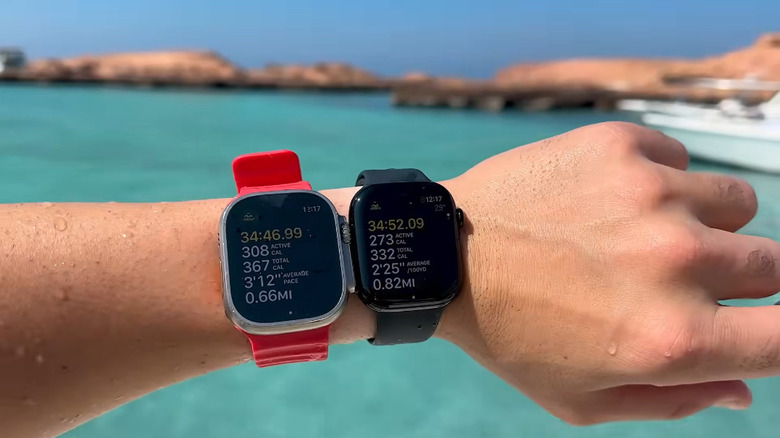
The Apple Watch is probably one of the best smartwatches on the market for swimming. Recent models have strong water resistance and a bevy of features to use during your swims. Before swimming, you can track a workout via the Workout app. The Apple Watch tracks pool swims and open water swims (i.e., swimming in a lake or at the beach), complete with stroke type and distance covered. And before you get in the water, turn on Water Lock from the Control Center. This locks the display, and when you finish your swim, it plays a series of tones to eject water from the speaker.
If you have an Apple Watch Series 10 or Apple Watch Ultra, you can go even further with in-depth (pun intended) diving information for shallow snorkeling or free-diving. The Depth app tells you how deep you are, what the water temperature is, and how long you've been underwater. You'll need to start a dive manually unless the Depth app is set to enable automatically. If you want to be extra safe, you can use the Tides app to know when the tide is coming in or going out to avoid swimming at dangerous times.
Control your camera
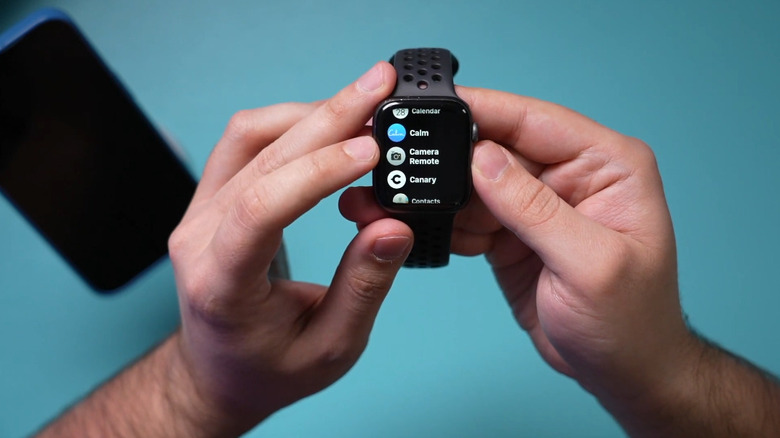
If you've ever been hesitant to give your phone to a stranger who's offering to take a picture for you at a tourist destination, your fears may be warranted. Situations have cropped up where scammers, thieves, and other criminals use "Want me to take your picture?" as a pretext. So instead, you can take your own pictures using your iPhone, the Apple Watch's Camera Remote app, and a tripod.
The Camera Remote app controls more of your iPhone's camera remotely than you might believe. In addition to a live viewfinder, it can swap between the front and rear cameras, zoom, control focus, change the flash, and start a picture timer — all without you even touching your iPhone. Videos can be recorded by holding down the shutter button. If you want to quickly look over the pictures you've taken, tap the bottom-left thumbnail.
Admittedly, taking good pictures this way can be challenging on such a small screen. But if the point is to capture the moment without trusting anyone with your expensive iPhone, and you can get a good angle with the tripod, it may be worth the hassle. The only limitation is Bluetooth range, which is roughly 33 feet.