

9 Ways WD-40 Can Help Maintain Your Leaf Blower
We may receive a commission on purchases made from links.
Every fall, when you pull the leaf blower out of the shed, pull the cord, or press the trigger, the same issues resurface. It stutters, sticks, or does nothing, and leaves keep piling up in your yard. If you don't fix it, your weekend will slip away, and the blower you trusted last year suddenly feels like a headache.
Most of the time, the issue is small, like a gas blower failing due to old fuel, a choke left on, or clogged parts. This pattern explains many common leaf blower problems owners run into. Even a respected brand has weak spots, and most common STIHL leaf blower problems trace back to simple wear and skipped upkeep. The good news is you don't need a mechanic. It just needs a little care before the season starts.
That is where spraying WD-40 can help. Owners should check for loose parts and keep the air vents and battery contacts clean. Those are small tasks, and the right spray makes several of them easier. The only thing is using the right product for each spot, because a lubricant, a contact cleaner, a silicone spray, and a grease do four different jobs. Using one can for everything is how people end up with a blower that still won't run. Here are nine simple ways a can of WD-40 can help you maintain your leaf blower.
Loosen stiff tube joints and clips
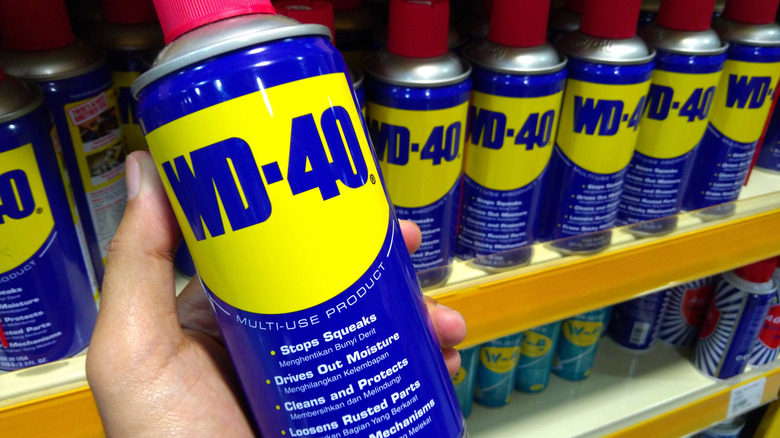
If you tried to pull the blower tube apart in spring and it jammed tight, dirt and old grass may have slowly worked into the joint and dried into a hard crust. As a result, tube joints and clips stiffen first. If you want to fix it with WD-40, use WD-40 Multi-Use with the Smart Straw. It's designed for this kind of job, and the Smart Straw reaches tricky areas without fuss.
First, remove the battery or pull the spark plug wire. Then spray a short burst on the joint, and let it soak for a minute. Twist the tube back and forth to let the spray work its way inside. Don't forget to wipe off the excess with a rag, since leftover oil collects dust, so a clean finish matters.
Don't mistake this for a cure for a cracked tube or bent clip. Spray can only help free a stuck part, but it cannot fix a broken one. If a joint still won't move after a few tries, check for damage and replace the part before it fails mid-job.
Clean battery contacts
A blower that dies after only a few seconds of operation isn't always due to a dead battery. Sometimes the metal tabs where the battery meets the tool are dirty. Even a thin layer of dust or grime can block the power flow, making the blower act weakly. This can also cause it to lose power midway through or not start at all. Cleaning the contacts on a leaf blower battery is an important part of caring for the machine.
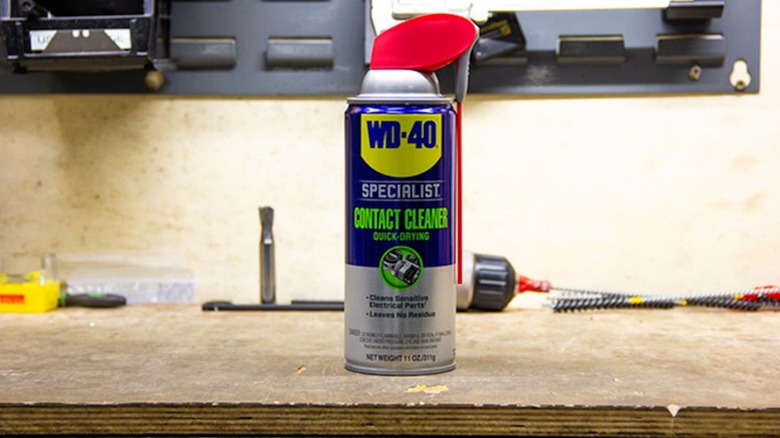
This is where choosing the right product matters. Regular WD-40 is great for stuck parts, but not for electrical contacts. For that, choose WD-40 Specialist Contact Cleaner. It is designed to clean electrical parts, reducing wear and tear and improving electrical conductivity. Remove the battery, spray the Specialist Contact Cleaner on the metal tabs on both the battery and the tool, and let it dry completely. Put everything back together, but don't spray the inside of the battery pack.
A simple rule: if a part carries power, use the specific cleaner made for it. Check the contacts again next season. If you see green or white crust or bent tabs, the battery or tool may need replacing, and a spray won't fix it.
Protect rubber seals and plastic catches
Not every part on a blower is metal. You will find rubber rings, soft pads, and plastic clips holding covers in place. But when they are exposed to sun, cold nights, and dust, rubber can harden and dry out, and plastic clips can get brittle and break. A broken battery cap or cracked seal may look small but can be annoying to replace.
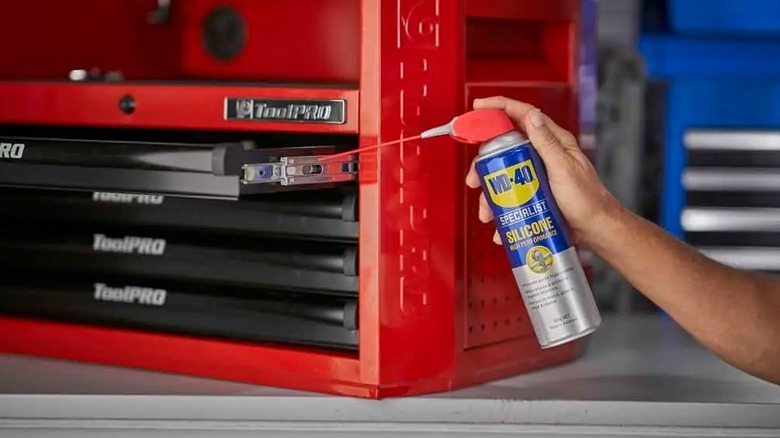
For this job, choose WD-40 Specialist Silicone, not the classic blue-and-yellow can. This spray lubricates rubber, plastic, and metal, which is why it suits a blower's non-metal parts. Put a little on a clean cloth first, then wipe it over the seal. This is the best way to keep the spray off areas you don't want it on. Move the latch a few times to smooth out the movement.
You shouldn't use WD-40 on a lot of surfaces, and that's why a single can doesn't fit every job. Do not use WD-40 on the pull-cord handle you grip, and even if it gets there, wipe it up, as it can drip onto the floor and make it slippery. If the seal is cracked, flat, or torn, don't use spray. Replace it, because a worn seal will let dust in no matter how soft it feels.
Free up throttle and choke cables on gas blowers
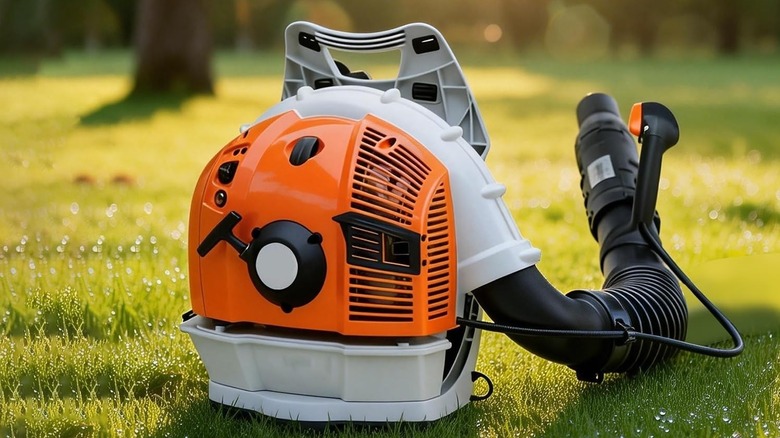
When you pull the throttle trigger on a gas blower and let go, it should spring back on its own. However, if it hangs halfway or you have to intervene, the cable inside its sleeve may be dry or dirty. A sticky throttle makes the engine hard to control, and a stiff choke lever makes cold starts a chore. This happens because the cables sit out all year, so grit and moisture can easily get in. A little lubricant goes a long way.
This is where WD-40 comes in. Disconnect the spark plug first. Then use the precision straw to spray a small amount of WD-40 Multi-Use on the cable housing where it enters the control mechanism. You can apply the same advice to mower throttle and choke cables and blowers.
Gas blowers and mowers share many small-engine habits, so some tips apply to both. This also means a few lawn mower maintenance tricks can help, since the same cable care applies to many yard machines. Spray WD-40 on the choke cable and lever once a season; if the cable still sticks after cleaning, spraying alone won't help, and you'll need to replace it.
Free up stiff control levers
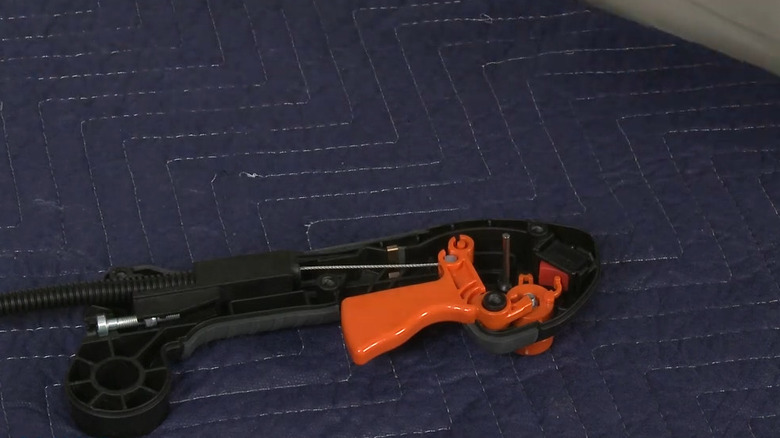
Most of us never notice a stiff lever until it takes a bit more push than it used to, or the lock slider sticks halfway. Since we have work to do, we keep going. But you shouldn't ignore that stiff lever, though. Over a long afternoon in the yard, your thumb and fingers will have to apply unnecessary pressure. On the other hand, a lever that moves smoothly makes it much easier to maintain the speed you want.
WD-40 Specialist Silicone is a good pick here because it leaves a clear, water-resistant film that does not stick. This means it will not turn the lever into a dirt magnet. This is important for parts your hands touch all day. Put a tiny amount on a cloth, apply it along the lever's edges, move the lever back and forth a few times, then wipe away the excess. Keep the spray away from any switch or electrical part. Also check the manual, and if it says not to lubricate a certain spot, go with the manual.
WD-40 can be a handy solution for DIYers, and you can use it on the rest of the garage, though it may not suit every part of a blower. After you finish spraying and cleaning, switch it on, move every lever through its full range, and listen for anything that still catches or clicks.
Grease metal-to-metal pivots, latches and cables
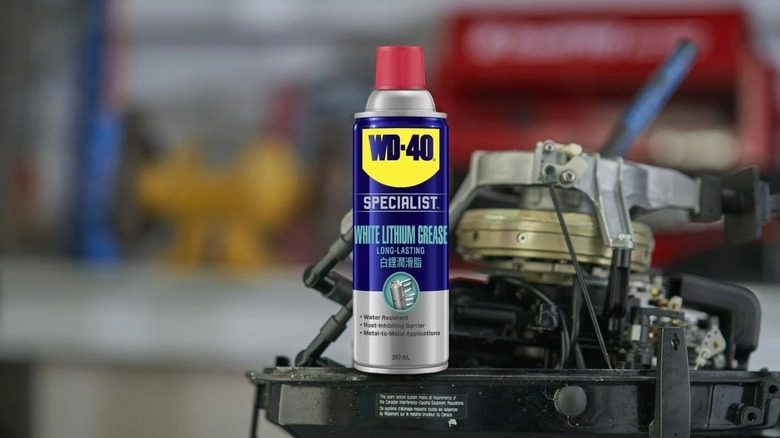
Thin sprays work fine for normal parts that don't need much involvement. However, parts that have to carry real pressure don't work well with thin spray. On any part where metal rubs against metal all day, like the pivot where the handle folds, the latch that locks the tube, or the end of a cable that slides all season, a thin film wears off quickly, and you will start hearing squeaks. These parts need something thicker that stays put.
WD-40 Specialist White Lithium Grease is the best pick for this situation: it sprays on as a liquid but dries into a thick, protective coating. WD-40 lists metal-to-metal contact, latches, hinges, pulleys, and cables among its best uses. It also works from 0 degrees Fahrenheit to 300 degrees Fahrenheit, making it suitable for freezing winter or hot summer. The Smart Straw helps you get grease exactly where you need it.
The idea that a single spray can fix everything is one of the myths around WD-40. WD-40 makes different sprays for different purposes, and white lithium grease spray goes well beyond the blower. For metal pivots, a once-a-year spray of white lithium grease is enough, and plastic parts are better left to silicone, which suits them better.
Degrease the engine housing on gas blowers
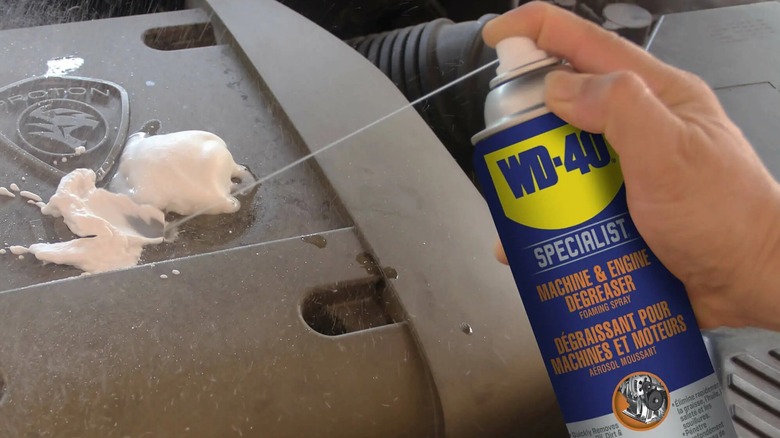
After multiple uses, the engine housing often gets covered in a brown crust of dust, grass, and old oil. That layer does more harm than it seems. It not only hides cracks and loose bolts, but can also clog the small vents that let air in and keep the engine cool. It goes unnoticed until a fuel line or seal starts to leak.
WD-40 Specialist Machine & Engine Degreaser suits this job, since it is a water-based foam that removes grease, oil, and dirt with low residue, and it is made for power equipment and other metal tools. Before you spray, let the gas blower cool down and disconnect the spark plug. Then spray the housing, let the foam sit for a minute, and wipe the grime away. Keep it away from the air filter and the exhaust opening.
You can also look for signs in your engine and act accordingly. Look for spots where oil is seeping out, bolts that have worked loose, and rust starting to form. If you have more yard tools, you can use WD-40 to clean up outdoor power tools and keep them looking brand new. Let everything dry fully before you lubricate the moving parts, because grit mixed with oil grinds like sandpaper.
Clean the spark plug and its connectors on gas blowers
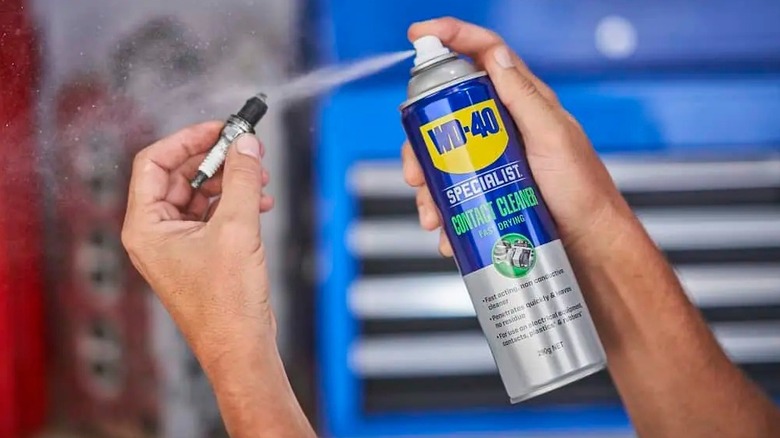
When a gas blower refuses to start after repeated attempts, pulling the cord repeatedly and hoping for the best is a waste of time. But pulling out the spark plug and inspecting it is a smarter move. It is small, cheap, and a common suspect whenever an engine acts up. Check it for carbon buildup and signs of wear, and replace it if needed. So if a plug has a black crust or a cracked tip, replace it, don't clean it.
If the plug looks fine, the problem may be in the connection. Grime and moisture build up where the boot clips on, which can weaken the connection, and WD-40 Specialist Contact Cleaner is designed for electrical parts. Spray the metal end of the plug and inside the boot, then let everything dry completely before reconnecting it. Do all of this after the engine has cooled down and unplug the machine. Never spray into the open cylinder hole.
Fall is a good time for this check, and use some WD-40 since the blower is about to work hard. If the engine still struggles even with a clean plug, the problem is probably in the fuel or air, which requires a different fix or a specialist's help.
Prep the blower for off-season storage

A blower that looks fine in November isn't guaranteed to stay in good shape by April because winter quietly does its damage. Moisture can creep into hinges and cables, metal parts can seize, and rubber can stiffen or crack when it is left unprotected. A long wait in a shed or garage corner may look relaxing, but it is hard on a machine full of moving parts. Spending just 20 minutes preparing your blower for storage can help it stay in good condition throughout the winter.
Start with the fuel, which is the part people forget most often. Leaving fuel in a petrol blower is one of the worst mistakes you can make. Run the tank dry or follow your manual, wipe off the dirt, and add a light coat of WD-40 Multi-Use Product to bare metal. For rubber and plastic, use the silicone spray. Carefully remove it from the battery, then store it indoors somewhere cool and dry.
Where you store it matters. Hang the blower or set it on a shelf off the floor, and cover the nozzle with a clean rag to keep bugs out. If you cannot take it apart, store it securely. You can also get a bag or case for your blower and keep it safely till its next use.