How To Set Up Private Listening For Your Roku Streaming Device
Have you ever been watching TV late into the night, when someone suddenly barges in and asks you to turn it down? The walls are too thin, the volume is too loud, and you're keeping them awake. Or maybe you're watching something and someone else has a Zoom class or a meeting happening in the same room, so the sound of your streaming program is annoying background noise for them? Specific Roku models have a feature that might make your life a little easier.
If you have the Roku Streambar, Roku Streambar Pro, or Roku Smart Soundbar, you can use wireless private listening. With Roku private listening, the sound from whatever you're watching can be redirected from the TV speakers to your headphones or your mobile device.
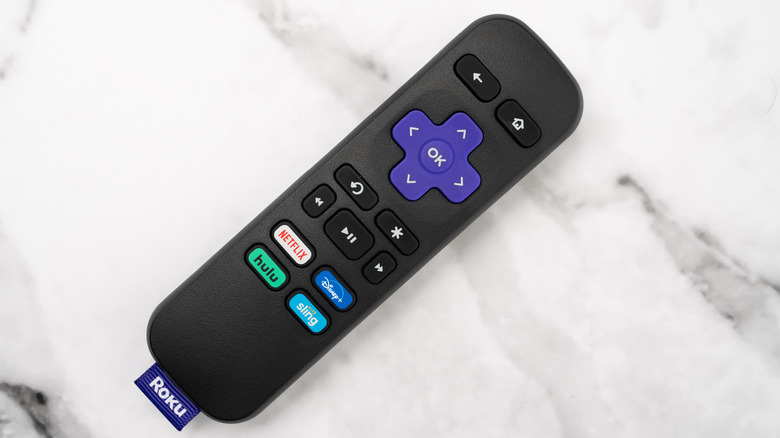
Roku private listening is a feature that you can access in two different ways. The simplest way to use Roku private listening is with wired headphones in headphone mode using a Roku remote model with a sound jack. In that instance, just plug your headphones in, and voila — private listening.
You can still utilize the private listening feature if you don't have a Roku remote with an audio jack. You just have to follow a few extra steps which, fortunately for you, we're going to lay out here. We live in a binge-watching society, and no one should have to stop episode just because the house is too noisy!
How to download the Roku app
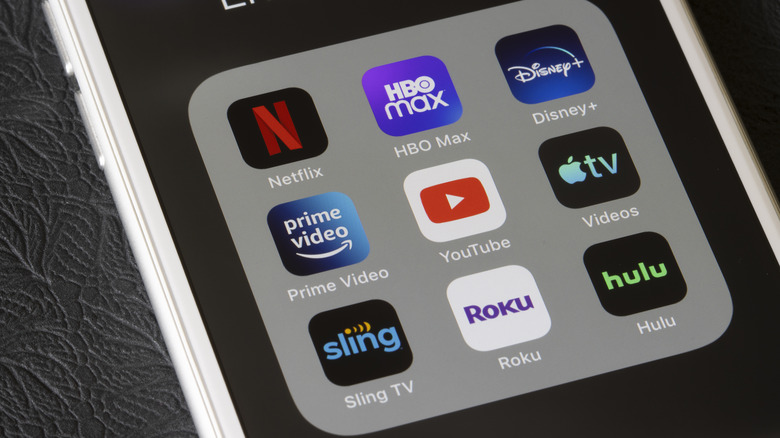
Roku has a mobile app that makes turning special features on a whole lot easier. To download the Roku app, go to your device's app store and search for the app by its official name: "The Roku App." If you're currently browsing on the device you want it installed on, you can also use these links to find it on the Google Play store or the Apple app store.
Once you have the app downloaded, log in using your Roku sign-in information. Go to the Remote button along the lower portion of the screen and locate your Roku device in the section for discoverable devices. Depending on what operating system you're using, you may be asked at this point to allow Local Network Access.
Make sure your Roku and the device you're using are both on the same Wi-Fi network. If they aren't, then your Roku won't show up as a discoverable device. You may also want to avoid using a VPN, as those can also sometimes make it fail to show up on the device list.
In addition to using it to set up private listening, the Roku app can be really handy to have. It can completely take the place of the physical remote, which is useful if you lose it, it breaks, or the batteries go dead. You can control the channel and volume with it, use voice controls, and access the settings. You also don't need to worry about being charged more money for it. The Roku app is free and will work with the Roku that you already have.
How to navigate to the remote feature
Once you have the Roku app, turning on private listening is pretty simple. Just find the remote icon located third from the right in the row of icons. Hint: It's helpfully called "Remote." When that's done, your screen should then look similar to what an actual Roku remote looks like. You'll see a purple D-pad in the middle with direction arrows at each end, and in the center will be the letters OK set within a circle.
If you're using it in the wired headphone mode, at this point all you do is plug the headphones in and find the headphone icon. If you're using an iOS app, then it'll be right above the Play and Pause buttons toward the bottom of the screen. Tapping on that allows you to toggle between private listening and sound through the television. If you're connecting to private listening wirelessly, there are a couple more steps to get you listening in your own little world.
How to connect your wireless device using Bluetooth

The first step in achieving your connection is making sure that the wireless device you're using for the remote has Bluetooth capabilities, and that they're enabled. You may have to consult your specific device instructions if you're unsure how to do that.
You will also want to make sure that the headphones you're planning on using are Bluetooth-capable. They'll need to be set in pairing mode for the initial connection. If you aren't sure how to put your Bluetooth headphones in pairing mode, check out the instructions that came with them or check the manufacturer's website support pages for additional help.
- In the Settings screen, choose the option for wireless headphones, then the option that lets you add a new pair.
- Your Roku device may spend up to thirty seconds scanning for compatible Bluetooth gadgets to connect to.
- Once the Roku has finished doing a sweep of the area, you should see a list of compatible devices on the screen.
- From there, just choose your headphones and connect them.
The pairing process should only need to be done once. From that point on, when you need to connect your wireless headphones just make sure that your remote and device are on the same network and use the star option on the Roku remote to find your headphones and connect to them.
How to troubleshoot any issues with audio or connection
Once your device is connected to the Roku through Bluetooth, you should be set. But if you aren't — don't worry. We have a few tricks to try and smooth out the connection process.
If the audio on your device isn't in sync with what's playing on the television, you may need to re-sync. This can happen due to the latency between the audio signal sent out by your television and when your wireless device or headphones receive it. You can do this by choosing the gear-shaped Settings icon in the top left corner of the screen.
In the Settings menu, disconnect your device from private listening. After you've done that, you should be able to click on Adjust Audio Delay. The Roku app will instruct you to point your device's camera at the screen. Next, tap on "Continue." The first thing you'll see is your device's screen turning purple. During this, you may also see a few flashes of white along with some beeps. The beeps are the app and your Roku communicating to test out audio sync. This entire process should only take about ten seconds.
Once your phone screen has turned back to normal and you no longer see flashes of white or hear the test beeps, your device is ready to reconnect. If you happen to still find the audio out of line with the video playing, you may need to adjust the audio delay a few more times.