Common Camera Problems On Android Phones And How To Fix Them
Over the years, there has been an unbelievable advancement in smartphone camera technology, with the Android platform leading the way. However, despite these impressive strides, Android cameras are not immune to spontaneous issues. These problems can range from the camera app crashing to blurry photos, which can hinder your photography experience.
While it might feel overwhelming when your camera decides to misbehave, there's a good chance that the issue you're experiencing is a common one. The solutions to your problem might be as simple as tweaking the camera settings, installing a software update, or performing regular system maintenance.
So, whether you're a smartphone enthusiast or an amateur photographer, knowing how to apply the correct troubleshooting methods can get you back to taking stunning photos in no time. In the following article, we, therefore, explore the best fixes for common Android camera problems, which may also solve a few lesser-known ones.
Camera app crashes

One of the most frustrating problems Android users can face is a camera app that continues to crash. This may occur while launching the app initially, or while you're in the process of taking photos. If the issue persists, you may lose your phone's camera functionality altogether, or worse, fail to capture a special memory.
Here's how to fix a camera app that continues to crash:
- Restart your phone: The easiest way to fix most app-related bugs or glitches is a simple restart or reboot of your android phone. To do this, you'll want to locate your Lock/Power Button, press and hold, and then toggle the Restart prompt. Once your phone has restarted, open the camera app and see if the issue has been resolved.
- Clear cache and data: Caching allows apps to store temporary files for a faster and more responsive user experience. Unfortunately, as these files accumulate, they may corrupt over time causing the camera app to crash. It's, therefore, a good idea to clear your cache regularly to maintain the best system performance. For that reason, head into Settings, Apps, Camera, and Storage. There should now be an option to Clear cache and Clear data; select both if possible.
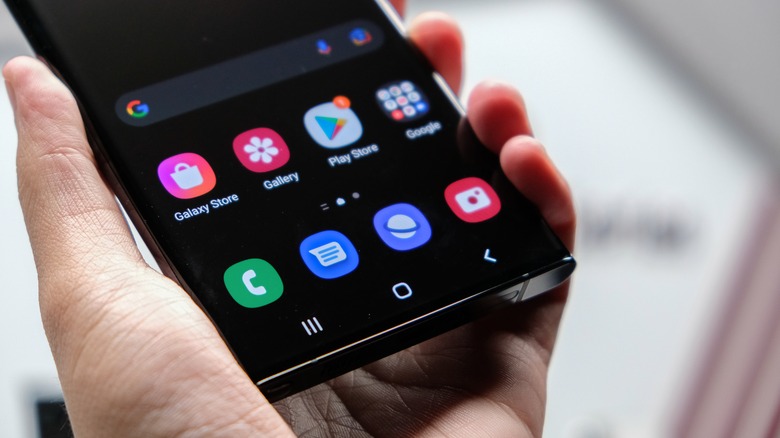
- Check for software updates: If you're using the built-in camera app on Android, there may not be an option to update it via the regular Google Play Store. Instead, the camera app crash fix may be found in a regular Android software update. To check whether your phone and possibly camera app is due for an update, open Settings, Software update, and select the Download and Install option if it's available. You can read the patch notes that follow to confirm whether any fixes have been applied to the camera app.
The camera flash isn't working
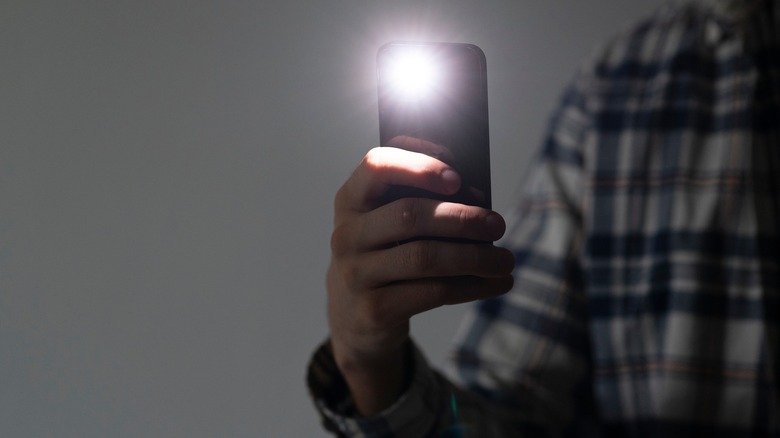
The flashlight located on your Android smartphone doubles as a camera flash for low-light conditions. This burst of artificial light illuminates the focal area, making it easier to capture a clear image. Unfortunately, the flash might not always work as it should, resulting in photos that are dark and grainy.
Here's how to fix a camera flash that isn't working:
- Check the flash settings in your camera app: As silly as it sounds, your camera's flash might not be enabled. To ensure it is turned on, look for a lightning bolt or flash symbol that is on the top or bottom of your camera app HUD. A line through the middle of the symbol generally means the flash is turned off, whereas a plain symbol indicates it is on. There's also an auto-flash option which is marked by an "A" next to the flash symbol. Select the normal flash symbol if you want the feature turned on permanently.
- Check the battery status: To conserve battery life, some Android phones will not allow you to use the camera flash until the device has been charged to a certain level. This is often found in a prompt within the camera app that states the battery is too low to use the flash. The remedy is therefore an easy one, simply charge your smartphone.
- Ensure that the flash is not obstructed: There may be a slight chance that you have unintentionally blocked the flash with an unsupported case cover or your very own finger. This often happens with third-party case covers that aren't meant for your exact phone model. Check if the flash is visible, and buy an approved phone cover if necessary.
Photos are not saving
Once you have taken a photo using your camera app, the file is usually stored in your gallery. These apps work simultaneously with one another, and if problems arise, an effect is felt through both applications. A common hiccup you may face is when your photos fail to save in your gallery. The camera app might seem perfectly fine, but you'll be unable to locate your new snapshots. The reason behind this affair is more than often a storage space issue.
Here's how to fix photos that are not saving:
- Check your storage space: The first thing you'll want to do is investigate how much storage space your Android phone has. This will confirm that it is indeed a storage issue and not an underlining app dilemma. You can see your storage space by going into your Settings and selecting Storage. Your phone will now calculate the storage distribution and state whether you have run out of space.
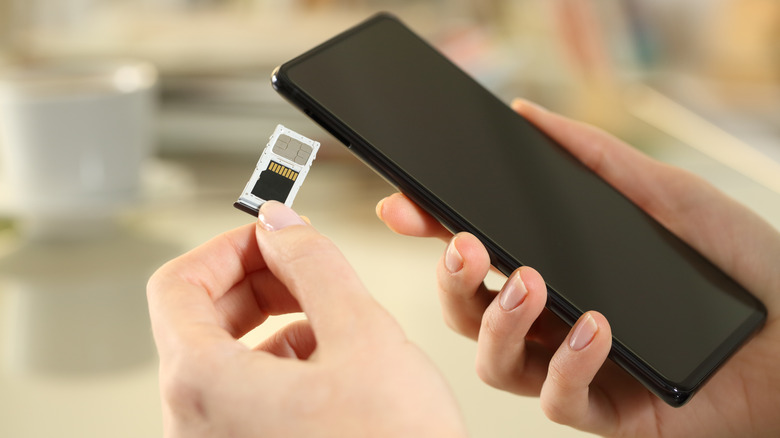
- Create more storage space: Once you've established your phone no longer has enough storage space, you can increase the limit by deleting any unnecessary files, inserting an additional memory card, or moving your current files to cloud storage. When your chosen option has freed up space within your gallery, your photos should now start saving again.
- Third-party apps: If you're using a third-party app to view your camera photos (not including the pre-installed gallery app), the issue might be with the app alone. In other words, your photos might be available if you look within your Pictures Folder located in Files or My Files. Should this be the case, re-install the third-party app and see if it recognizes your photos again. If not, try another gallery app or used the built-in one.
The camera app responds slowly
A camera app that responds slowly is different from a crashing issue. Overall functionality is delayed, with input commands lagging, yet the camera app itself remains open. This can be provoking if people are waiting for you to take a photo, or even more so when your Android device freezes entirely.
Here's how to fix a camera app that responds slowly:
- Close background apps: If your phone has limited specs, it may be reaching its performance threshold should multiple apps be running in the background. To improve system responsiveness, and free up memory, you should close the apps that are not being utilized. Depending on your phone model, swipe up from the Home screen, select the Recent Apps buttons, and close the necessary background apps. When you're ready, open the camera app and see if the problem has been resolved.
- Free up storage space and update your system: While your Android phone fills up with different applications and media files, the storage space will diminish over time. This might lead to an overall drop in performance, as system updates will no longer install, with your camera app being more susceptible to bugs. Therefore, head into Settings, followed by Storage, and see if you have enough space. Next, open Setting again, and select Software update. Download and install any patches that may be available.
- Turn off Power Saver mode: Power Saver or Power Saving mode reduces the CPU speed and brightness of your Android device to increase its battery life. Unfortunately, this may result in a drop in performance, leading to stuttering and lag throughout certain apps, including your camera. To check if this feature has been enabled, open Settings, Battery, and scroll down until you find Power Saver mode.
Blurry or out-of-focus photos
Nothing is worse than a photo that comes out blurry or out-of-focus. The lack of detail and clarity makes it difficult to discern what is going on, which is especially disappointing if your Android smartphone has a premium camera lens. Technical specifications and physical condition aside, the issue may reside within your app Settings or the stability of your photo shoot.
Here's how to fix blurry or out-of-focus photos:
- Tap to focus: By default, your phone's camera is usually automated, which means it tries its utmost to stabilize the lens in a way that produces the best possible photo with minimal effort on your side. Sometimes, however, things can go wrong, and the phone will struggle to pick up on a focal point. To ensure your lens always centers correctly and avoids blurriness, tap the camera display, and wait for a box or circle to appear around your chosen subject. Finally, take the photo and see if the quality improves.
- Choose the correct mode: Most android phones have multiple shooting modes. But, not all of them will work for what you're trying to photograph. For example, portrait mode might take a great close-up picture, but it isn't recommended for landscape images. Therefore, learn which camera modes are recommended for each style of photography and apply them for the best possible results.
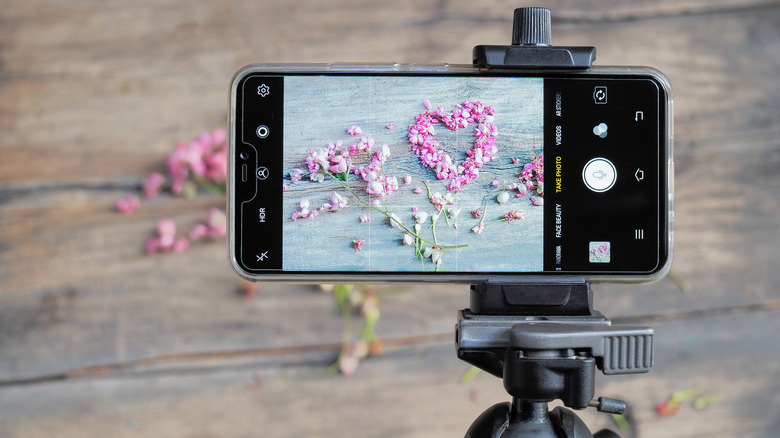
- Use a tripod: You might not realize this, but your hand might shake more than you think. Whether it's nerves or a particularly sensitive camera lens, your phone might need an extra layer of stability. A camera tripod is a great way to brace and steady your photo shoots. It allows the auto-focus to do what it does best while removing the risk of accidental movement.
Poor video quality

Android phones generally use the same lens to take photos and record videos. These include newer smartphones with multiple camera modules, which support different fields of view and focal lengths for both photos and videos. Since the two are intertwined it's no surprise that video quality can suffer, resulting in a film that not only lacks detail but is also distorted.
Here's how to fix poor video quality:
- Use a higher resolution: When recording a video, you should always try to use the highest resolution available. This is because more pixels result in more detail, which outputs a sharper film image. You can find your video resolution settings inside the camera app. It should be available when you select video mode on the HUD, or within the Settings Menu usually shown via a gear symbol.
- Turn off any unnecessary filters: Filters are a great way to add a spark to videos or improve lighting conditions. Unfortunately, they aren't always optimized and may degrade the quality of your video. Try removing any filters that might be adding a grainy effect to your recordings and see if the quality improves. This issue will be most notable on third-party apps making use of your camera if your basic camera app does not exhibit the same problem.
- Clean the lens of your camera: If your photos and videos both seem to have a cloudy appearance, there may be dirt on the lens. Grab a soft microfiber cloth and gently wipe the lens to remove any oil or grime buildup. It should be noted here that there are special lens wipes available online, but you should always avoid harsh cleaners that could potentially damage your phone. Therefore, consult trusted reviews if necessary and choose a leading brand.
Video recordings have no sound

A film without sound lacks context and engagement. For that reason, a somewhat rare, but certainly annoying issue that may arise while capturing a video is when your phone decides to cut out the audio. Even worse, is that you'll likely not know that your phone has failed to record sound until it's too late and you're back at home.
Here's how to fix video recordings that have no sound:
- Allow microphone permissions: Your camera app might not have permission to use your built-in microphone to record audio. To remedy this, go into your phone Settings, scroll down to apps, and look for the camera or video recording app. Now, select the app, and tap Permissions. There should be an option to enable your microphone while using the app.
- Turn off Bluetooth and disconnect any audio devices: Most wireless devices these days connect automatically. As a consequence, your phone might be connected to an audio device without your knowledge, which could be using the microphone. Head into your Settings, and turn off Bluetooth. Your video recording app should now have full use of your phone's built-in microphone.
- Update and restart your phone: If the issue persists, it may be a bug, which needs to be fixed via a software update. Open Settings, select Software update, and tap the Download and Install option if it's available. If no update is available, try restarting your phone by holding down the Power/Lock Button. This may resolve any once-off complications.
- Check if the microphone is covered: Depending on where the microphone is located on your phone, it might be covered, preventing it from capturing audio. Therefore, check that your hand or phone cover isn't blocking the microphone when you try to record a video.
Overheating during camera use
Overheating occurs in warmer conditions or during resource-intensive tasks over a long period of time, for example, using your camera app continuously. A phone that overheats is not only physically uncomfortable but also leads to a drop in system performance. This is because as the processor inside gets hotter, the phone will try to cool itself down by lowering its power usage, which coincidentally leads to apps (and your camera) responding slower. As a last-ditch effort, your phone may even turn itself off to prevent damage!
Here's how to fix a phone that overheats while using the camera:
- Avoid using the camera while charging your phone: Phones that support fast charging or super fast charging use a higher voltage and current, which generates more heat. If you then open up the camera app, the processor will activate making things even warmer. On that account, wait until your phone has been removed from its charger before using the camera.
- Prolonged camera use: Most modern smartphones shouldn't overheat if used in the recommended conditions. However, if you find yourself in a very warm climate, using a resource-intensive app such as your camera might cause the temperature of your phone to rise. If you can't move to a cooler area, try decreasing the screen brightness of your phone and lowering the resolution of your camera. This will reduce the system demand on your CPU.
- Remove your phone case: If your phone case is made from a material such as leather, it might be insulating your phone and keeping the heat inside. Add in prolonged camera use and a hot summer day, and it might be enough for your phone to overheat. Therefore, remove the case and see if the heat subsides.
Photos are too bright or too dark
Occasionally, you may notice that the photos you take are too bright or too dark. This is likely due to an exposure issue, which more than often originates from lighting conditions or incorrect camera settings. It's important to know the techniques you can follow if you cannot change the lighting, and want to prevent this from happening in the future.
Here's how to fix photos that are too bright or too dark:
- Exposure compensation: Most android camera apps have an exposure compensation slider. You can access this feature by tapping the area you want the camera to focus on and moving the exposure compensation icon up or down to adjust the image. Note that depending on the model of your smartphone, the exposure compensation slider might have a "brightness" icon, which is the same feature. You'll notice the camera preview going lighter or darker as you adjust it to your preference.
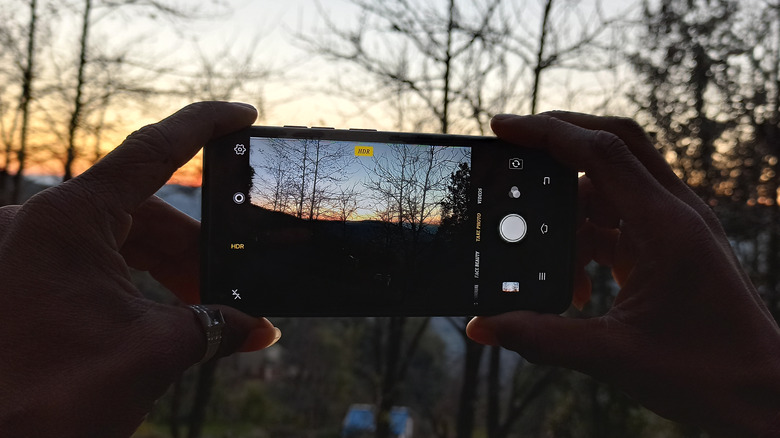
- HDR Mode: If your phone supports HDR (high dynamic range), you can use this feature to take multiple photos at different exposure levels, creating a final image that has the best possible brightness and contrast. The steps to enable HDR can vary per Android make and model, but you'll usually find it within the Camera app's Settings or Shooting Mode. You can then take the photo as you usually would, and HDR will do the rest.
- Change the filter: Certain camera filters are used precisely for bad lighting conditions. If your photos are too bright, you can try a neutral-density filter, which reduces the amount of light that can enter the lens. On the other hand, if your photos are too dark, you can always try Night Mode if you want to keep the flash off.
Red eye in flash photos
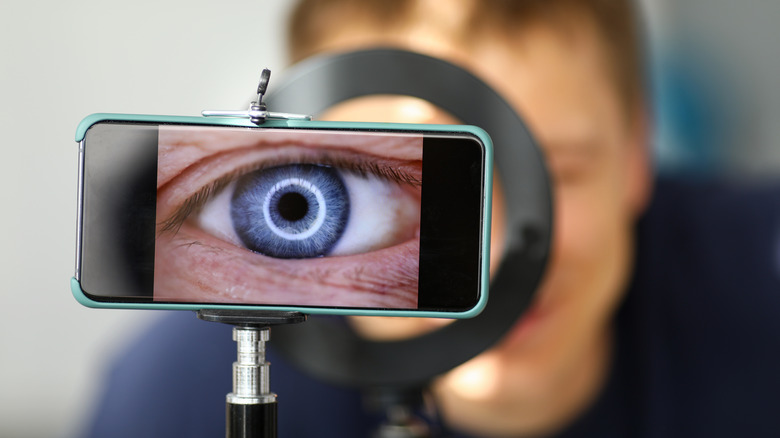
The red-eye effect occurs when the flash of your phone reflects off the retina of the person you're taking a photograph of. This can spoil a good picture, as the eyes will then emit an orange or red glow when looking back at the photograph. While not as common, thanks to advancements in camera technology, the problem may surface in certain lighting conditions.
Here's how to fix red eye in flash photos:
- Avoid the flash: The easiest way to remove the red-eye effect from your photos is to avoid using the flash altogether. Use natural lighting wherever possible, and make sure your flash is not set to Always On. With that said, if you have no choice, try using the flash from a further distance, or at an angle that avoids direct contact with the subject's pupil.
- Enable the red-eye reduction setting: Modern Android smartphones usually have an automatic red-eye removal function that is integrated into the camera's flash setting. With that said, if you find the red-eye issue continuously showing up in your photographs, you may have to check whether this setting has been added as an independent feature. Therefore, when your camera app is open look for a red-eye reduction mode within your settings and filters.
- Edit the photo: As a final resort, you can edit the red-eye effect out of your photograph using an editing app. These are usually found on the Google Play Store, or even within your built-in camera app. In most cases, there will be a red-eye removal option or a filter that can help balance color and tone to minimize any orange or red glow.