

5 Things You'll Need Before Running Ethernet Cables Through Your House
We may receive a commission on purchases made from links.
As of 2023, the average American home had 17 internet-connected devices, all vying for their share of a finite bandwidth cake. A large number of these connect through a Wi-Fi connection. Indeed, according to a report published by market research firm Mordor Intelligence, wireless devices accounted for 78% of all connected devices. While this might sound like something of a death knell for Ethernet connections, the same report suggests otherwise. According to the report, the market for wired devices is expected to grow at a 5.87% compound annual growth rate through 2030. This growth is driven by ever-increasing bandwidth demands and the shortcomings of Wi-Fi connections.
While there is the undoubted convenience of connecting through Wi-Fi, there are plenty of things around your home that can disrupt Wi-Fi connections. From the thickness of walls and router placement to other Wi-Fi networks and Bluetooth devices, Wi-Fi isn't without issues. Of course, having the vast majority of your connected devices connected wirelessly doesn't help. There are even some devices that you should probably always plug into an Ethernet port. However, running Ethernet cable through your home can seem like a daunting task. But as this guide explains, having the right pieces in place can make it easier. We break the process down into five core things you'll need to prepare. From starting with a plan to the cables to the tools that simplify tricky wall runs, these essentials will help you tackle a home Ethernet installation.
Start with a plan
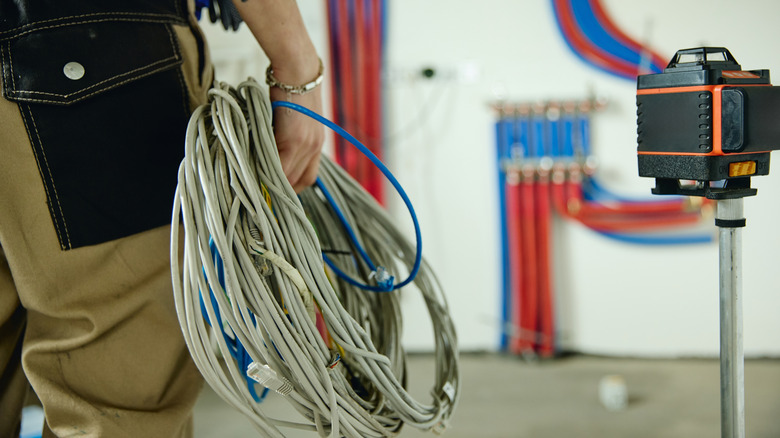
The first thing any Ethernet cabling project is going to need is a plan. Running Ethernet through a house is made a lot easier if you understand the job at hand and how it should be approached. Good planning means you buy only what you need, avoid unnecessary drilling, and end up with a clean, professional-looking job that works the way you want.
Start by planning your cable routes. How you route the cables and hide them will depend on the specifics of your home, but there are several common options to consider when planning this stage. Typically, these options will include running cables behind baseboards, under floors, through and behind walls, or inside surface-mounted raceways. A good stud finder can help to identify where to run cables, where to drill holes, and where to cut your openings. It's also best to keep Ethernet cables and electrical cables from being too close, as electrical interference can disrupt the signal.
Other options, like using flat Ethernet cables to run under carpets, can work in a pinch, but as discussed in the next section, it's not an ideal solution. Once you have the route planned, you'll have a pretty good handle on the cable lengths you're talking about and the obstacles you'll face when running them.
The next thing you'll need to know is where your endpoints will be. This includes the router and/or network switch position, the rooms that need wired connections, and how many drops you'll need at each point. Once you have the plan in hand, it's time to start getting the hardware together.
Choosing the right Ethernet cable
The next thing to do is to choose the right Ethernet cable. Because not all Ethernet cables are created equal, picking the wrong type and not discovering this until after the fact is not a situation you want to find yourself in. For instance, as noted, it might be tempting to opt for flat Ethernet cables for easy installation. These are simple to run under carpets and remain discreet, but flat Ethernet cables aren't without their limitations and are best avoided if possible; certainly for the backbone of your network, round cables are better.
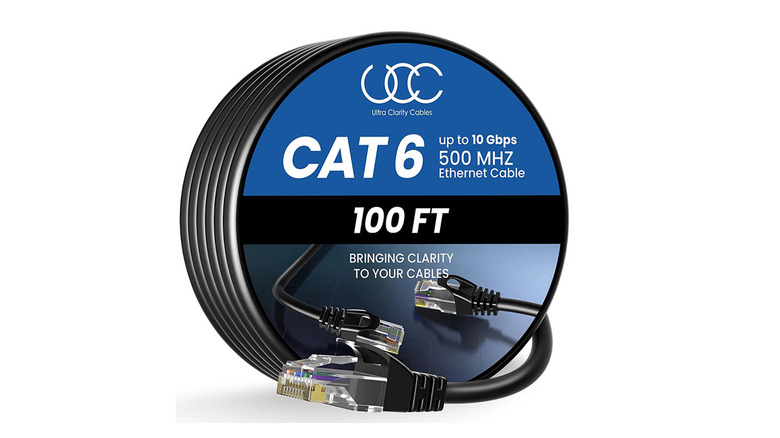
Having established that, we can now discuss what category of cable is best suited. First, let's discount one of the old Ethernet "workhorses" — Cat5e. While it's not considered obsolete, for the sake of future-proofing, you're better off avoiding this. The best option to consider is either Cat6 or Cat6a. However, for most homes, sticking to plain-old Cat6 will be sufficient. Cat6 supports speeds of up to 10 gigabits per second (Gbps) at distances up to 180 feet and supports speeds of 1 Gbps at full 328-foot runs. For comparison, a 5 GHz Wi-Fi 6 connection can achieve around 650 megabits per second (Mbps). Cat6a is thicker and stiffer, which makes it harder to work with. In short, for most people, Cat6 cable is the best option, and it won't break the bank. For instance, a 100-foot-long Ultra Clarity Cables Cat6 cable is available on Amazon for a list price of $21.99. However, at the time of writing, it was available for $18.99.
Wall plates, keystone jacks, and patch hardware
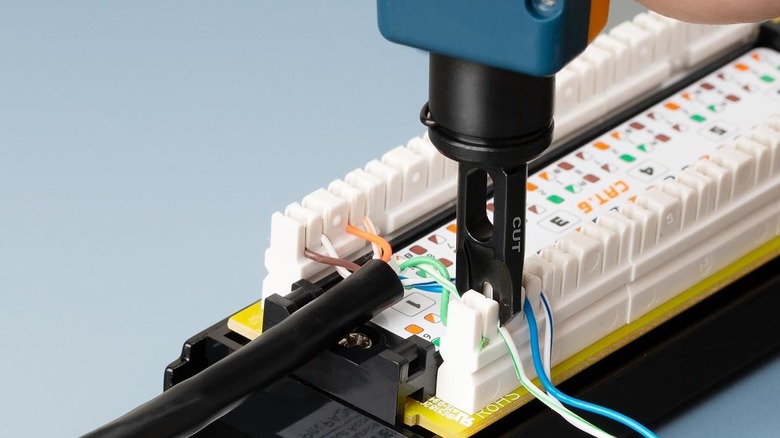
Arming yourself with the right cable sets a solid foundation; the next step is figuring out how you're going to terminate this cable and the hardware you'll need. Most commonly, what you're going to need here are keystone jacks and wall plates. Essentially, a keystone jack is the female RJ45 receptacle, and it's where you'll plug your patch cables into; these then clip into a wall plate for a clean and professional finish. A pack of 25 VCE Cat6 Keystone Jacks can be purchased on Amazon for $25.99, and a 20-pack of single-port keystone wall plates is also available on Amazon for $17.99.
It's also worth remembering that every Ethernet cable run will converge at a single central point — usually as close as possible to where your internet router is located. In this situation, a better and cleaner option is a multi-port wall plate like the Phizli four-port Cat6 wall plate that sells on Amazon for $12.99. Depending on how you intend to fit these, you may also require low-voltage mounting brackets or surface-mount boxes if cutting into walls isn't an option.
Finally, a couple of tools that will make the job a whole lot easier are a good and suitable wire-stripping tool and a tool like the $17.99 Cable Matters punch-down tool from Amazon. The latter is required to correctly seat each conducting cable in the keystone jack. One more point to note before you begin is to choose a single Ethernet wiring standard and stick with it. Most home networks use the T568B wiring scheme, although most keystone jacks show color codes for both standards; either will work, but consistency is what's important.
Networking hardware
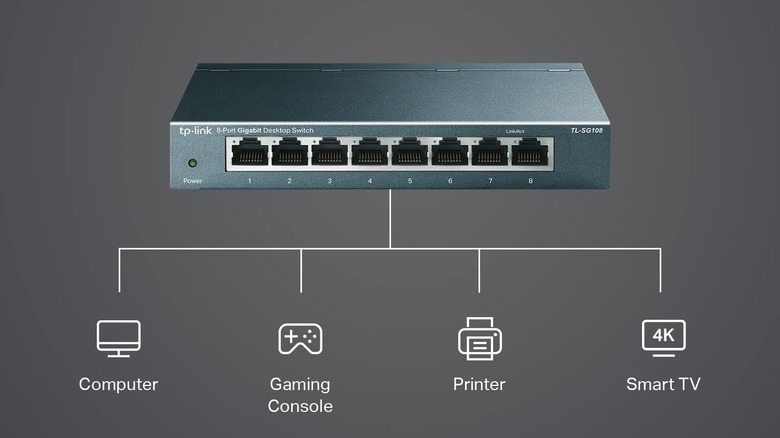
The cable runs are planned, the right Ethernet cable is on hand, and you've worked out how to terminate everything. However, before you start drilling holes and pulling cables through walls, there's one more thing to consider — the networking hardware you'll need.
In most homes, every Ethernet cable run is going to lead back to a router, network switch, or a combination of both. Most internet routers already include Ethernet ports, usually four of them. However, once you plug in a PC or two, a smart TV, or a gaming console, these will soon disappear. If you need more ports, the easiest option is to add an unmanaged network switch to the equation. For instance, one of the things you need to know before buying an Ethernet switch is how many ports you'll need — an eight-port network switch will use one port to connect to your router and therefore leave seven free ports for your wired devices. Adding a network switch won't break the bank either; an eight-port TP-Link network switch, for example, can be bought on Amazon for $19.99.
It's also worth doing a bit of "future-proofing" here. Even if you only intend to plug a few Ethernet devices into your new network today, purchasing a switch with a few spare ports allows additional devices or rooms to be added without upgrading your network hardware again.
Honorable mentions
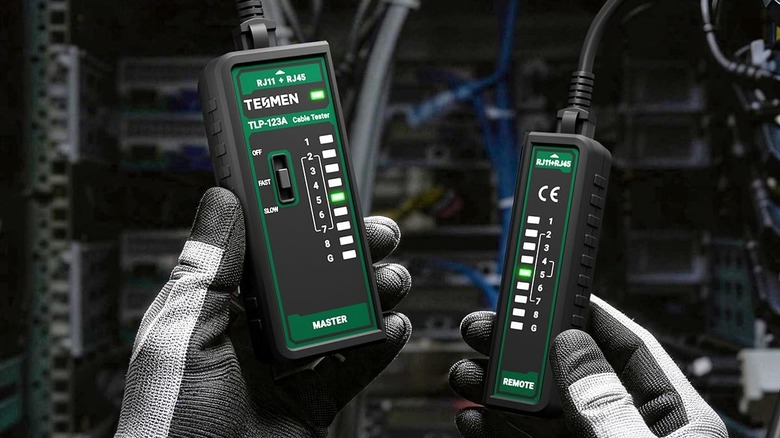
There are a few other tools that are worth considering before you begin the project. Arguably, one of the most important of these is a cable tester. It can save you a lot of frustration by identifying wiring errors before you install the wall plates. For most home networks, a basic cable tester that identifies miswiring, short circuits, and other line faults will suffice. For instance, the Tesmen TLP-123A network cable tester is available on Amazon for $12.99 and is a purchase that could save you from a lot of unnecessary head-scratching.
It also helps to have a good cordless drill on hand for the project. Additionally, a lesser-known drill bit for DIY projects – like a hole saw or a spade bit — can be useful if you need to cut holes through studs for your cable run. Running the cables through walls, ceilings, or under floors can also prove challenging and frustrating. Fish tape, or draw wire as it's sometimes called, can be a great help here. Again, this tool won't cost the earth and can save you a lot of unnecessary work. There are different types of fish tape available, but they all work in similar fashion — you feed it through your cable run, attach your Ethernet cable to the end, and pull it through.
Finally, although not absolutely essential, cable labels and cable ties can help you keep tabs on which cable is which, and can also keep cable bundles tidier and organized. A pack of 150 Ethernet cable labels and 150 cable ties is available on Amazon for $9.99.