5 Raspberry Pi Projects Users Say Will Upgrade Any Smart Home Setup
The benefits of smart home automation may keep you from ever going back to a "dumb" home again. Controlling the temperature, turning on the lights, locking the doors, and seeing who's at the door — all from your phone — makes older generations feel like those old sci-fi movies have become reality. The problem is filling a home with smart home devices isn't cheap, especially when you consider how many require subscriptions these days. Then there's the issue of buying different brands that don't play nicely with each other, and the fact that safe, consumer-oriented devices often don't push boundaries or try something clever. We want to take a look at DIY Raspberry Pi projects that can upgrade your house in a meaningful way, do so affordably, and offer a wider range of customizability and better privacy.
We've previously covered Raspberry Pi projects that can make your home smarter and more secure, which can go on top of what you already have — or upgrade it completely. We're back with even more, some of which may make your home one of the smartest in the world. These five Raspberry Pi projects could fit just about any smart home setup.
Smart alarm system
Home security is well within the domain of Raspberry Pi devices. You can build a simple Raspberry Pi home security camera in no time. If you want a simple alarm system, we recommend a Raspberry Pi project by YouTuber GreatScott!. All it does is push a notification to your phone when it detects your door opening. Simple, but imagine how useful it would be with an existing home security camera setup. If you get a notification that the door is opened, you can immediately open the cameras and see who it is.
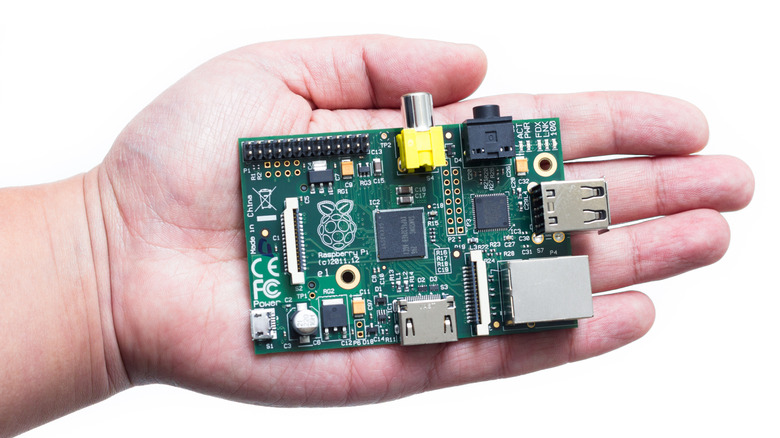
GreatScott! was able to use an older Raspberry Pi 3, so you won't need the most current Raspberry Pi model to run it. This setup functions as a Home Assistant server that talks to your smart alarm setup over the local network and allows you to get notifications even when you're not at home. GreatScott! makes clear that this Raspberry Pi Home Assistant server is the basis for an entire open-source home automation system based on the ESPHome project, leaving the door open (pun intended) to upgrade your home with a lot more.
The setup works like this: You have an ESP8266 board connected to a reed switch — a magnet that detects when a door opens. You'll then add the board to your ESPHome system and create an automation that sends a notification every time it's opened. You can add a physical toggle to disable it whenever you're home. Aside from a little copy-and-paste coding and very basic electrical work, this project is one of the easier ones. GreatScott! mounted his Raspberry Pi in the breaker box and the ESP board in a 3D-printed case, but it's up to you how you set things up.
Automatic pet feeder
Smart pet feeders that let you monitor your beloved furball have been around for a while, but this is a Raspberry Pi DIY article. So obviously, we're going to build one just because we can. This project comes courtesy of the YouTube channel diy petfeeder. The tutorial is quite lengthy at 4 hours and 20 minutes, but diy petfeeder walks you through every step from beginning to end, which is a boon for less tech-savvy users. The end result is a pet feeder with four activation methods: a physical button, an on-demand or automated feeding over the web interface, or voice control via your existing smart home device. diy petfeeder also provides a detailed written guide for those who would rather not skim through a YouTube video.
The project will take quite a bit of elbow grease and tools to make, so this may not be the right fit for someone who just wants a pet feeder. In addition to a Raspberry Pi 3, you'll need a PCB, MDF board, and a high-torque motor, aside from the bits and bolts like wiring, screws, and brackets. This project includes optional components like an LCD screen and a Pi camera for those who really want this to be an all-purpose pet feeding device.
diy petfeeder provides buy links for all the materials online. Further, the project is built for easy disassembly and lends itself to modification for users who want to add more functionality. The only downside we can think of is that the pet feeder is a bit on the large side; you'll want to make sure you have a good spot for it before rolling up your sleeves.
Face-unlocked door
Face-unlocked doors are pretty cool. We reviewed the Lockly Visage smart front door. However, it's not all that difficult to DIY your own solution. YouTuber Core Electronics shows you how to make a customizable face-unlock that works completely offline without proprietary code — meaning your facial data stays private — and could be used for a lot more than just unlocking the door.
The only potential downside is that this will require the newer Raspberry Pi 5 with at least 4GB of RAM for optimal performance, since it takes a fair bit of processing grunt and memory to run AI models. It'll also require an active cooler for the same reasons, and the Raspberry Pi camera module — though you may be able to get away with plugging in a webcam. Core Electronics provides a free written guide taking you through the entire process step by step.
Don't worry about the command line here, as you can basically copy and paste the code and follow the step-by-step instructions to get a functional face-unlock system. Once set up, you then train the model to recognize the face (or faces) of trusted people, then set an "if" condition to unlock a door (or flip any switch you like) when it sees those trusted people. Despite running on a tiny single-board computer, the face-unlock process takes less than a second. The tutorial is focused more on the face-unlock aspect, not the locking mechanism, so you may wish to pair it with another DIY smart lock like this 3D-printed automatic lock from YouTuber Maxime Moreillon. Core Electronics says the system can be set up to do a lot more, like snap pictures of trespassers or anyone it doesn't recognize.
AI-enabled reading lamp
Setting up your smart lights to turn on when you enter a room is pretty easy, and some smart lights even do it automatically when they detect movement. But we'd wager there aren't many smart lights that can switch on a lamp after they detect you sitting in your favorite spot to read. This YouTube tutorial from Edje Electronics shows you how to use a camera trained on YOLO models to do exactly that — and possibly a lot more. Unlike the face-unlocked door, this should work on the older Raspberry Pi 4 without difficulty, and it only requires a spare USB webcam. A written guide is also provided so you can copy and paste the necessary commands.
Setup is pretty easy and only requires pasting a few basic commands. You can either use an existing YOLO model or train your own; the former will be a lot easier and take less time since it can already detect many common objects. The final setup is dead simple: a Raspberry Pi connected to the webcam and the power supply for your intended smart device. The sky's the limit on what you can use this object detection for; train your own models and the possibilities expand further. For example, you can set this up with the camera pointed at your doorstep to recognize when a package has been placed there, and then send you a notification.
Another huge benefit, aside from convenience, is privacy. Most people would have reservations about setting up an Amazon camera in their living room that runs 24/7. Since this runs locally on a Raspberry Pi, your data stays on the device.
AI-enabled door camera
Doorbell cameras are a dime a dozen these days, but the most popular ones — like Amazon's Ring — have a boatload of privacy issues, and the Ring camera subscription keeps getting more expensive. Fortunately, there's a DIY solution that you can build with a Raspberry Pi that's local, private, and way more customizable. YouTuber Data Slayer shows you how to build one with a Raspberry Pi 5, PCIe expansion board, a Coral Dual Edge TPU, and an IP camera, all running on Frigate NVR, an open-source, AI-enabled surveillance system solution. There's a written PDF guide on how to make it, but the guide costs $12.99.
This is going to be one of the most challenging projects on this list to get up and running, and likely also the most expensive. Without the paid guide, you may need to tinker. Similar to other items on this list, it shows you how to get the system up and running, but not how to make it look pretty; you're on your own when it comes to creating a housing for the camera and the Raspberry Pi that's running Frigate.
Setting up the AI component is another project in and of itself using Frigate's object detection. However, you get the benefit of a private surveillance system that can detect people, vehicles, and animals. Despite being a free, open-source solution, Frigate is actually quite powerful on such low-end Raspberry Pi hardware; it's been polished to avoid false positives, and even has advanced features, like alerting you only when the object has actually stepped onto your property. Purchasing the premium Frigate+ subscription gives you more advanced capabilities, like tracking deliveries, for a modest $50 a year.