10 Dos And Donts When Bringing Electronics On Your Next Trip
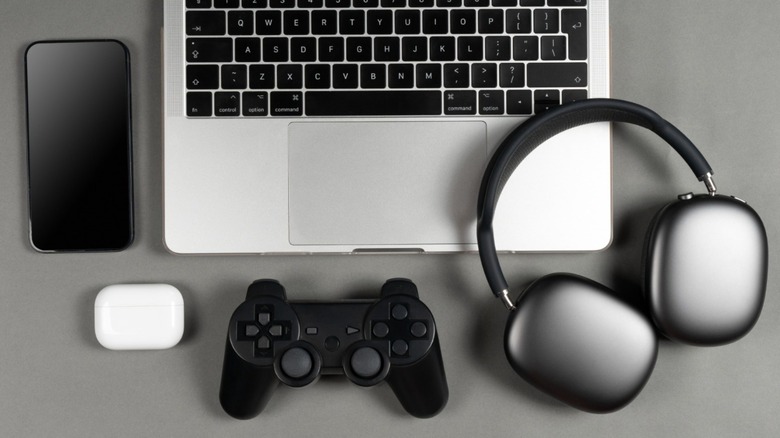
If you've already made plans for your next trip, you might want to know how to handle electronic devices, such as phones, cameras, laptops, or tablets, to avoid any mishaps later on. Electronics don't come cheap, and you might not want to risk them receiving any potential damage. So, before you zip up that suitcase, consider this as a checklist for carrying electronics smartly. Your devices will thank you, and your travels will be smoother than ever.
Before we move ahead, first things first, to avoid any embarrassing moment at airport check-in later, always pack your gadgets and gear in the carry-on or hand baggage. Otherwise, you might've to awkwardly shift all the electronics from one screening bin to another at the security check, and we wouldn't want that to happen to you. In addition, you might take a minute to free up the storage of electronic devices and make sure they are updated with the latest software to avoid any glitches or unasked restarts during the trip.
Invest in a power bank and supported cables

The worst part about carrying electronics on a trip is finding out upon arrival that it's not charged. To avoid this, you might want to carry a power bank. Preferably, one with more than 10,000mAh capacity and a USB-C port because this will work on most of your devices. In addition, do your research and find out if the place you're going to supports the adapters you have. There are over 15 types of plugs available worldwide, so your U.S. plug might not fit the socket in the U.K. and vice versa.
Another piece of advice while traveling is to avoid public charging stations because it could lead to juice jacking. While still a relatively rare occurrence, the FBI has warned travelers on X (formerly Twitter) to avoid using public chargers as hackers might steal data or extract confidential information from your electronic devices while you are plugged in.
Use a cover or sleeve to avoid any potential damage
Electronics like phones, laptops, tablets, and cameras are especially vulnerable to damage during travel, which can lead to scratches, bumps, or even spills. You can't predict these strokes of bad luck, but there are ways to avoid them by investing in covers, sleeves, or lens protectors that can save you thousands of dollars you'd spend anyway in repairs covering that damage.
These accessories act as a shield, minimizing the risk of physical harm and preserving the devices and keeping them in good shape. For phones, a sturdy case or sleeve can provide cushioning against drops or impacts. Meanwhile, lens protectors for cameras or phone lenses protect delicate optics from scratches or dirt. Additionally, covers or cases often come in various designs and materials, allowing travelers to express their style while ensuring device safety. If you're not a fan of keeping especially your phone in a cover, you can check our guide on alternative ways to protect your phone without a bulky case.
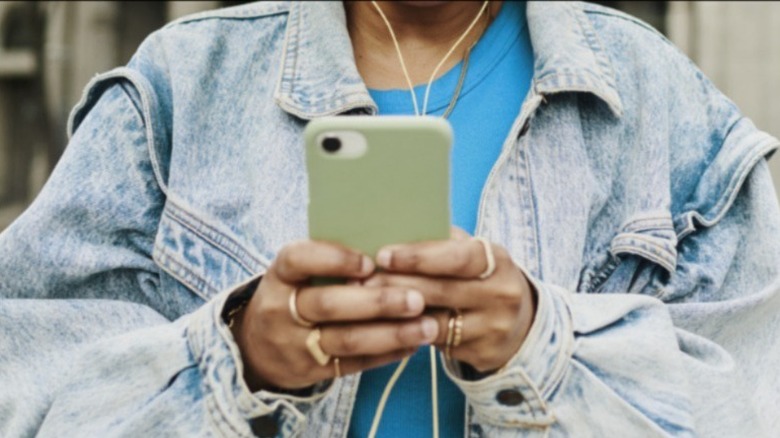
Keep essentials locally available on your phone
Although you can find Wi-Fi or buy data plans, getting internet on your trip can cost an extra penny from your wallet. A better idea is to download stuff before you leave. You can download movies, shows, songs, e-books, or offline games to keep you entertained and kill a little extra time without spending extra money.
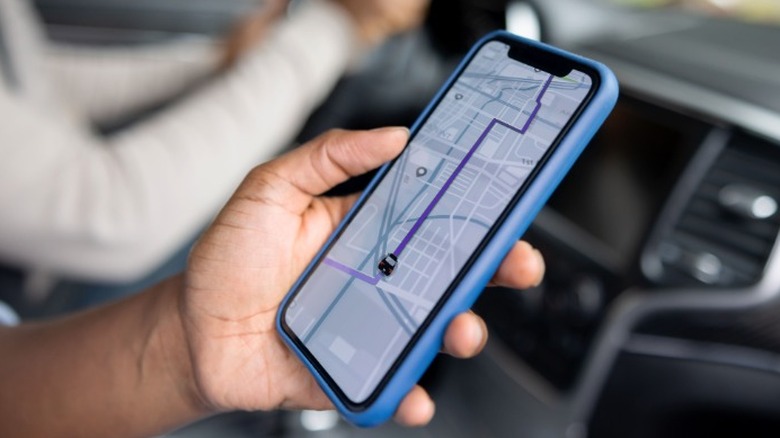
Also, it's important to download maps with directions beforehand if you're going to a new place. You might get lost or need to find your way back to where you're staying. That's when having offline maps really helps. It's like having a virtual guide in your pocket, ready to help whenever needed. You'll find this life-saving feature in both Google Maps and Apple Maps.
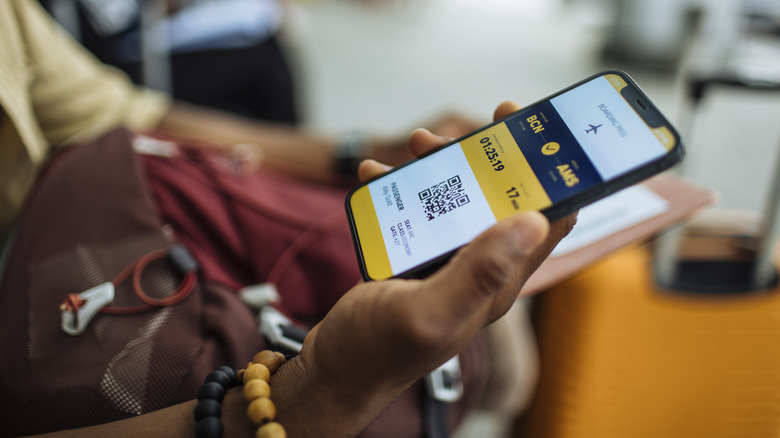
Apart from this, we recommend you keep the documents like your passport, driver's license, hotel booking details, or travel visa scanned and stored locally in your phone.
Label your contact details on every electronic device
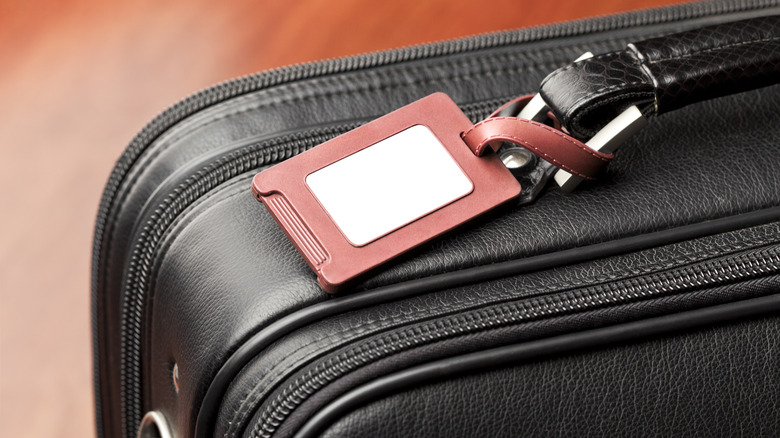
Labeling your contact details on any electronic gadget is a simple yet effective practice that might not completely save you from losing a gadget, but it sure can save you from an extra headache. This saves you money and time because you don't need to buy a new device. That said, it doesn't guarantee that you'll get every lost device, but it creates a chance of getting it back.
The process of labeling is simple. You just paste a sticker on each of the gadgets with relevant information like your name, phone number, or email — but not your address, as this can create safety concerns. This way, if a kind soul finds your device — or you leave it behind in your hotel — they'll have a way to reach out to you. Plus, you can also set your contact details as the lock screen wallpaper on your phone or laptop.
Whichever method you choose, the key is to ensure that your contact details are easily visible, it doesn't really matter whether you paste a paper note or set a lock screen wallpaper.
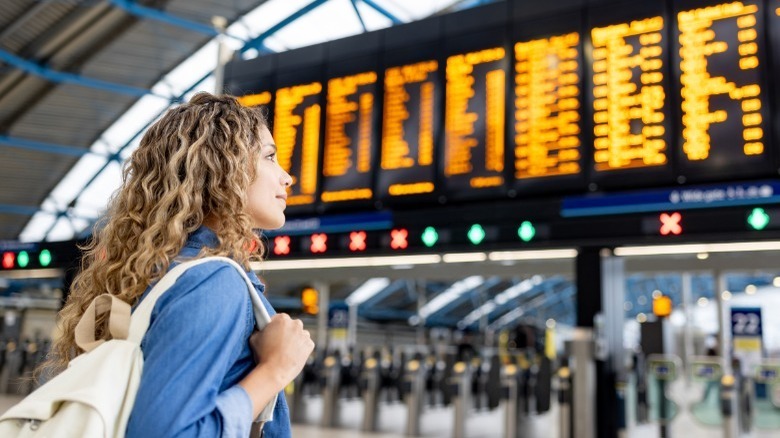
Don't keep your location hidden
The best part of traveling is exploring new places, and it's easy to get caught up in the fun. However, going to unfamiliar places can be risky at times. That's why it's smart to let someone you trust know about your whereabouts, and what's better is they can track your location all the time. You can share your location with a family member, a close friend, or your travel companions. If anything seems unsafe or if you need help in the event of a medical emergency, they can reach out and find assistance quickly.
It's a simple way to stay safe and have peace of mind while exploring new places. What's even better, this life-saving service is available on both iOS and Android devices. To share your live location on an iPhone, open the Find My app and head to the People tab. Then, tap Select Sharing Location. Finally, select the person you want to share your location with and choose how long you want to share it.
To turn location sharing on or off for Android devices, open the Google Maps app, tap your profile picture in the top right, and choose Location Sharing then Share Location. Pick how long you want to share and select the person. It's best to keep sharing throughout your trip, but remember that this can drain your battery, so make sure to bring a power bank along!
Subscribe to a trusted VPN service
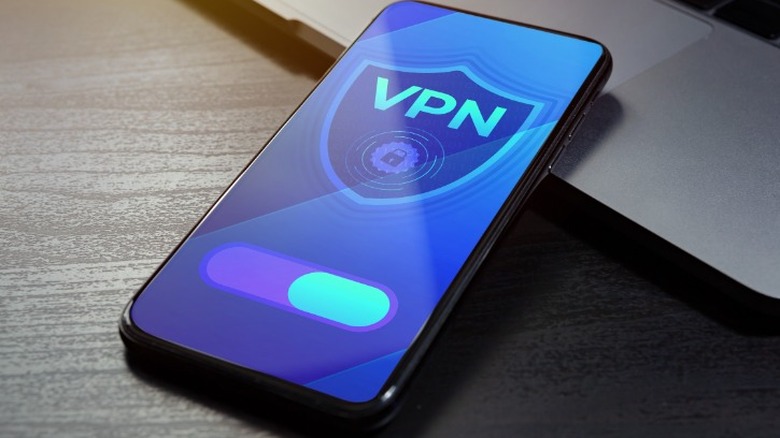
Subscribing to a reliable VPN (Virtual Private Network) is another important step before planning a trip. Depending on your destination, certain regions may block popular internet apps. For instance, if you're heading to India, you may not be able to surf TikTok or Weibo. Similarly, in China, forget about Google or Instagram. However, using a trusted VPN service allows you to bypass these geographic restrictions and access blocked content as if browsing from a different location.
That's not all. There are other risks to consider when using public Wi-Fi that can leave you vulnerable to data leaks. However, a VPN encrypts your internet connection, protecting sensitive information like passwords, credit card details, and personal data from hackers and cybercriminals who may be lurking on public Wi-Fi networks, commonly found in hotels, airports, and cafes. It also hides your IP address and location, and these extra layers of security may make a VPN subscription worth the investment.
Don't forget to enable 2FA on online accounts
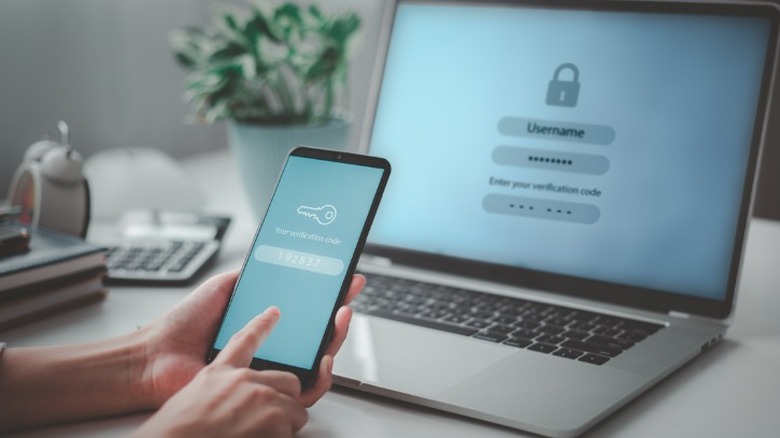
Two-factor authentication (2FA) is like having an extra lock on your online accounts. It's pretty useful, especially when you're using your devices in public places, as it adds another step to logging in that makes it harder for someone to get into your accounts even if they know your password. While using your phone or laptop in a café or at the airport, you might be connected to public Wi-Fi networks, which can be risky because hackers might try to sneak into your accounts. However, if you have 2FA enabled, even if they guess your password, they'll need another code only you can access.
It's easy to set up 2FA. You can do it for accounts like Google, where you store a lot of personal information because assuming you use Google, you are already a part of its ecosystem, including Gmail, Drive, and many others. Just go to your account settings and find the security section. From there, you can turn on 2FA and choose how to get the second code — usually, it's sent to your phone. In addition, you can also enable 2FA on certain apps using your iPhone.
Bring along extra storage
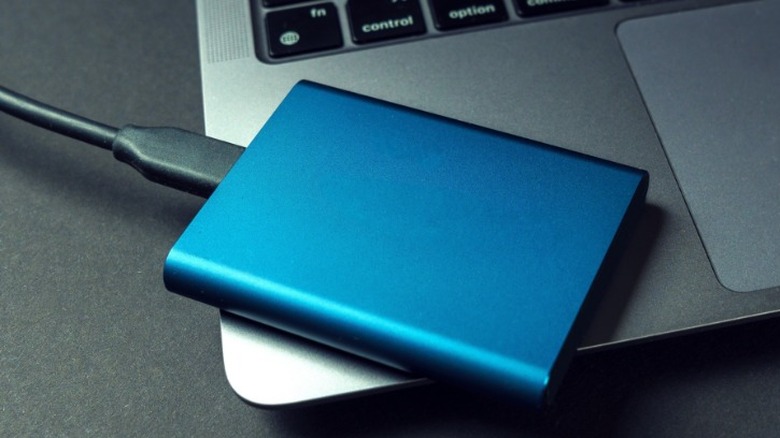
Needing more storage can be a hassle when you're on a trip. It's not fun realizing you can't take more pictures or videos because your phone is out of space. One solution is investing in an external SSD, which you can use with almost any device. With it, you can move photos and videos from your phone or camera to your iPad or computer. With an SSD, you can easily transfer pictures and videos from your phone or camera to your iPad or computer, giving you plenty of room to capture more memories without worrying about running out of space.
Another option is using cloud storage, like Google Drive, MEGA, or Dropbox. These cloud services offer somewhat between 10 and 20 GBs of free storage, letting you back up your photos and videos online. This means you can make and capture memories anywhere, all free up some storage without worrying about running out of space on your phone.
Download local language packs in Google Translate to use offline
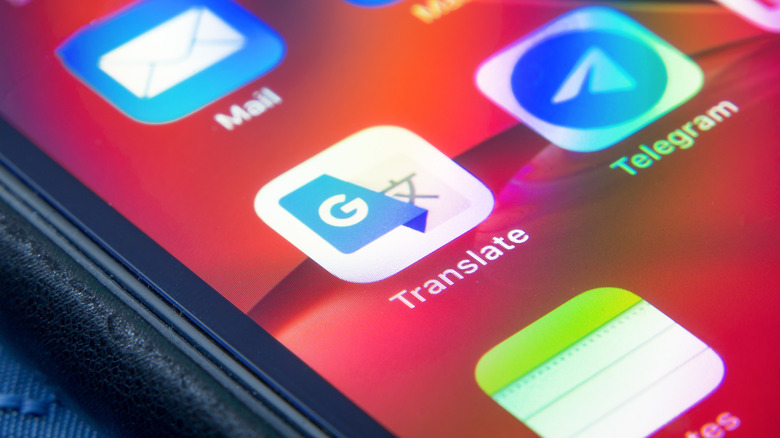
If you're planning a trip abroad and want to communicate with people who speak a different language, apps like Google Translate can be a lifesaver. Although there are a bunch of translation apps available on both iPhone and Android, Google Translate stands out here. This is because it supports over 133 languages spoken across the globe and boasts tons of in-app features that could make communicating hassle-free. Among the many features, downloading language packs is among the most useful for travelers, as they contain all the essential phrases you might need to use.
To download language packs in Google Translate on Android, simply open the app, pick the language you want, and tap the Download button next to it. On iPhones, first, open the Google Translate app, choose the language, and tap Download when asked. You can also control which languages you've downloaded by going to the settings in the app.
Once it's downloaded, you can navigate through foreign streets, order food, and ask for directions with ease, making your travel experience smoother and more enjoyable.
Don't skip travel insurance for valuable items
Once you've ticked all the boxes above, the final step is to check out the best travel insurance options. It is like a safety net for your trip that helps you out if something unexpected happens, like if your flight gets canceled, you lose your bags, or your gadgets get damaged or stolen.
If you're just going on a short trip and not bringing anything valuable, you might not need it all. However, if you're bringing expensive gadgets like cameras or laptops, it's a good idea to have insurance. That way, if something happens to your stuff, you won't have to spend much money to replace it.
So, should you get travel insurance? It depends on your situation. If you want peace of mind knowing you're covered in case of emergencies, it might be worth it, but if you're not worried about losing anything, you might be okay without it.