

10 Common Problems With Electric Lawn Mowers (And Fixes To Try)
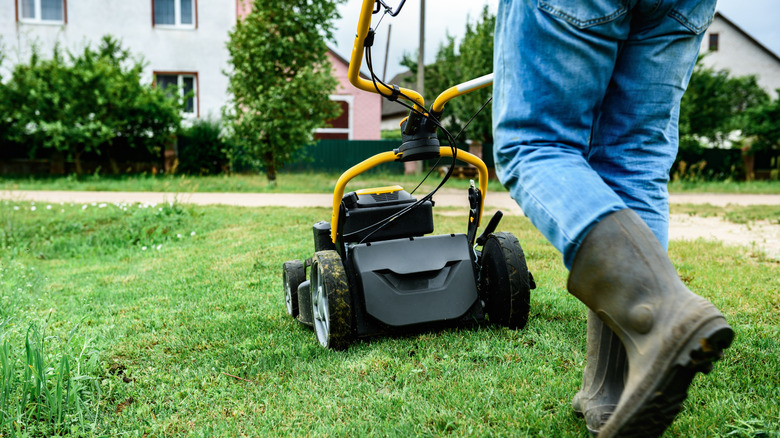
Electric lawn mowers have been on the come up over the last decade. The gap between electric and gas-powered mowers in pound-for-pound performance is much smaller than it used to be, though gas models' constant power supply still gives them the upper hand (at least until battery technology takes another quantum leap). If you care about more than raw power, an electric lawn mower might be up your alley: It's usually lighter and easier to maneuver, runs much quieter, and is cheaper to own over time.
Low maintenance is one of the biggest selling points of electric lawn mowers. Running a gas model involves refueling, topping off oil, inspecting the spark plug, cleaning air and fuel filters, and a whole host of other tasks that can take up too much of your time. Electric mowers let you mostly sidestep those operational necessities; you'll still need to handle routine tasks like clearing debris from the deck and sharpening your blades. In terms of overall upkeep, though, electric mowers are the way to go.
However, that doesn't mean using one is all smooth sailing — electric mowers have their own drawbacks, so be prepared to slip on some gloves and wheel out the toolbox for repairs once in a while. Here, we cover 10 of the most common problems electric mowers can give you and how to fix them.
Mower won't start
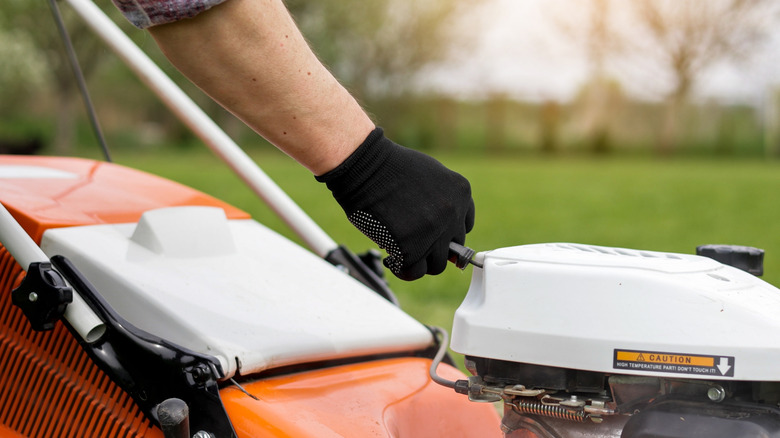
The process of starting a tool isn't something you typically think about once you've gotten used to its quirks. Unfortunately, as with any system of moving parts, even the simplest routines can sometimes stop working as they should, so what do you do when your electric mower won't start?
The answer depends on your mower type: corded or cordless. With a corded model, start by inspecting the extension cable it's connected to for cuts and tears. If there's no visible damage, plug the cable into a different power outlet. If the mower still won't start, disconnect the cord and turn the mower onto its side. Here, you're going to run two checks — scanning for any debris that could jam the blade and carefully turning the blade by hand. Scrape off any caked dirt first, then test the blade. If it resists moving, the problem likely stems from the motor. On the flip side, normal rotation hints at a switch failure. Either of the two occurrences should prompt a call to an authorized service center to keep your warranty intact.
Cordless electric lawn mowers are usually less technical. Make sure the safety key is inserted, then examine the battery: It could be discharged or improperly connected to the battery contacts. Inspect the contacts and wipe them with a cloth. If the mower still won't start, the grass bag could be full, or caked debris could be obstructing the blade. In that case, turn off the mower and take out the battery and safety key before removing all obstructions, and empty the grass bag while you're at it.
Battery won't charge

This problem applies only to cordless lawn mowers. Charging a battery can fail in more than one way, and you should troubleshoot all of them before heading to Home Depot for a replacement. First, check that the wall sockets at the charging station are functional.
If the fault isn't from the power source, the simplest explanation is poor charger contact. Unplug the charger and examine the terminals on both the battery pack and the charger; contamination or physical damage can prevent it from charging. Cleaning the terminals with a dry cloth should do the trick if there's no structural damage. If that doesn't work, you're most likely dealing with a faulty battery or charger or temperature issues. Observe the specific color pattern your model's indicator light shows and consult the manual: A flashing red indicator on a Ryobi charger, for instance, indicates a problem with the charging system. Test with a second battery or charger — if normal charging resumes after swapping either component, you'll know what to change.
These diagnostics may not work in extreme temperatures; hot batteries need time to cool before they can charge, so let the machine rest for a bit before trying again. On the other side of the spectrum, cold slows down a battery's chemical reactions — bring the machine indoors and let it return to room temperature, then give it another shot.
Shorter battery runtime than expected
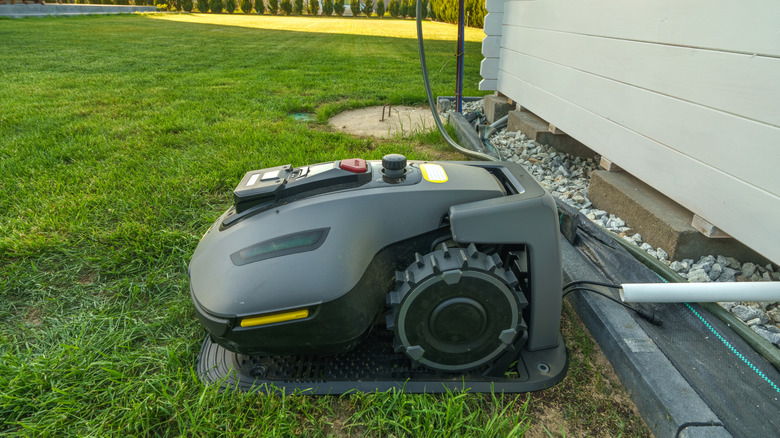
Sometimes, an electric lawn mower can start and charge properly and still run into battery-related issues. Every model has an advertised runtime. Actual runtime depends on variables such as battery capacity, grass height, moisture level, topography, and other factors — so your mower may not perform the same way it did during testing. Deviating by a few minutes in either direction is pretty normal, but if your model's runtime is considerably shorter than it should be, you should investigate why.
Consider the type of grass the lawn mower is taking care of. Taller, denser grass is more demanding on the motor than shorter grass, for instance. Mowing uphill is also far more taxing than trimming a flat lawn. Operating in more demanding environments might shorten an advertised 60-minute runtime to around 45. Also note your blade speed — you may need to increase it to cut through thicker grass, and the faster the blade spins, the less runtime you get from your battery.
Now, you may not be able to control the type of grass on your lawn or the topography, but you can control your cutting height. The closer your mower deck is to the ground, the more power it consumes. Raising it even a few settings higher (most lawn mowers are adjustable across multiple cutting heights) can make the battery last longer. Don't forget that batteries also degrade over time; lithium-ion batteries used in lawn mowers typically last for three to five years before their runtime performance drops off. If your battery is north of that boundary, getting a new one might solve your problems.
Mower loses power or keeps tripping breaker
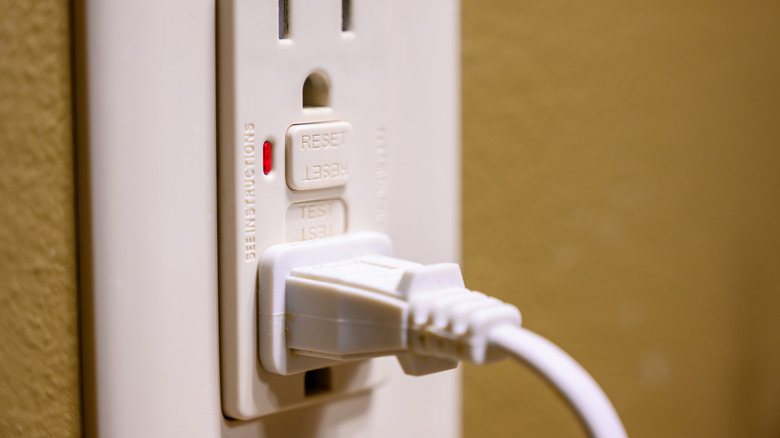
Some problems are specific to corded or cordless models, and this one only applies to corded lawn mowers. That doesn't mean cordless models can't lose power — battery performance falls off a cliff when it gets low. A corded model can lose power for a few reasons. Once you eliminate the usual suspects of tall or wet grass and debris buildup under the deck, the first and simplest to diagnose is the extension cord the model is plugged into.
Since you'll need to run your mower across the lawn from a power source, you might be tempted to buy the longest extension cable within reason to suit your needs. However, cord length plays an instrumental role in voltage delivery — using a cord that's too long can cause a significant voltage drop that starves the mower of the power it needs to run properly. A shorter cord (or a thicker one with a lower gauge number) might better suit the mower's needs.
Long cables aren't the only culprit of power loss or breaker trips, though. An overheating motor or a faulty start switch may also be responsible. If the motor is overheating, disconnect the mower from the power source, let it cool, and clean the air vents to facilitate airflow. Should the breaker keep tripping even after cooling, call an accredited repairer. A faulty switch should get the same treatment, too.
Self-propel system fails
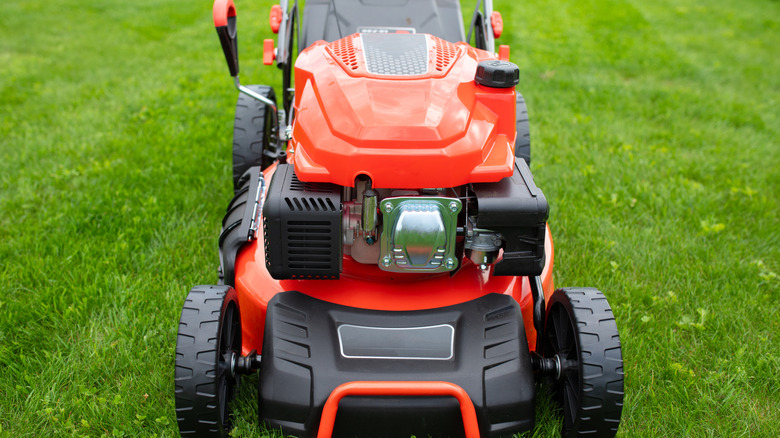
Electric mowers come in all shapes and sizes. Some even have the luxury of a self-propel system that mostly takes the weight of pushing them around off your shoulders at the push of a button or squeeze of a bar, as the case may be. Unfortunately, even convenient solutions like this are not invulnerable to developing problems along the way. The self-propel mechanism can fail even if the blade continues to spin normally.
If that happens, it might indicate an issue with the electric drive motor or the switch used to activate it. A separate motor often powers locomotion in cordless self-propelled lawn mowers, and damaged wiring can impede the motor from receiving power. The switch has problems of its own: moisture or contamination can compromise its ability to send signals to the controller board, while a worn or damaged lever may not press the switch far enough to activate it. Start your diagnostics by checking your battery charge; sometimes it could simply be low on juice.
Then, check for and clear debris clogging the motor or cooling fan. Test the mower again — it's possible that physical obstructions impeded the drive system or contributed to overheating. After this, try to engage the self-propel mechanism normally. Observe any response in terms of sound or feel; if the motor operates but the wheels don't move, you're likely dealing with a transmission problem. A lack of response after these checks, though, narrows the suspect down to internal electricals (switch, wiring, controller, or even the drive motor itself). Both repair categories should be left to a qualified technician.
Rear wheels are locked or difficult to pull backward

Moving a lawn mower, be it push, riding, or some other form, should never be difficult. It shouldn't matter whether you're pushing forward, turning around, or pulling back; any resistance from your tires while mowing your lawn should rightfully earn a curious raise of an eyebrow. So, when your riding or self-propelled mower's drive mechanism starts resisting rolling backward or locks up, you should be ready to roll up your sleeves and look around under the hood.
You're likely to come across this locking condition if you release the bar controlling the self-propel feature while turning; the drive mechanism can still be engaged for forward motion while you're trying to do something else. This lag can last briefly after releasing the bar. Essentially, the configuration expects the mower to still be moving forward, so it resists sudden movements that require the rear wheels to turn or reverse.
One way to solve this problem on a riding mower is to lift the cutting deck to its maximum height setting and make sure the freewheel control is in the engaged position. On a self-propelled mower, pushing the mower straight ahead for a short distance could be enough to unlock the rear wheels. In the event that continuing the forward motion doesn't solve it, perform a "hard reset." Turn the mower off, remove the batteries, and check around the wheels for debris that could block the tires. Otherwise, call a qualified technician.
Mower makes uneven or rough cuts
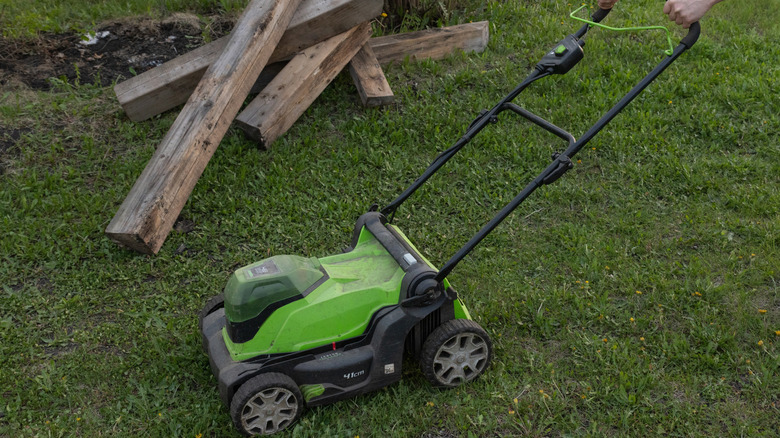
The whole point of owning a lawn mower is to give your lawn a close-cropped appearance. Cutting uniformity across the lawn's length and breadth is the largest contributor to this aesthetic. Thus, it can be frustrating when the lawn mower you likely shelled out hundreds of dollars on doesn't do the one job you bought it for well. Fortunately, this is probably the easiest problem to diagnose and fix on this list.
The blades are the first place to look: They're the tool that actually cuts the grass, so any issue affecting cutting efficiency is likely to show up there first. A bent, broken, or dulled blade will shred grass instead of slicing it, resulting in uneven cuts. Over time, every lawn mower blade dulls with regular use due to contact with rocks, roots, and other objects. If your blades are dull, sharpening them with a file should restore them to normal. Replace any misshapen or chipped blades, though.
Dulling isn't the only underlying cause of rough cuts. Uneven tire pressure, a too-high or too-low (or even damaged) mower deck, and debris buildup are some other contributing factors to diagnose. To get the uniform trim you want across your lawn, you'll need to keep your blades sharp, ensure your tires are inflated evenly, and keep your mower deck free from debris and at the right height.
Mower leaves clumps behind and won't mulch or bag properly
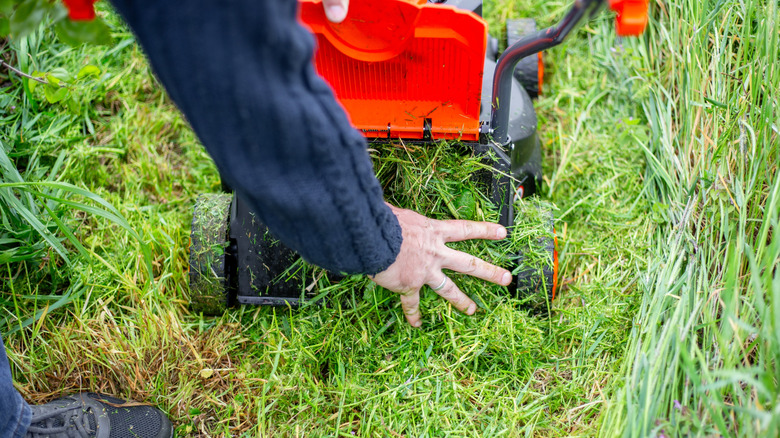
Although cutting is the lawn mower's main function, it also handles other responsibilities that give a lawn the healthy sheen that stands out in a neighborhood. Mowers don't only cut grass for disposal — the clippings can be chopped up into fine pieces and sent back to the soil's surface as nourishing material. That process is known as mulching. On the flip side, littering your yard with clippings every time isn't optimal, especially when dealing with overgrown or diseased grass. In these cases, bagging is the neater solution.
However, while this operation is mostly automatic, owners can run into a problem that stops the mower from mulching properly, leaving behind clumps of grass instead of fine clippings. There are multiple reasons this can happen: running the mower on wet grass (which you should avoid), built-up debris on the cutting deck, dull blades, and mowing too quickly, to name a few. Blades of wet grass stick together and often clump under the deck before ultimately coming free on the turf.
Similarly, a buildup of debris on the cutting deck can block the airflow the mower needs to either bag or mulch properly. As for mowing too quickly, your mower may struggle to discharge the increased volume of clippings through the collector chute. If you're experiencing clumping or inefficient bagging, clean the deck, sharpen your blades, wait for the grass to dry, and mow at a slower pace — going too fast will cost you time rather than save it.
Mower makes abnormal noises or suddenly vibrates

When operating any machine, the last thing you want to notice is a sudden odd noise or vibration. Those occurrences can end up taking a wad of money from your wallet; more often than not, they herald a structural problem with a component under the hood of whatever device you're using. With electric lawn mowers, abnormal noises and vibrations can stem from a handful of sources, so you're going to need to troubleshoot.
A rattle or unusual vibration typically indicates loose hardware (bolts, screws, mounting brackets, and the like). Check your blade mounts, brackets, and other bolts, and tighten any loose pieces with a screwdriver or wrench. If vibrations worsen while you're trimming your lawn, the blades could be the problem too. Damaged or unbalanced blades can make your mower vibrate. Replace the blades if there's any damage, and make sure they're properly centered when installing new ones.
Another variable to consider is the grass you're cutting; wet or tall grass can be problematic to manage, especially if the cutting height isn't appropriately adjusted. Finally, check the underside of the cutting deck. It's entirely possible that, over time, all the scrapes against rocks and roots have taken a toll on the structure. In that case, contact the manufacturer for repairs or start shopping for a replacement.
Cutting height adjustment seizes, breaks off, or won't hold
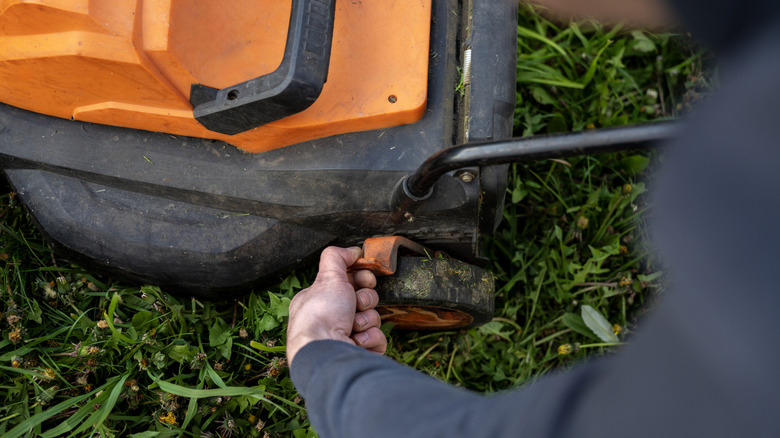
Adjusting your mower's cutting height should ordinarily be a piece of cake. Different manufacturers have unique ways of doing it: via the lever, carry handle, or even height adjustment clamps as the case may be. Like any moving part, with enough use over the years, the height adjustment lever can stop working as it should — it can refuse to change settings, become loose, or break off entirely. One of three things is usually the culprit here: debris blockage, lack of lubricant, or a worn component.
With debris, getting the lever to move again is straightforward; turn off the power supply and use a brush or a can of compressed air to remove any caked mulch and grass clippings around the lever. If there's no debris buildup, applying some dry lubricant directly on the locking teeth might be enough to get the lever moving again. Try lifting the handle upward before sliding it forward in the normal motion, too.
After these checks, a lever that still won't move up or down needs a bit more manipulation. Use a screwdriver to pry the adjuster out of its notch and hold it out of place, then try to nudge it with your hands. If lubricant, manipulation, and clearing of debris don't work, though, it's time to look into a replacement lever.