

12 Miter Saw Tips Beginners (And Pros) Should Know
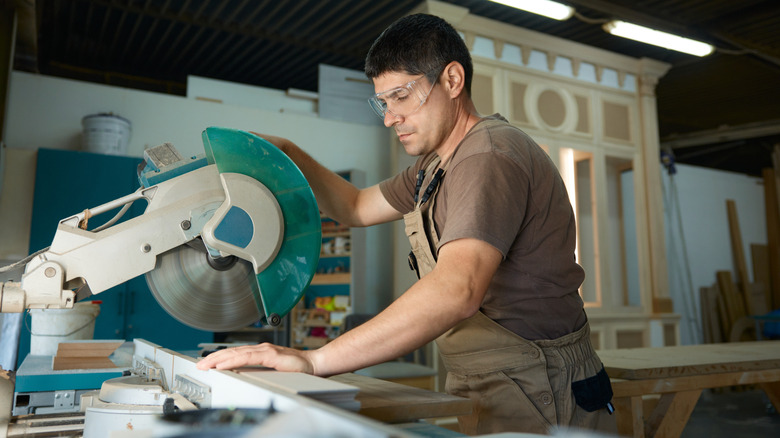
The miter saw is a foundational piece of equipment that should have a place in the garage or workshop of virtually every tool user. Miter saws make quick work of crosscuts, letting you quickly dimension boards to support your projects. Whether you're building a treehouse, framing a wall, or cutting timbers for a temporary fence, the miter saw is your primary ally. But it can be imprecise and ranks among the more dangerous tools for those who aren't particularly experienced with it.
A few key tips and tricks can make the saw even more valuable. Getting the most out of your miter saw lets you work faster and make cleaner cuts. Fortunately, there isn't a whole lot of mysticism or secretive workflows to uncover, and just a few important best practices are all it takes to up your game with the crosscutting and angular sawing solution.
Don't cross your hands over the blade
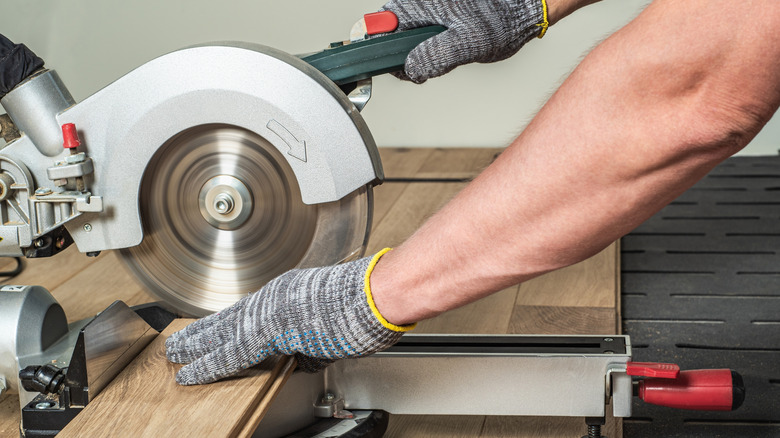
Perhaps the first fundamental rule all miter saw users should follow is keeping your hands (and limbs) on their respective sides of the blade. Failing to do this is one of the most dangerous ways to use your miter saw. Keep your left arm and hand on the left side, never crossing over to push or grab anything on the other side. This isn't foolproof, but it sets the tone for success. If you don't cross your hands over the blade, you can naturally prevent many mistakes that might put you in the line of fire.
Many quality miter saws feature a trigger that's easy to activate with either hand. As a result, you can use your dominant hand to either line up and hold a board or operate the saw blade. You can switch hands when needed, but keeping your hands in position will avoid awkward body positioning that can lead to accidental cuts.
Wait until the blade reaches full speed to initiate a cut
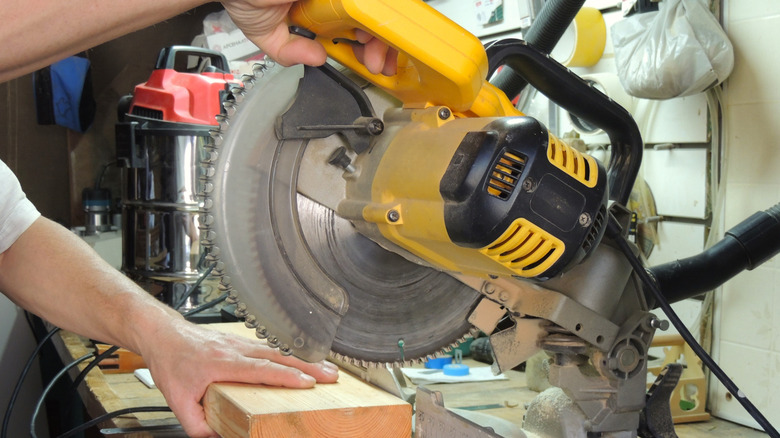
Miter saws speed up quickly when you activate the blade. Still, you won't get the full benefit if you start a cut before the blade reaches full speed. Plunging the blade into even softwood species will slow it down. If the blade gets too sluggish, the workpiece can ultimately bind the cutting implement, halt it, and create a kickback situation. This can be dangerous for numerous reasons. For one thing, this can throw parts of the board indiscriminately.
Kickback is a violent, unpredictable result of operator or tool failure. It typically happens when the board angle starts to wander, sending the blade on a non-straight path through the workpiece. Longer boards can also bend under the weight of the offcut as you proceed through the slice, creating a pinch point that grabs the blade. The violent stop can send the saw moving or shock a user, potentially forcing their hands into the blade's path or starting a cut along the board in an unintended spot. Waiting an extra second or two to let the blade reach full speed allows for a more precise cut at higher speed and reduces the risk of injury or accident.
Don't lift the blade until it comes to a stop
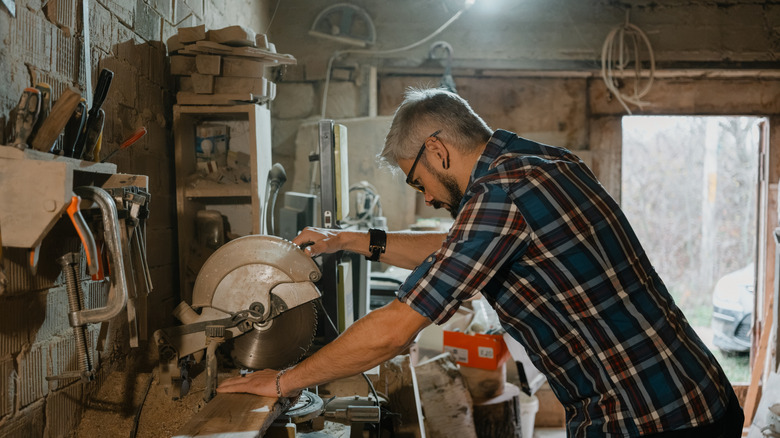
After your miter saw blade reaches peak velocity, the best way to finish the cut is to leave the blade in place until it stops spinning. This is a solid safety practice, regardless of the miter saw brand or model. Cheap and expensive saws alike can benefit from this approach.
Holding the blade down until the saw stops spinning keeps the potentially dangerous sharp teeth in a safe position until they are no longer a threat. Many miter saws feature an electronic brake built into their framework, so the blade stops in just a few seconds. Others might take a little longer to stop spinning completely. However, that slowdown is a small price to pay for knowing your saw cannot cut you when you start raising it back to its resting position. This is a simple addition to the best practices of miter saw use, but one that will serve you for years to come.
Mark workpieces with a knife rather than a pencil
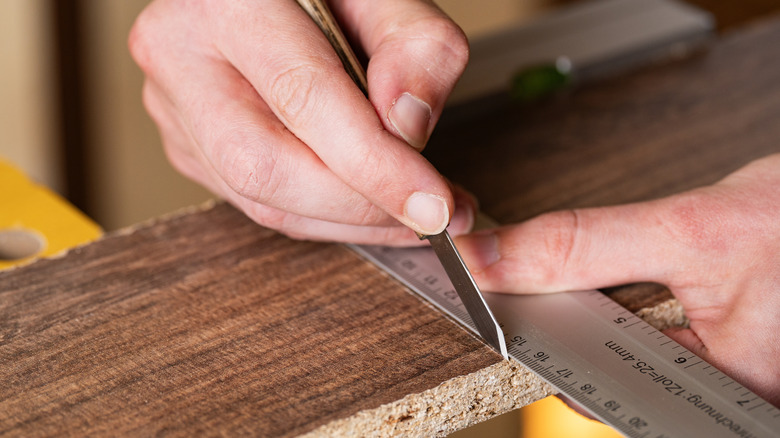
The carpenter's pencil is a mainstay in any workshop. Many woodworkers and renovators use regular pencils to mark their workpieces (I collect IKEA pencils anytime I find myself in the cavernous store for this exact reason). But the pencil will only take you so far, even as the most obvious way to mark cutlines on a board.
Instead, your utility knife can produce a much finer line in the workpiece, giving you much greater precision when marking cuts. Moreover, almost any knife has a thinner profile than a pencil, letting you get closer to the straightedge you're using to support the mark. A basic utility knife can serve in this role fairly well (and I use a cheap one for this task fairly often, too).
However, marking knives built specifically for this task, rather than multifunctional cutting, make a nice gift option for loved ones who often busy themselves with DIY renovations. The marking knife feels a little more professional and premium than a Stanley 99 or a folding utility knife, but it doesn't have to be an expensive purchase.
Get comfortable with stop blocks for faster repeated cuts
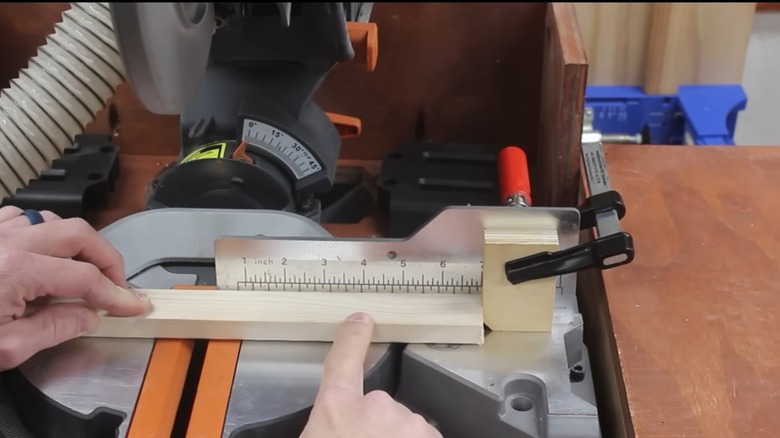
The stop block can really amplify your versatility with the miter saw. Like other workshop tools that boost your woodworking skills and capabilities, accessories like the stop block give you a new way to interact with the tool. You can build this accessory yourself, or buy one, which limits the fiddling you'll have to do.
Stop blocks let you make repeated cuts to the same length without measuring each workpiece. Set the stop block at your desired distance from the saw blade, then slide a board along the miter saw's tabletop to keep the same distance from the end of the board to the saw blade on each cut. This simple addition to the miter saw can make a big difference by speeding up your work and keeping board lengths much more consistent for your projects.
Jigs can be valuable on a miter saw, too
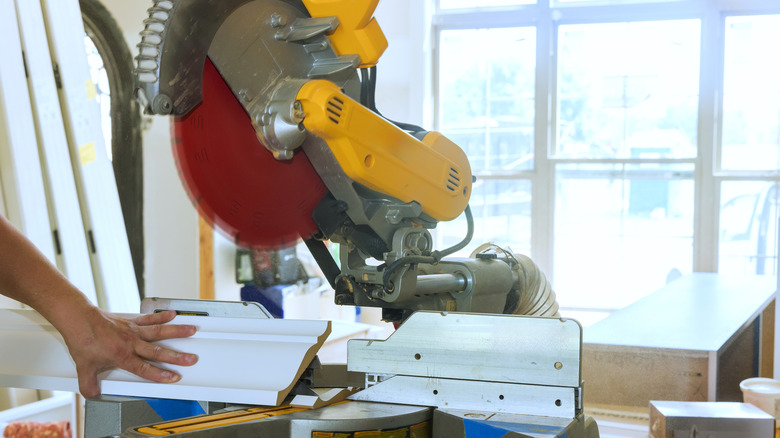
Many unique cutting requirements come into play when using your miter saw. For instance, many renovators use the tool for crown molding or baseboard cuts. Installing these trim pieces requires precision: getting the angle right and approaching the cut from a favorable angle to minimize tear-out and other breakage.
A jig is a customizable workholding element that helps achieve this goal. Many builders make their own jigs to hold boards in place for unique needs, but you can also source them from big-box stores for common cutting tasks. Jigs that hold baseboards upright or at a preset angle against the miter saw's fence can improve cutting accuracy, for example. These auxiliary tools let you hold the workpiece at a favorable angle while supporting the board and eliminating the precarious nature of holding it yourself (and the less accurate results you'll get by trying).
Use sacrificial backing pieces to prevent tear out on delicate work
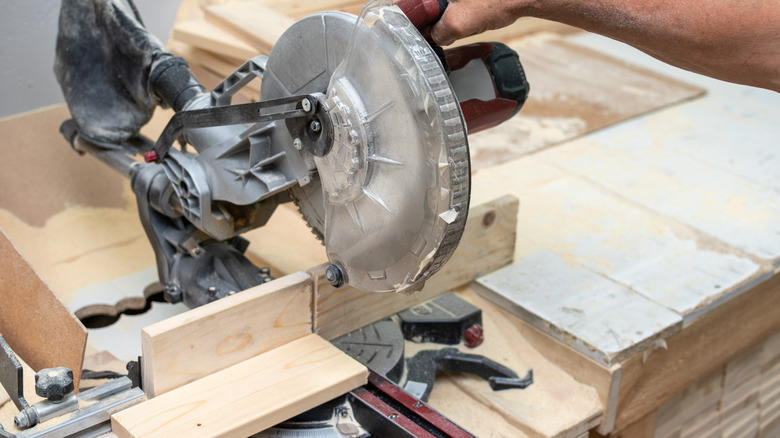
There are two good ways to deploy a backing piece. For a simple fix, stick your workpiece against another sacrificial board so the tail end of the cut runs through the offcut board instead of the piece you're trying to dimension. This keeps the back end of the target piece from taking on damage that often occurs when the saw blade exits its cutting path, leaving a much cleaner slice.
For a more permanent fix, you can attach your own fence to the existing one. The best way to do this is with a planed hardwood board. You can do this yourself by producing a perfectly flat backing board, or buy a pre-planed board for a fast, effective alternative. A typical miter saw fence includes mounting holes, and attaching the board gives you a long straightedge to work from. Your first cut will slice through this board as well, and from there every new cut will run through the fence, keeping the tail end of your cuts from ending exactly where the blade exits the target piece.
Use clamps for short boards and supports for longer pieces
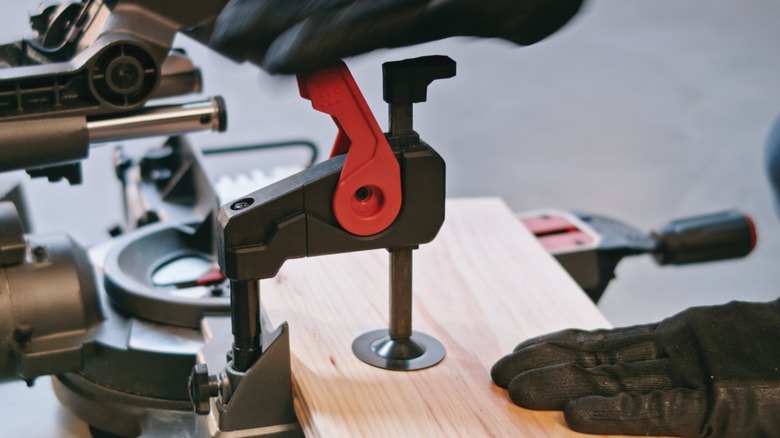
Supporting your work is crucial, no matter what kind of cut you're making. A typical workpiece requires you to hold the side of the board to stabilize it during the cut. However, shorter boards introduce more danger when it comes to holding the piece steady. The shorter the board, the closer your hand will need to be to the blade. Instead, clamp the board to the saw's fence or table to secure it without putting your hand in harm's way.
You have plenty of clamping options for this job, including basic C-clamps or quick-release tools. Many miter saws also come with a basic clamping solution built into the tool. That means you may not need to invest in additional equipment for this part of the job.
On the other hand, sometimes a board you're working with will be longer than usual and needs a bit of support. A long offcut can be dangerous for several reasons. As you work through the cut, it can start to bend and create a pinch point that generates a kickback. Even without that consequence, the offcut segment can fall and hurt you or damage things around the work area. All this comes even before considering how difficult it is to move and prop up long boards without a support arm.
If you're planning to use a saw guide, opt for a shadow line instead of a laser
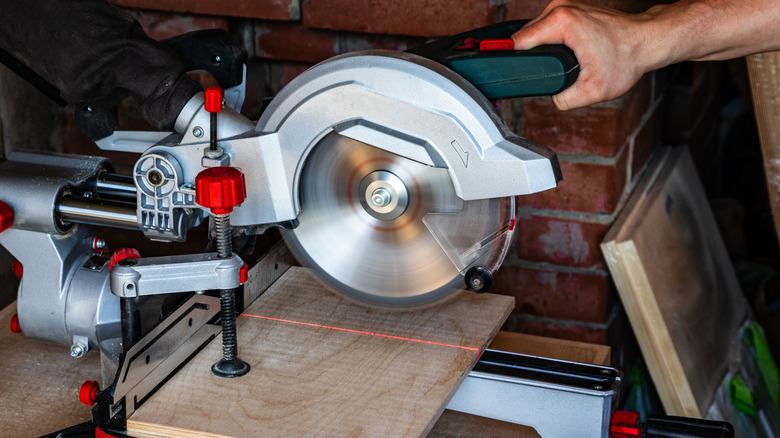
Many modern miter saws include some form of blade alignment guide. This isn't a critical addition, but it can make your pre-cut routine a little faster and smoother. If you're targeting a saw with one of these accessory tools, choosing a shadow line over a laser line offers a clear boost in accuracy.
Lasers require a source mounted to the blade assembly, and bumping or moving it can wiggle the beam or shift it out of alignment. On the other hand, a shadow line uses the blade itself to cast the shadow by placing a light above the cutting implement. Even if you move the light source, the blade won't, keeping the shadow in the same place at all times. The value of any line cast onto the workpiece should be obvious. With this in place, you'll be able to assess faster where to place your workpiece to achieve the cut length you want. A shadow line is the superior choice.
Lining up your board with a 'kiss cut' can deliver rock solid accuracy
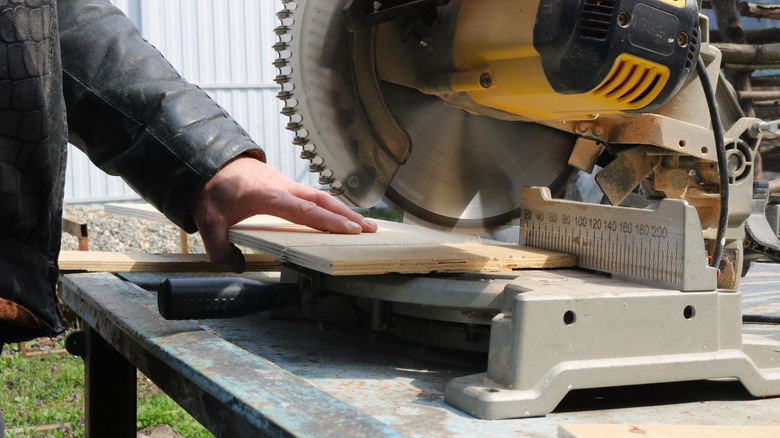
You won't always be able to initiate the "kiss cut," but when you can, it can speed up your work. Instead of lowering the blade down toward your workpiece without activating the tool, a kiss cut pairs a spinning blade with this movement, creating a small cut in the top of the board when the blade meets it. If you have extra length to work with, this lets you quickly confirm your blade is lined up where you want it.
I've used this method plenty of times, but it is worth noting that if you don't line up the board correctly, you may end up ruining the length. With this method, you'll create extra waste, but it can be valuable when making small adjustments to the board's position. You'll want to try to line up the board right where you need it, but it's better to start a bit wide rather than 'kissing' the board too short and creating a cut mark on the part of the board you intend to use for your project. From there, lower the blade to your workpiece to create a definitive line, then bump the board over to position it exactly where you need it.
Don't cut without personal protection in place
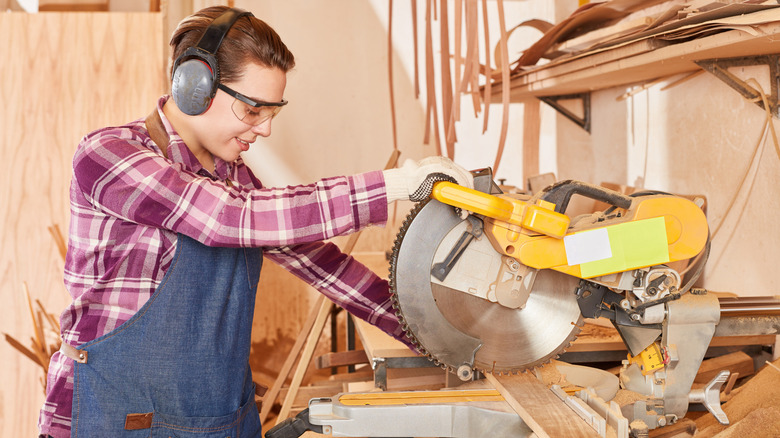
All power tools carry some risk of injury. The miter saw is among some of the more dangerous tools because of its rapidly spinning blade. Cuts are always a risk, but other hazards exist too. Protecting your eyes and ears from the extreme noise and potential flying debris should also be a top priority.
A good way to keep these elements front and center in your workflow is to familiarize yourself with OSHA's five basic safety rules. This includes always wearing protective equipment to reduce the risk of long-term issues like tinnitus or eye injuries from flying offcut segments.
For heavy cutting jobs, it's also a good idea to make a mask part of your routine. The more you cut, the more dust the saw will create. Wearing personal protective equipment will support both your immediate injury prevention needs and your long-term health.
Replace a dull blade before it ruins your cuts
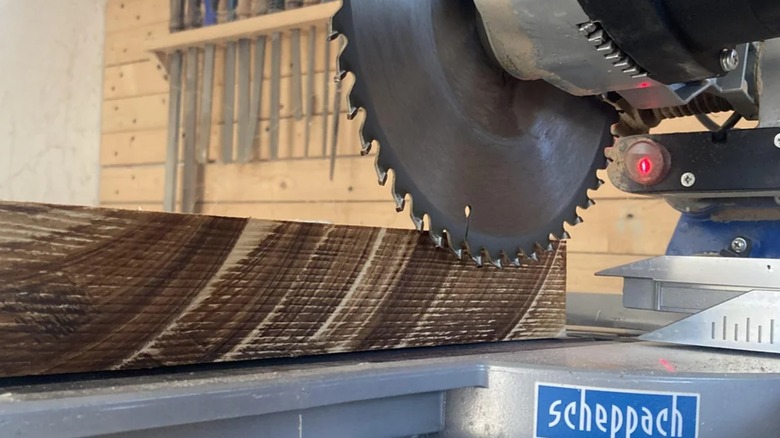
The more you cut with a saw blade, the duller the teeth become. This is a fact of life, and it happens to every saw you'll use across projects. With circular-blade saws (miter, table, and circular saws), you can often sharpen the teeth to extend their life. Using a file to keep the saw blade in good working order is a great first step, but at some point the tool needs a replacement cutting blade.
Investing in a new saw blade keeps your saw working at full capacity. A new blade is sharp and delivers fast, precise cuts. These are key indicators that your existing blade is getting too dull. A dull blade cuts slowly, produces significant tear-out and stray bits, and may even start to burn the workpiece.
Slower cuts mean the blade stays in contact with resistance longer, adding heat that can ultimately singe your boards as you cut. These issues are common for avid DIYers who use their saw frequently. They can either signal the start of trouble with the tool or mean it's time for a fresh blade, keeping you working at full capacity.