5 Mistakes You Need To Avoid As A First Time iPhone User
We may receive a commission on purchases made from links.
Making a big switch in which technology you use, whether it be from Android to iOS, Windows to Mac, or even Xbox to PlayStation, can be overwhelming. In the case of Android to iOS, Apple tries to make it pretty straightforward to get everything moved over. For the most part, if you're moving from Android, you can download the Move to iOS app from the Google Play Store and it will walk you through what will and will not be moved over when you transition to the iPhone.
Whether this is your first smartphone or you're moving in from Android, there's a lot to unpack, and learning to use iOS may feel overwhelming at first. There are some major differences between the two operating systems, and the iPhone also packs hardware features you may not have experienced as an Android user. In light of that, there are some mistakes you should be careful to avoid making so that you don't find yourself frustrated about missed calls or lost data.
Ignoring the mute switch
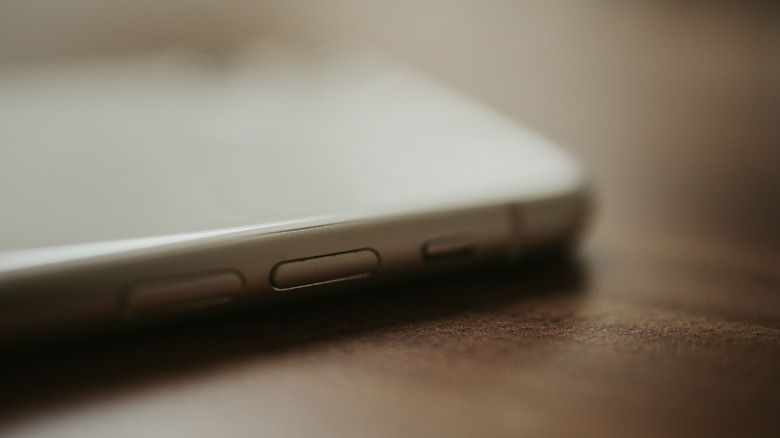
The top feature many new users fail to notice is the mute switch on their iPhones. As Apple points out in a support document, the mute switch lets you quickly silence notification sounds and your ringtones in one motion. The switch is located on the top left side of your iPhone above the volume buttons. Do note that alarms set within the Clock app will still go off with sound even if the switch is turned on.
If the switch has an orange strip visible — that is, if the switch is pushed to the down position — then your iPhone is muted. If it's in the up position so that the orange strip isn't visible, then the iPhone is not muted and will play notification sounds and ring when you get a call. Simply turning down the volume on your iPhone will not mute notification alerts unless you turn the mute switch to the down position.
You can, of course, change how loud notification sounds are by default by heading to Settings > Sounds & Haptics. The "Ringtone and Alert Volume" slider will change that globally. And if you want to be able to change the alert volume constantly, you can enable the Change with Buttons option. With that enabled, you'll be able to change the alert volume when no audio is actively playing by using your iPhone's volume buttons.
Maxing out iCloud storage
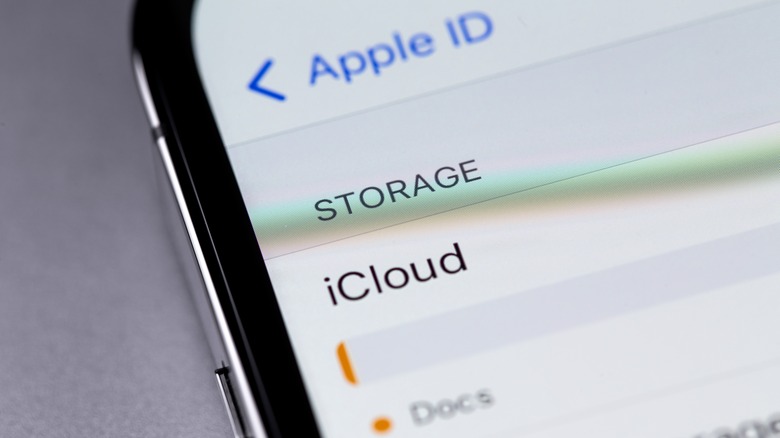
iCloud is essentially the backbone of your iPhone. It's where all your photos, messages, app data, and more are stored. In addition, iCloud backs up your iPhone every night when you're plugged in and connected to Wi-Fi. Important information like your Health, Wallet, and password data is kept securely encrypted.
iCloud can also be used as a simple storage service akin to Google Drive or Dropbox. As long as you have enough storage for it, you're welcome to store practically anything you want in iCloud. To upload files, you'll need to open the Files app and tap on iCloud under the Browse tab.
While you might not need to straightaway, you may find that as you use your iPhone, you start running out of iCloud storage, fast. You'll want to keep that in your rearview mirror. This is especially true if you're the type of person who takes a lot of photos, as images eat away at storage quickly and Apple only gives you 5GB for free. More storage starts at $0.99 per month for 50GB and goes all the way up to 2TB for $9.99 per month. You'll likely need to sign up for a plan to keep your iCloud storage from maxing out, otherwise, you won't be able to store additional photos and other data that typically syncs to the cloud.
Failing to set up Find My before you need it
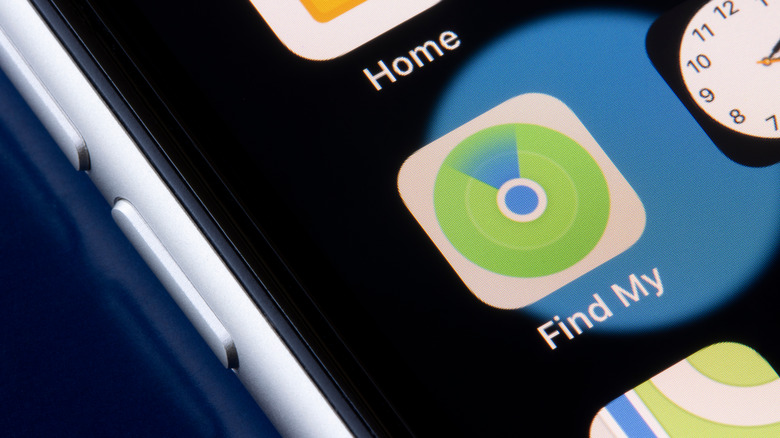
New iPhone users, especially new Apple users, may gloss over using Find My entirely. Especially with iOS 15 or later, Find My is able to track your iPhone 11 or newer models for a couple of hours after the battery has died. Likewise, it's able to be tracked even if your iPhone isn't connected to a cellular or Wi-Fi connection as long as other Apple devices are nearby and connected to the internet and you have the related settings enabled.
If, for whatever reason, Find My is not enabled on your iPhone yet, head to Settings > [Your Name] > Find My > Find My iPhone, and toggle on Find My iPhone. You'll also want to make sure Find My network is enabled in that same settings menu. Send Last Location is an optional feature that lets Apple ping the Find My network more consistently when your iPhone is running low on battery.
As laid out by Apple, Find My also enables what the company calls Activation Lock. This feature prevents thieves from being able to factory restore your iPhone and set it back up again without your Apple ID and password. Likewise, a thief won't be able to turn off Find My without your Apple ID and password, making it trackable even if they try and reset your iPhone.
Buying the wrong accessories
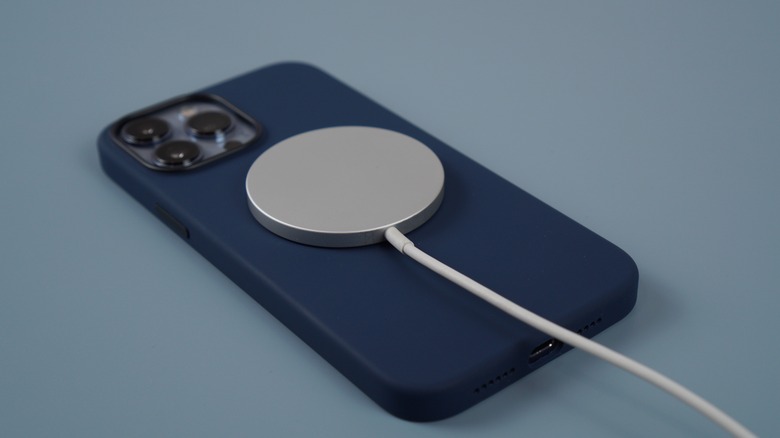
If you have an iPhone 12 or later (excluding iPhone SE models) your phone has MagSafe. You may have heard about it. MagSafe lets you attach accessories such as chargers, wallets, and batteries to your iPhone. The feature works by using a circular ring of magnets that are built into your iPhone and MagSafe-compatible accessories. The first mistake you'll want to avoid is buying a non-MagSafe compatible case. Because MagSafe is designed with magnets in mind, cases that don't also have a set of magnets in them will mean that you won't be able to use MagSafe accessories at all without having to remove your case.
MagSafe lets you attach things such as the MagSafe Wallet when you're leaving the house or the MagSafe Battery Pack when your iPhone's charge is running low. And in both cases, if you've either made it home or have enough juice, you can remove them and keep your iPhone lightweight and portable. Of course, there are many other third-party MagSafe accessories you can look at.
In addition to MagSafe, you'll also want to keep a lookout for Lightning accessories. Apple has what it calls its Made For iPhone (MFi) program, which certifies products to work with iPhones, Lightning-enabled iPads, and Lightning accessories such as MagSafe Battery Pack and AirPods. MFi accessories guarantee compatibility with your iPhone and ensure it won't light your battery on fire. Buying a non-certified charger, particularly from an unknown brand, could result in expensive damage to your iPhone.
Tapping prompts without paying attention
Apple takes privacy very seriously and that shows in its software. When you first download an app or open an app for the first time, you may get bombarded with pop-up alerts asking for permission to do various things. What you shouldn't do is say okay to all of the alerts just to get past them. Likewise, you shouldn't spam tap Don't Allow either. The right thing to do is assess what app you just downloaded or opened and decide whether or not, for example, a racing game requires access to your photo library or camera (probably not). When it comes to an app asking for your location, it can get a little tricky.
Typically, apps have three options in regards to requesting your location and you'll need to read them thoroughly. The "Always" setting is pretty straightforward and allows the app to access your location even when you're not actively using it. The "While Using" option allows the app to ping your location if you're actively using the app or if you have a widget on the home screen. You'll also have an "Allow Once" option, which only lets the app use your location that one time.
The latter option is great if an app simply needs to check your general location. For example, maybe the app is region locked and needs to make sure you're within the region you say you are. Of course, you can simply turn off location tracking for the app in question entirely by tapping Don't Allow. One other thing you'll need to look out for in terms of location is the precise toggle. With it on, apps will have access to your precise location, but with it off, apps will only get a general location where you're at but not your exact location.