

5 Important YouTube Tips On Filming And Editing I Wish I'd Known Sooner
We may receive a commission on purchases made from links.
Anyone can start a YouTube channel in a few minutes, tops. That part's easy. It's making compelling videos that will get people to subscribe and keep coming back that'll test you. You have to stand out somehow in an ocean of creators trying to do the same, while appeasing YouTube's capricious algorithm and rising above AI slop channels that can pump out content much faster than you can. It'll be a long uphill battle to a successful, monetized channel regardless, but knowing a few things about how to shoot and edit your videos can get the ball rolling for now.
This guide is intended for someone just starting out, with little to no experience filming and editing content. While you'll definitely need some equipment eventually, you'd be surprised how much content you can make with gear you already have without buying a DSLR camera; we want to keep costs down as much as is reasonably possible until your YouTube channel is generating enough income to justify upgrading your gear and software. Here are five tips on filming and editing we think every beginner should know.
Film your content right
The smartphone in your pocket is an excellent camera. Whether you've got the latest iPhone 18 Pro or an older model, its back camera array can very likely shoot 4K video. That's the case, for example, with an iPhone 11 Pro released in 2019. We recommend shooting in 4K at 30 fps because it preserves more detail and allows you to stabilize footage or do fancy zooms and pans without losing too much quality — all while keeping file sizes reasonable. Further, some YouTube viewers watch on their 4K TV's YouTube app, so a grainy 1080p video might be a turnoff. Avoid your phone's typically lower-quality selfie cam.
We'd also recommend shooting video with an external SSD connected to your phone so you don't eat up your limited internal storage. In the case of an iPhone, all you have to do is format the drive with a single partition (exFAT or APFS formats are fine) and plug it in. Despite the memory shortage, there are still relatively affordable external SSDs.
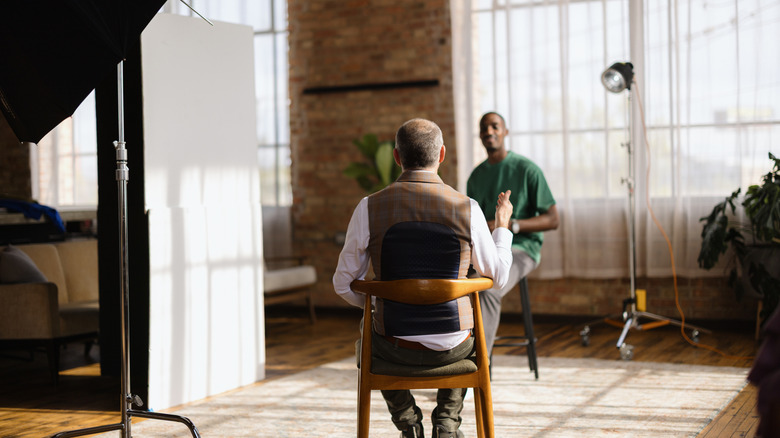
Good lighting could be the difference between an amazing video and a meh one. The gold standard is natural lighting, hitting you from an angle during golden hour (i.e., shortly after sunrise or before sunset), rather than coming from behind and washing you out or hitting you harshly from the front. For artificial lighting, something as simple as a flashlight with a bedsheet stretched in front of it can produce cheap, surprisingly good lighting. However, we'd recommend — budget permitting — one or two softbox lights, plus an accent light for the background. Try to set up a nice background too, if you can. A simple, stylish bookshelf and a side table are all you need. If you can afford it, get a phone stand to stabilize the footage.
Record good audio

Avoid recording audio directly from your phone's built-in microphone while it's filming you from a distance, for the simple reason that it sounds bad and will instantly make your channel appear amateurish. You've probably clicked away from a video in the past simply because the audio sounded echoey, noisy, and distant. Instead, we recommend going one of two ways. One, you could purchase a wireless microphone and record audio in tandem with the video, or two, record audio separately from shooting.
Rest assured, high-quality wireless microphones are not as expensive as you might be imagining. A highly rated one like the DJI Mic Mini only sets you back $99 for two microphones, a receiver, and a charging case, with cheaper options for a microphone and receiver only. Despite its small size and low price, it will sound great. There are even cheaper microphones that still produce good audio, like the Boya Mini 2 for $49.39. You can pin these microphones to your clothing, hold them, or attach them to another object that you use as a "microphone." Since they're wireless, they also lend themselves to filming outside at a distance from the camera.
If you want to record the audio separately from shooting, you have some "free" options that still produce high-quality audio. For one, you could record the audio from your smartphone. This will obviously depend on which phone you have, but recent iPhone Pros have exceptionally good mics, especially after you clean up the audio. Your laptop might work, too. Recent M-series MacBook Pro models boast studio-quality mics in their specs, and this isn't just marketing speak. The microphones are actually really good. Of course, you can always buy a dedicated studio/podcast microphone. One that many recommend is the Fifine K688 for $72.99.
Don't overpay for software
As we've demonstrated, you can film and record audio for "free" using gear you already own, or get the gear you need relatively affordably. Video editing software is a similar story. You can get it for free or cheap, cheaper even than the infamous Adobe Creative Cloud subscription. We have a lot of recommendations for free (or at least cheaper) alternatives to all Adobe software. On macOS, you can use iMovie as a video editor. On Windows, Clipchamp. These should be more than sufficient for videos with simple editing and effects.
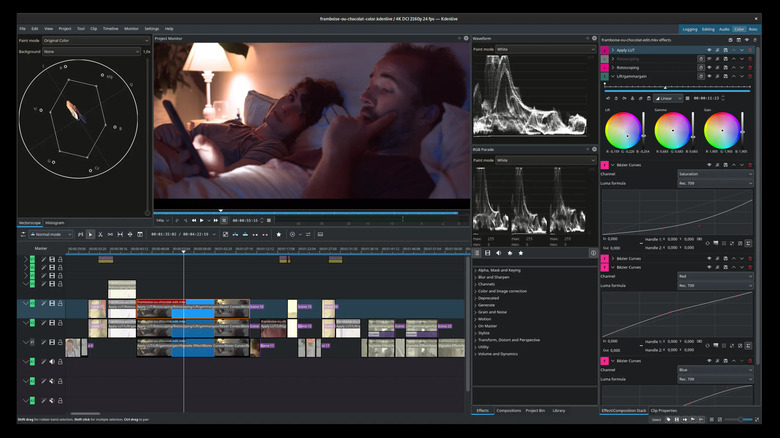
For something more advanced, Kdenlive is a free, open-source, and fully featured video editor that some highly recommend. Another great option is DaVinci Resolve, a professional-grade editing suite with a surprisingly capable free version. There's an option to buy the complete edition later on for $236 (a one-time purchase) if you need more features. A lot of people swear by this one, too, and I have quite enjoyed using it in my time as well.
If you're looking for paid options because the free ones don't meet your needs, you'll unfortunately find that many are subscription options, though they're cheaper than Adobe Creative Cloud. One that we recommend (based on personal experience) is Apple Creator Studio. You can try it for free for one month, or three months if you just bought a new Mac or qualifying iPad, and from then on it's $12.99 a month or $129 per year. This gives you full access to Apple's entire professional creative suite, including Final Cut Pro, Logic Pro, and Pixelmator Pro, which together would cost you hundreds of dollars as one-time purchases. For reference, it would take more than two years of subscribing to Apple Creator Studio on the annual plan just to pay off Final Cut Pro.
Get royalty-free music and sounds
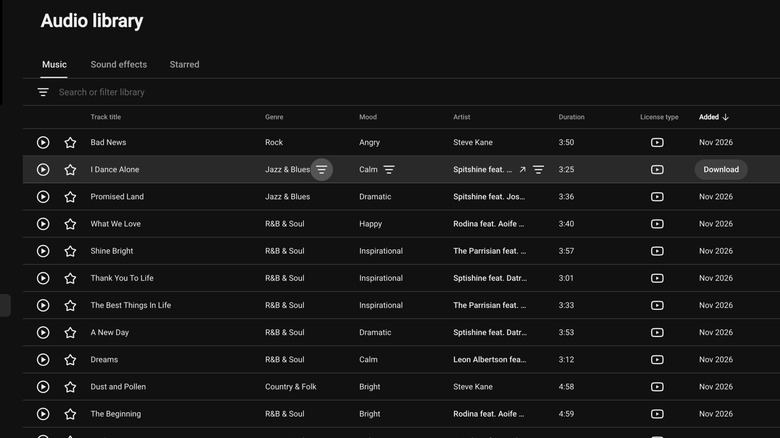
The best, most engaging YouTube videos almost always have music in the background and sound effects. The problem is that on YouTube, your channel can get a copyright strike for using music you don't have permission for. Luckily, there are plenty of ways to get good music and sound effects without paying a dime. First, try YouTube Studio's free audio library. You'll find hundreds of music tracks and sound effects, all of which are 100% free to use, at most requiring you to attribute the author in your video description. Personally, I've found some surprisingly good ones just by digging through the catalog. As for sound effects, another option is Freesound.
You may also be able to find musicians who give away their music for free and only ask that you attribute them. For example, I found a musician going by the aliases Hotham and Atch, who allows YouTubers to use many tracks from a vast and high-quality music catalog for free. Or Scott Buckley, a guy who makes orchestral music. The list goes on; these are just a few that I was able to find by trawling Google and Reddit.
Admittedly, top-tier free options are scarce. This may be the one area where you choose to bite the bullet and pay for licensed music to use on your channel. A good option we can recommend from experience is Epidemic Sound. You can do a one-month free trial, and thereafter there are reasonably affordable monthly and yearly subscription options. It might seem pricey, but just listen to some of the available songs and you'll see it's money well spent.
Make a ton of B-roll in advance
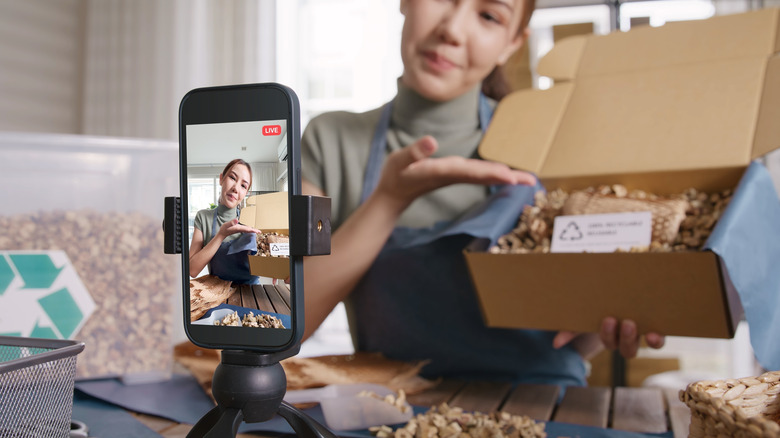
B-roll footage is the secondary footage you see in videos that supplements the primary footage where your voice track is. In today's world (where people have the attention spans of goldfish), it is vital for a successful channel. People are going to get bored if the camera lingers on one thing for too long. So, we highly recommend shooting as much B-roll footage as you possibly can in advance, and frankly, more than you think you'll need.
So, for example, suppose you're shooting a product review. Don't just film yourself looking at the camera with the product in hand. Film the product on a nice background like a granite countertop with some simple decorations, outside on a bench, or in a public place like a coffee shop. Show yourself using it in those locations, if applicable. Watch other YouTube channels for inspiration and take note of what sort of B-roll they make, then learn by imitation. You will be very, very glad later on when you sit down to edit the video that you have so much footage to choose from.
B-roll doesn't have to strictly be something you've filmed with a camera. Good B-roll can include things like screenshots or screen captures of your desktop, if related to the video. Further, you can use a website like Pexels that offers free stock video to fill in the gaps. Educate yourself on YouTube's fair use guidelines and take special care not to use any videos you don't have permission for. If you do have permission, double and triple check that you attribute them properly. You'll be glad you did that now instead of finding out later when a video gets taken down.