5 Tips For Keeping The Chrome On Your Motorcycle Sparkling Clean
We may receive a commission on purchases made from links.
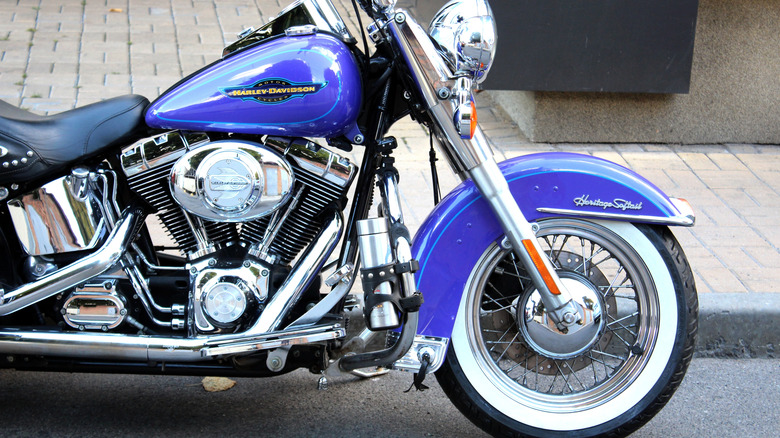
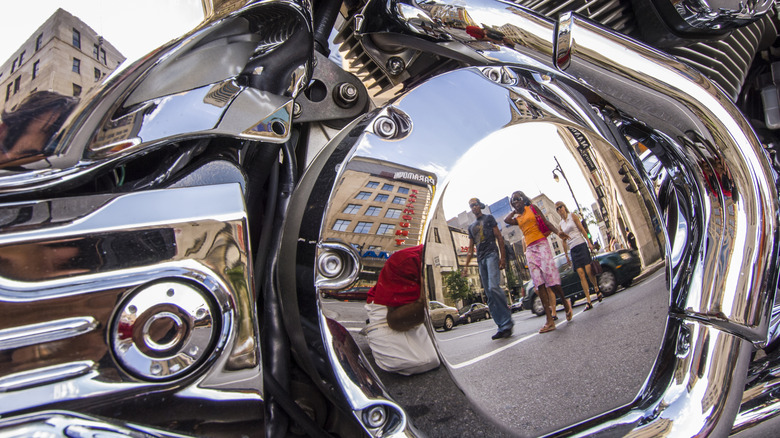
Keeping a motorcycle clean isn't just about washing it with foam and water. There are several parts in a bike that require special attention — such as chrome. Whether you own a modern classic like a Triumph or you're a fan of cool but affordable vintage motorcycles, chances of finding chrome accents on your bike are quite high. Chrome is not just to enhance the aesthetics or style of a motorcycle; it also ensures longevity and protects certain parts of the body, such as the mirror, exhaust, and forks, from corrosion and wear and enhances overall durability.
Interestingly, chrome wasn't a part of motorcycles until the 1920s. Prior to the introduction of chrome, motorcycle brands used nickel plating for fenders and trims. However, in 1920, George J. Sargent developed chrome plating, and soon it became a standard for motorcycles and cars. Industry legend Harley-Davidson began using chrome around 1930, when the motorcycle manufacturer introduced a chrome speedometer lamp that helped riders see their bike speed at night. Today, brands are using different types of chrome finishes in bikes, including plastic chrome finish, which is nothing but electroplating of a thin layer of chrome onto ABS plastic.
While chrome acts like armor, it's actually easier to clean than many other surfaces. And even though it only covers a small part of the bike, speaking as a rider myself, I can tell you this: As long as the chrome is shining, the whole bike looks clean. Here are five tips that will keep the chrome on your motorcycle looking sparkling clean.
Clean off the dirt from your bike
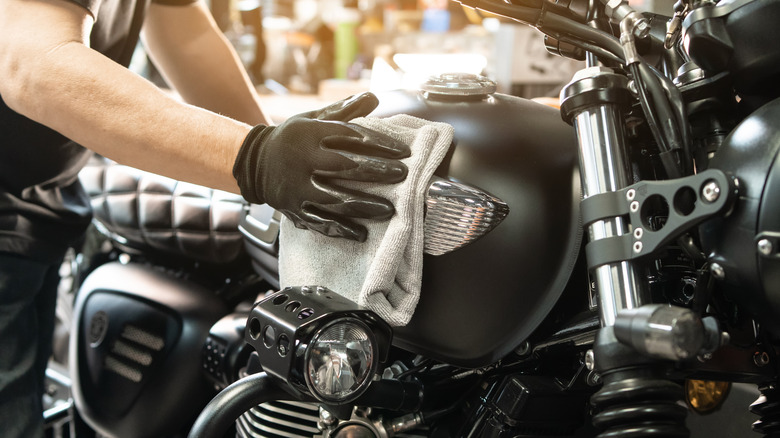
Any bike owner can tell you that motorcycle maintenance is critical. One trip on the road, and bam! It's dust all over. And since a motorcycle is made up of different materials and parts, keeping a section of the bike clean is only half the battle. While a good overall wash can take out all the dirt and grime from various crevices on the bike, some parts, like chrome-plated ones, require special attention. There are plenty of good tips out there on how to detail your bike, but there's one that can't be ignored: Wash the whole motorcycle before hitting the chrome.
It may sound like a cliché, but cleaning your entire bike is the first step in keeping the chrome on it sparkling. Whether you ride your bike daily or only once in a while, wash it frequently to avoid any dust particles or contaminants from building up or settling down on the chrome. Thoroughly give your bike a once-over with a detailing spray and a set of small brushes, and gently wipe away all the dust and dirt using a microfiber cloth. Avoid washing in direct sunlight, as this could leave watermarks on the paint and chrome.
This is also why that, as soon as you are done with the watery part of cleaning, you should dry the bike using a fresh cloth to ensure that no marks are visible. Cleaning the entire bike also prevents dust or other contaminants from falling on the chrome surface and scratching or causing swirl marks when polishing. Always thoroughly wash the entire bike first before you start with the detailing process.
Use microfiber cloth on plastic chrome and steel wool on hard chrome

After a thorough wash, the next step in keeping your bike looking brand new is to take care of the chrome. There are different types of chrome finishes used in motorcycles these days. These include plastic chrome, hard chrome, black satin chrome, powder-coated chrome, and plastic dip chrome. However, you cannot apply a single cleaning technique to clean any type of chrome on your bike. Plastic chrome, for example, is mainly there for decoration purposes and often found on side panels, headlight bezels, mudguards/fenders, and instrument panels. Plastic chrome is more susceptible to scratching, and you have to be extra careful with it while cleaning.
However, it's simple to identify plastic chrome from hard chrome. Simply tap on it, and you will understand via sound if it is plastic or hard chrome. And to clean it, you need to use a microfiber cloth. You don't want to use any harsh cleaning methods on plastic chrome, as these could damage the finish, reducing that shine you're looking to preserve. Also, make sure you're using a clean microfiber cloth that doesn't have any dirt or contaminants that can leave marks on the plastic.
Meanwhile, when dealing with hard chrome, you don't have to worry about such delicacies. You can use steel wool, ideally #0000 grade, to really get those blemishes out. Before you start scrubbing, make sure that the surface is cleaned with soap and water. While it's certainly powerful, keep in mind that steel wool isn't magic; you have to be patient with it while using it to remove rust from chrome.
Use aluminum foil and vinegar to remove rust
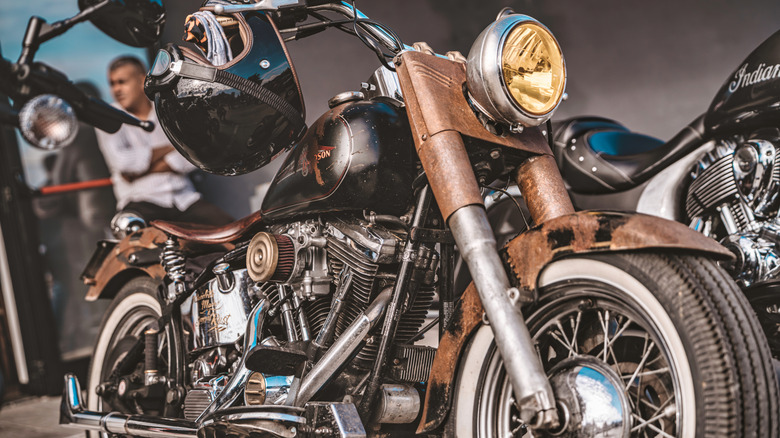
Back in the old days, chrome polish, waxes, and all different kinds of rust removal products were not readily available. Bikers used household items to clean their rides instead, and one such combination is using aluminum foil along with vinegar to remove rust from chrome. In fact, this is a tried and tested method and also quite popular on YouTube, with hundreds of videos on this topic. The best part is that there is science behind using this combination, and it actually works.
Notably, both materials, vinegar and aluminum foil, play an equally important role. Vinegar helps to dissolve iron oxide, one of the primary chemicals comprising rust. Additionally, aluminum attracts oxygen more than iron, which further pulls iron oxide from the surface of the metal. So, in short, vinegar helps loosen the rust, and aluminum foil lifts it from the chrome surface. In fact, many cooks swear by using the combination to remove rust from stainless steel pots and pans; the chromium used in chrome plating is, of course, a component of stainless steel.
As far as your own chrome cleaning endeavors, you can either dip the aluminum foil in vinegar and start scrubbing, or you can pour some vinegar onto the chrome surface and then gently rub the surface with crumpled foil. Some say that you can use water instead of vinegar; in my personal experience, vinegar was more effective with aluminum foil.
Wash with mild soap and water
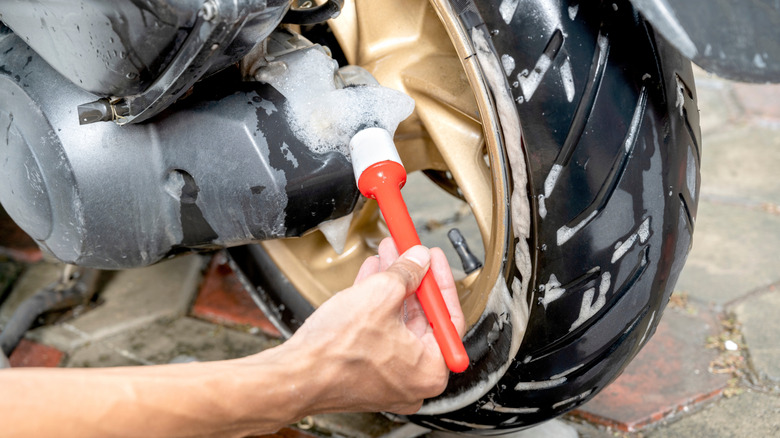
If you wish to really make the chrome on your motorcycle stand out, then you can also use a combination of mild soap (like one of these highly-rated car wash soaps) and water to clean the surface. This is good for areas that are kind of in the safe zone (non-rusty) and just require a gentle cleanup, and for parts such as wire spokes. The process is quite simple: You pour some quantity of mild soap into water, mix it up, dip a microfiber cloth into it, and clean one section at a time.
Since we are talking about hard-to-reach areas, you can also use a soft-bristle brush. If it has a flexible neck, the better. You can dip the brush in the cleaning agent and scrub the chrome to bring back the shine. Sometimes mud or grime can stubbornly get stuck onto the chrome surface, making it harder to get rid of with mild cleaners. Just make sure that the pressure that you apply isn't too much to scratch the chrome surface.
Once the surface is cleaned up, it's a good idea to give your bike an overall rinse with a low-pressure hose to remove any remaining soap and residue. Be sure to dry your bike immediately afterward so you don't run the risk of leaving water stains on the surface.
Apply polish and wax to protect the shine
After you have cleaned your motorcycle and the chrome, the final step of your chrome care routine is to apply polish and wax. While cleaning will clear all the dirt, grime, and smudges from your bike's chrome, applying wax or polish will maintain the shine of the chrome for longer. The market is flooded with various brands, so be sure to pick one that comes well-reviewed or highly recommended. A good example of this would be 3M Chrome and Metal Polish, as it has a 4.4 out of 5 rating across more than 1,100 reviews.
Likewise, a good quality wax will protect and maintain the shine of the chrome. Without this extra layer of protection, all that newly-polished chrome will be exposed to the elements. Simply take a small amount of polish or wax on a clean detailing cloth, apply it all over the chrome in a circular motion, wait for a few minutes, and then wipe it off. Waxes and polishes prevent moisture, dirt, and oxidation from reaching the chrome, which is your first (and best) defense against rust formation.
Besides, not only does waxing and polishing protect the chrome for a longer time, but it also makes it significantly easier to clean in the future. Dust settles on the protective layer that sits atop the chrome, which can then be easily removed by wiping off with a cloth.