How To Take Pictures Of The Northern Lights With Your Smartphone
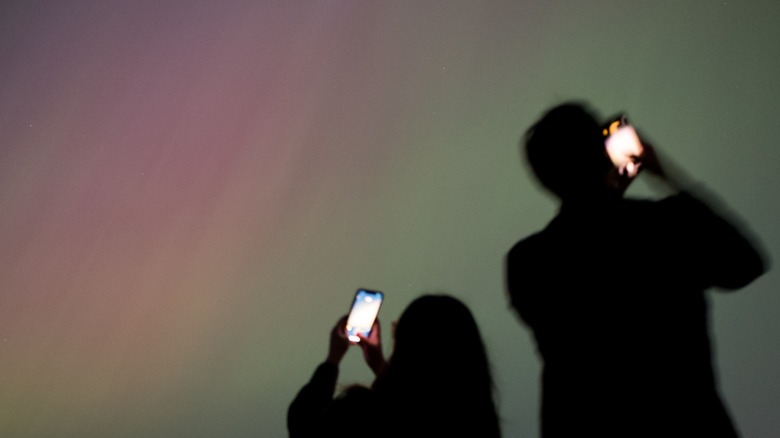
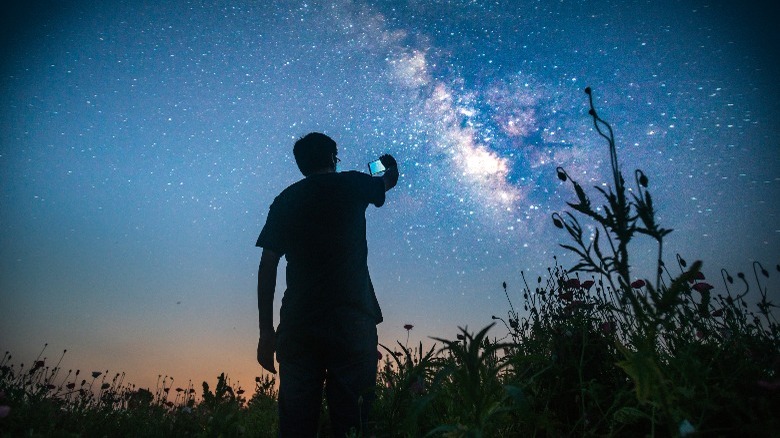
While the science behind the cause of the northern lights is complex, the actual phenomena in action is hailed as one of nature's most beautiful moments. For better or for worse, humanity prefers to capture every second of existence through the digital eyes in our pockets — and with how mesmerizing the northern lights are, we don't blame anyone whose first instinct is to reach for their smartphones.
Computational photography has come a long way in recent years and has enabled individuals to use smartphones to take the best photos. Improvements in not just camera hardware, but also on-device processing can yield great images in every situation, regardless of the lighting conditions. But capturing the northern lights on a phone is not something most people are habituated to. Is it even possible, and if so, what camera settings would produce the best images?
Both Android and iOS devices have more than capable hardware and software processing prowess to snap memories as unforgettable as these — and here is how you can encapsulate the beauty of the northern lights as a shareable file format on your phone.
Take a picture of the northern lights with Android
Despite marvelous camera systems, there are a few things to consider before you take night photos on your smartphone. Most modern-day phones are equipped with a special night mode in the camera app — some even switch to it automatically when you enter a low-lit environment. The exact feature may be labelled a bit differently depending on which Android manufacturer your phone is from. In this case, on a relatively new Samsung Galaxy smartphone, you can capture stunning nighttime photos by following these steps:
- Launch the camera app on your phone.
- From the various shooting modes available, tap on "More".
- You will be displayed with a list of advanced camera options. Select "Night" from this menu.
- Tap the shutter button to capture your photo.
The night mode on your phone essentially lets more light in by allowing the digital shutter to be open for longer. Depending on the amount of light in your surroundings, or the lack thereof, your phone will automatically adjust this setting. It is therefore advised to keep your hands as steady as you can while capturing photos during the night. For the best results, prop your phone up on a tripod when using the night mode.
Using an iPhone to capture the northern lights
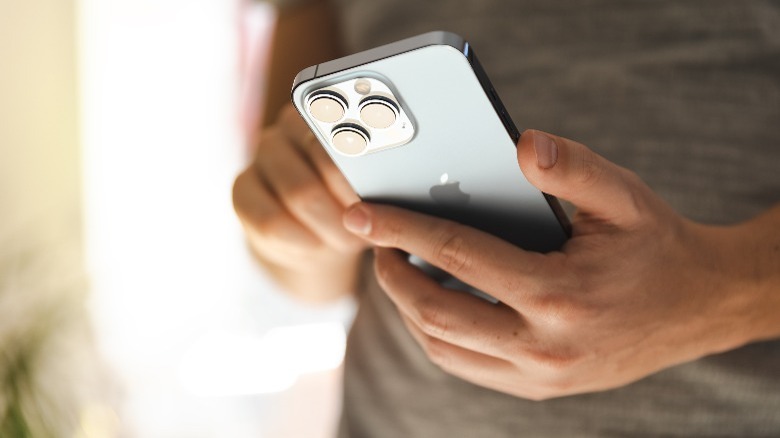
If you own an iPhone 11 or newer, you can rely on its excellent camera hardware and the baked in night mode on iOS to capture the vibrant northern lights. Doing so is simple and involves the following steps:
- On your iPhone, launch the camera app.
- Point towards the sky and check if the night mode icon in the top-left corner of the screen turns yellow. This indicates whether the camera has automatically switched to taking a nighttime photo or not.
- You can tap the icon to manually toggle the night mode as well.
- Hold steady and capture a photo by tapping on the shutter button.
Just like on Android, your iPhone's camera will dynamically select the best shutter speed to capture the image. You can adjust this timer for better results by tapping on the arrow at the top and using the night mode slider in the options that appear below. By making use of features like night mode and maybe even using a tripod for extra stability, you can take incredible astrophotography pictures with your iPhone.
Take better photos of the northern lights using the RAW mode
One of the best hidden features of your Android phone's camera is the pro mode that enables you to capture images in the RAW format. In essence, the RAW mode instructs your phone's camera to capture and store all information without adding any compression or post-processing. This results in images that can later be edited with more flexibility. Both Android devices and iPhones have their own versions of a pro mode that leverage the goodness that RAW images bring.
Once again, depending on which Android phone you have, the pro mode may be accessible within different menus, but is usually its own section within the camera app. On Samsung Galaxy smartphones:
- Launch the camera app
- Tap the settings cog icon in the top-left corner of the display
- Navigate to "Format and advanced options".
- Enable the "RAW copies" toggle.
- Head back to the camera app, select the pro mode and capture an image.
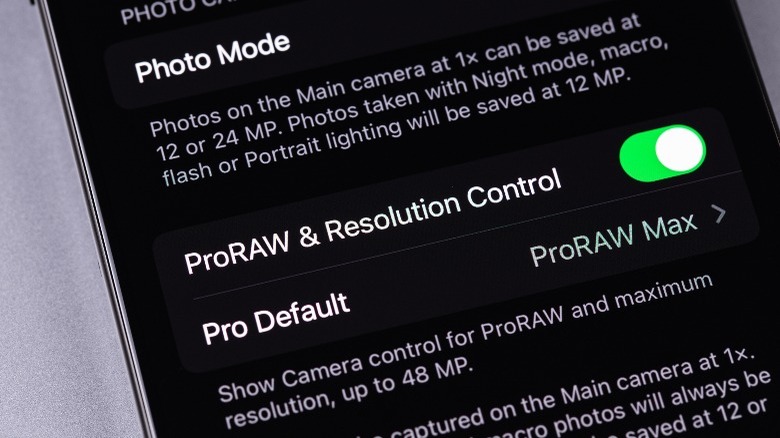
Your phone will now store two copies of every picture you take — a regular JPEG and a RAW file. You can use iPhone's ProRAW feature to yield similar functionality:
- Navigate to Settings > Camera > Formats
- Turn the "Apple ProRAW" toggle on.
- Launch the camera app and tap the "RAW" or "RAW MAX" toggle in the top-right corner of the display.
- Capture your image by tapping the shutter button.
Photos taken in the RAW format on both Android and iOS might take a split second to capture fully and are often heavy in file size compared to regular images.
How to make your northern lights pictures look better
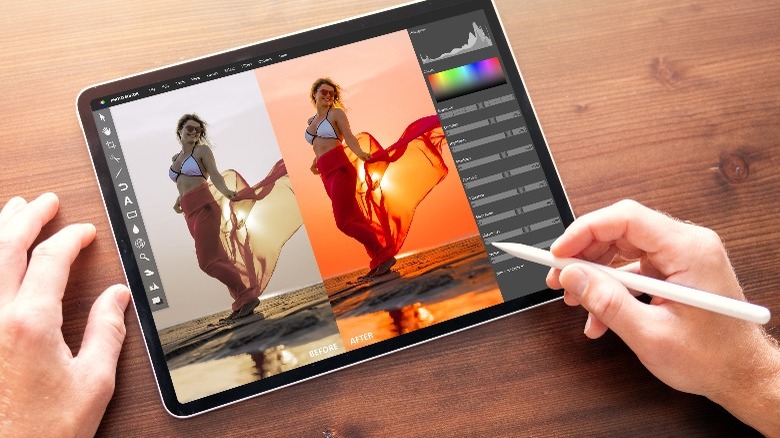
Grabbing the photo of the northern lights is only half the battle, and it's desirable to make a few minor edits to truly enhance the visuals. If you are shooting in RAW, make sure you use a powerful photo editing app like Adobe Lightroom or Snapseed on your phone, or ON1 on your computer. Play around with the exposure and brightness sliders until you find the perfect balance between the darkness of the night sky and the luminous glow of the northern lights.
Since photos taken during the night, especially using a phone's camera, are prone to a lot of grain, look for a noise reduction toggle in the editing app of your choice. If you're familiar with color correction, messing around with the hue and saturation settings might help the photo look even more alluring. Making the right edits will elevate the picture tenfold and get it ready to be showcased on your favorite social media platforms.