Saving Money On Car Repairs: Learn To Replace Brake Pads On Your Own
Auto repair is costly. There is no way to get around that without enrolling in technical school and spending years learning the trade to hone the skills to do it yourself. Even then, industry and technology changes require continuing education to keep up with new models each year. Without making it your career, paying for service at a repair shop is a fact of life for most car owners. However, there are some jobs you may be able to do yourself to avoid some of the labor costs.
Before plunging into the deep end of auto maintenance, it's important to ensure you have the right skills and equipment and know enough about your car to know if it can be done. Most cars of the last 20 or so years have been improved with a plethora of engineering advancements in nearly every system. A common maintenance item to do yourself is brakes. For almost all older models and most newer ones, this is a straightforward process requiring only a handful of tools. However, some luxury cars and high-performance models have more complex braking systems best left for experienced techs. Also, drum brakes, found on the rear wheels of some modern cars, are more complicated and best left to professionals. So, if this is a task you want to tackle, here's how you can save money by replacing your own brake pads.
Brake service overview
Braking systems are a bit different on all the makes and models of cars available. While they all use the same basic principles, no guide can fully explain the nuance of every setup. This is a general overview of how to replace the most common hardware found on modern cars and should not be considered comprehensive.
A few things should be considered before starting. Many luxury cars and other later model cars include brake wear sensors. These are small devices clipped onto the brake pad that closes a circuit when the pad is worn and illuminates a warning light on the dashboard. These sensors are usually replaced with a pad and can be easily broken during disassembly. Rear disc brakes also have parking brake mechanisms that often require specialty tools to reset the caliper before everything can be reassembled properly. Before swapping your brakes, research whether your car will need extra attention and specialty tools. Otherwise, it is relatively easy.
It is also important to note that worn pads are the only issue covered here. Modern cars typically have a device that squeals when the pads are worn while others have a warning light. If you've heard grinding, new rotors are in order. If your brake pedal pressure and travel feels off and you see any fluid leaks around the wheels, take it to a shop as it probably has other issues that need a professional inspection.
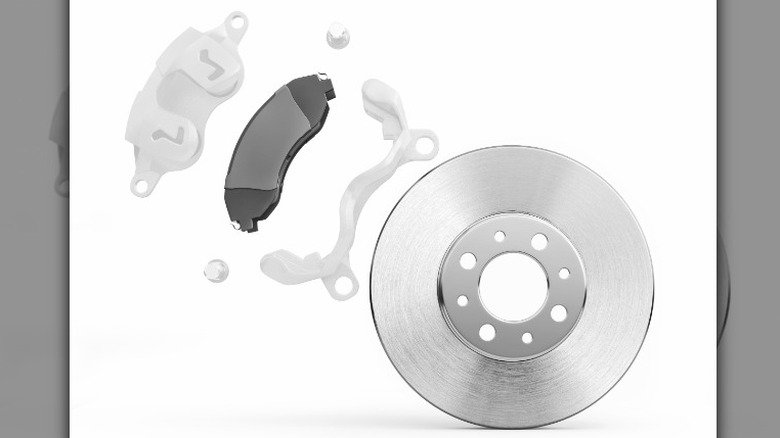
Get the parts
Brake pads are usually affordable and can be downright cheap on older cars. If you're working on a German luxury car or a high-performance model, expect costs to rise. No matter what you have, it's important to get the exact right part as brake pads fit precisely, and rarely will a part from one car fit another.
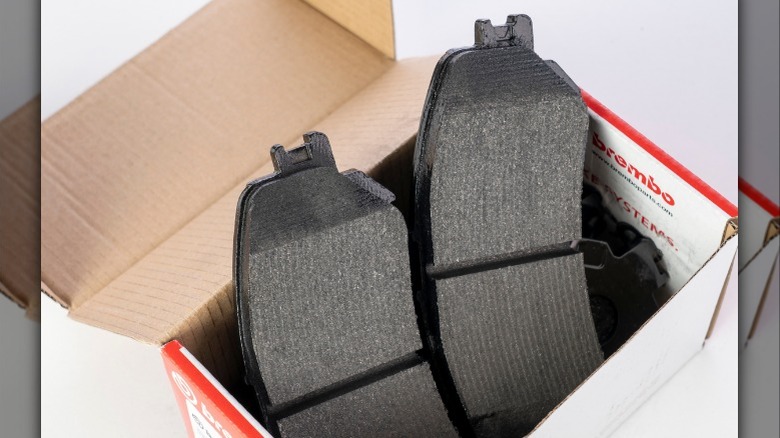
Local parts stores offer the most convenient source if you received the wrong part and need to return it. But to save money, ordering online from one of the dozens of online parts warehouses, eBay, or Amazon can land you significant savings. The drawback is that returns are tricky, as your car may be immobile when you figure out that you have the wrong part and it needs to be shipped back.
Brake pads are generally offered with options for basic and premium parts. Usually, the least expensive and basic set will do the job, but for more money, premium pads can be purchased. Premium pads generally last longer and produce less brake dust that can make your wheels dirty from normal use. They may also offer better stopping power. As long as you get the correct part, any of them will work.
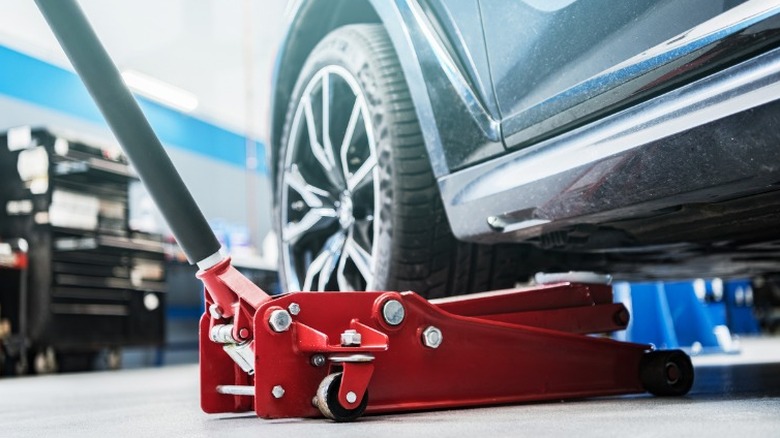
Raise vehicle and remove wheel
For this step, you will need a jack, a jack stand, and either an impact wrench or lug nut wrench. Make sure the car is on a flat and level surface, preferably with a clean area in which to work. The jack is to be placed on one of four designated lift points on the chassis.
Lift points will usually be a flat spot or a reinforced section of the undercarriage seam that signifies the place for lifting. It should be apparent by looking. If you do not have an impact wrench, loosen but do not yet remove the lug nuts before raising the vehicle. Once the tire is at least an inch off of the ground, find a spot to place the jack stand securely under the car. Make sure it is on the frame of the car or under a part of the suspension where the full weight of the car will be supported. Lower the jack until the car is resting firmly on the jack stand and then remove the rest of the lug nuts and the wheel and set aside. Be careful to place the lug nuts where they will not be easily lost while you work. Most importantly, never work on a raised car without a jack stand. You never know if and when a jack will fail and having a 2-ton machine come down on you can cause serious injury.
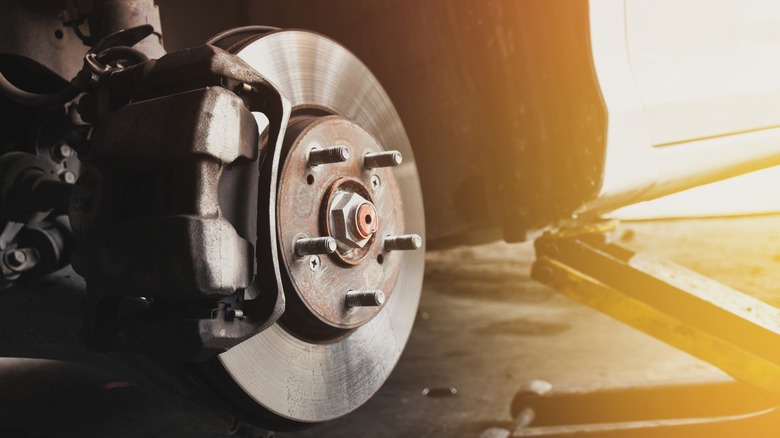
Remove caliper and rotor
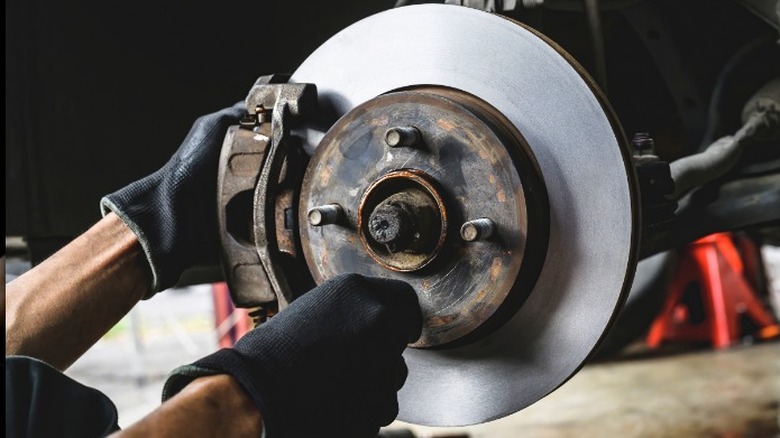
This step requires a ratchet and metric sockets (some cars require hex key sockets), possibly a small pry bar, and a short bungee or length of rope. Most disc brake calipers are installed in two pieces, a bracket and the caliper itself. The bracket will be bolted to the back of the hub typically with large bolts and remains fixed in place. This will remain attached to the car. The caliper will have two slider bolts accessed from the rear that are generally smaller than the bracket bolts and are sometimes found in rubber sheaths. These hold the caliper in place but allow it to move laterally as pressure is applied to the pads. With the bolts removed, it should be possible to remove it from the rotor but may require gentle prying from the bottom.
To prevent damage to the hydraulic lines, use a short bungee or rope to hang it from something up higher to keep the weight of the caliper from pulling on the hose. The brake pads will either be held in place in the caliper or remain on the bracket. Remove the pads by pulling them out from their slots and then set aside. If your pads have wiring attached, it's a sensor that should slide off the pad but may need to be pried by a small screwdriver. Do not force this as it can easily break.
Replace scored, grooved, or severely worn levers. This is just a matter of pulling it off of the hub, though sometimes, the brackets will have to be removed first and some cars have a couple of screws holding the rotor to the hub.
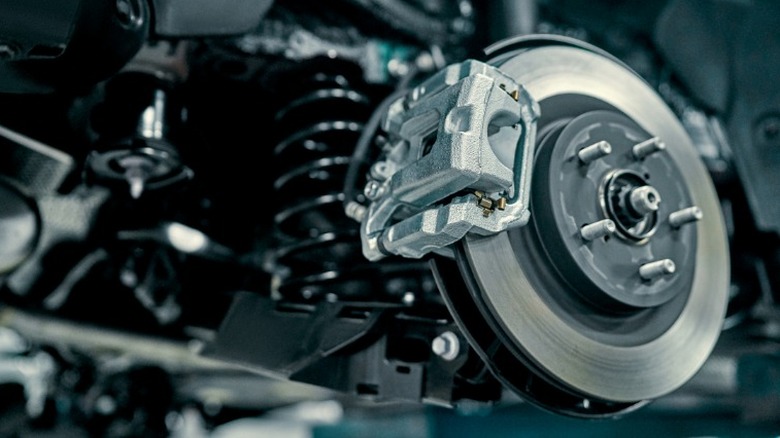
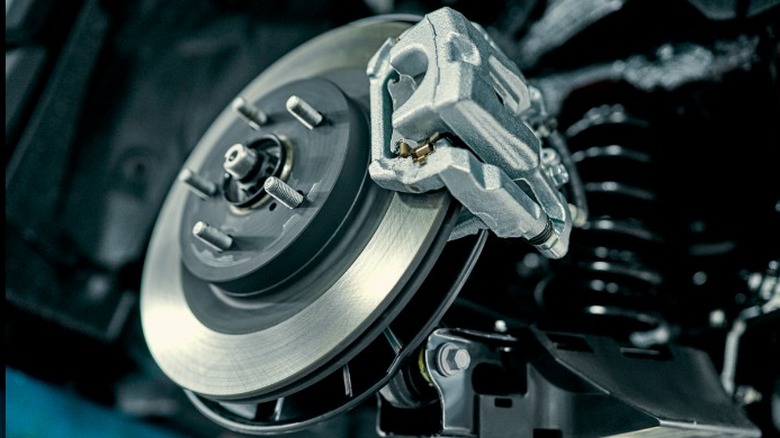
Install new rotor and pads

For this step, you will need a ratchet and sockets, a brake spreader, and brake grease. For rear brakes, a rear brake piston tool may also be needed. The new rotor should be placed back upon the hub and caliper reattached if needed. The caliper piston should be pushed back within the caliper to make room for the new brake pads. Use the spreader with one of the old pads against the piston and it should easily push back in its cylinder. For rear calipers, use the rear brake piston tool to rotate the piston as it's pushed back into the caliper. You may have to switch between tools pushing it back and then twisting it a bit until you get a feel for how it works.
Once the piston is fully depressed, dab a bit of brake grease into the backs of the pads and place it back in the caliper or bracket. This prevents squealing brakes. Some brakes have small wires or flat hardware pieces to keep the pads firmly in place and it is important to make sure these are not overlooked. Most replacement pads will come with new hardware. Once the pads are in place, carefully put the caliper back in place over the rotor and ensure proper alignment. Before putting the slider bolts back in place, use a small amount of brake grease and apply it along the smooth part of the bolt. Then reinstall and tighten it firmly.
Recheck work and reinstall wheel
At this point, you should be nearly done. Pay particular attention to brakes with wear sensors to be sure they are properly installed and secure, and that the wiring is routed properly. Look over everything and double-check that all the bolts, screws, and hardware you removed are now installed somewhere on the car. If you find that something is missing, go back and do it again properly as brakes with missing parts can be dangerous. Mistakes happen and It may be a pain, but it is better than causing an accident.
Once you are satisfied everything is installed properly, it's time to put the wheel back on. Place the wheel back onto the lugs and put the lug nuts back on, only turning by hand for now. Raise the vehicle a bit and remove the jack stand before lowering it back to the ground. Then the lug nuts can be tightened. It is recommended that they be tightened to factory torque settings, but it is up to you how to handle that. After this step, it is time to do the other side.
Final check and wrap up
Before tearing off down the street, check the brakes for functionality. The last thing you want to do is complete the job only to cause an accident the first time out. The first time you press your brake pedal, it will feel like it goes to the floor. This is normal. Your calipers are spread to their max capacity and need to take up the extra space to get a grip on the rotor with the new pads. The second or third time on the pedal will usually feel normal. If the pedal continues to feel abnormal, recheck everything and seek professional help if you cannot figure out what went wrong. If all is well, take a short and slow drive just to be sure everything works.
It feels good to be able to take care of some things yourself, even though it may not be your specialty — or perhaps because it's not your specialty. Even more so, it's nice to save a decent amount of money. The first time performing this job may take you a while, but it will get faster the more times you do it. The more you do anything the faster you will get, and once you have brakes mastered, you can move on to more difficult services next time.