

How To Clean Your Drill Bits (And How Often You Should)
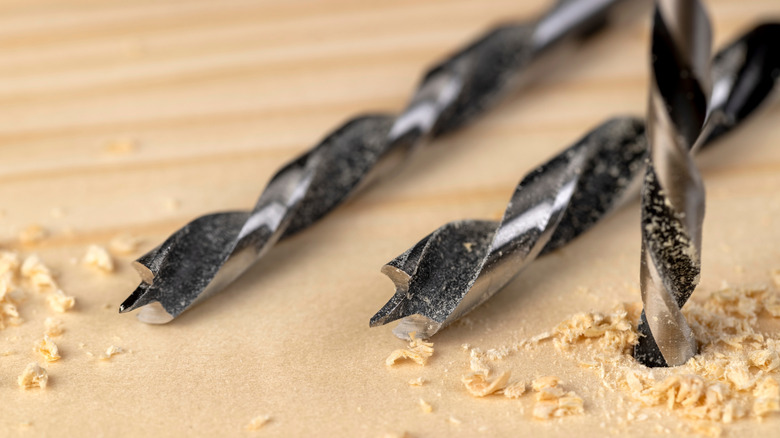
A power drill is often the first and foremost tool in a myriad of jobs and tasks. Whether you're making holes or securing fasteners, it's right there in the thick of things. Of course, this also means that the drills and drill bits get a proverbial faceful of whatever you're drilling into, whether you're drilling into stainless steel, wood, plastic, or whatever else. This can leave the drill bit covered in a variety of potentially unpleasant substances, from sawdust to metal shavings.
Given how rugged both drills and their bits can be, some people don't think you need to do anything special, believing that simply using the bit again will knock off the crud. That can help, but it's definitely not the same as a proper clean-up, and it's certainly won't do your bits any favors if you're about to put them away for a long time. Even a top-rated drill bit set from Harbor Freight will eventually fail if you don't take care of it properly. If you can spare the time and effort, you should pull out a stiff brush and some lubricating oil after every job and give those bits the thorough cleaning they've earned.
Bits should be cleaned after use and before storage
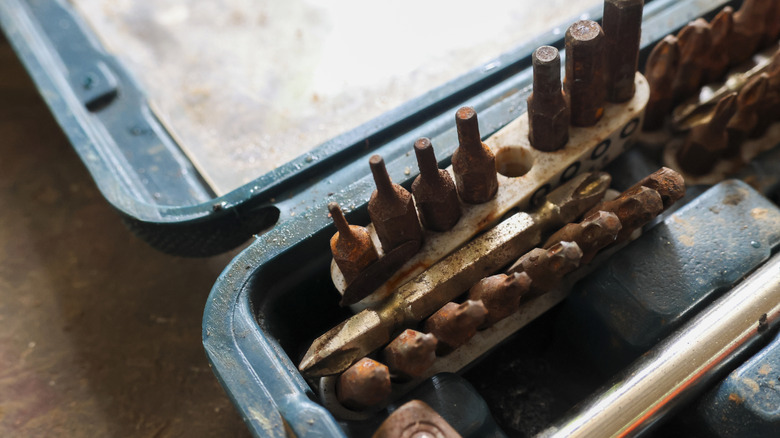
If you're looking to keep your drill bits clean, the best cleaning schedule is a consistent one. In other words, if you have time, clean every bit you use immediately after the job, especially if the task was particularly strenuous. Substances like sawdust and metal shavings, as well as sticky residue like oil or resin, can gradually accumulate on the surface of a drill bit.
You might not notice any hits to the bit's efficacy right away, but as these substances accumulate, the flutes and grooves get packed up, with sticky residues binding it all in place. If all that gunk gets stuck, the bit will lose some of its drilling power and wear out faster than it normally would. Drill bits don't last indefinitely, but they can certainly last longer with good upkeep.
At the very least, you should clean your drill bits thoroughly before storing them for a long stretch. If you store your bits dirty, not only will the aforementioned gunk have plenty of time to solidify, but you could also get a thick layer of dust caked into the mix, which will make cleaning an even bigger chore.
Clean with a stiff brush, then lubricate
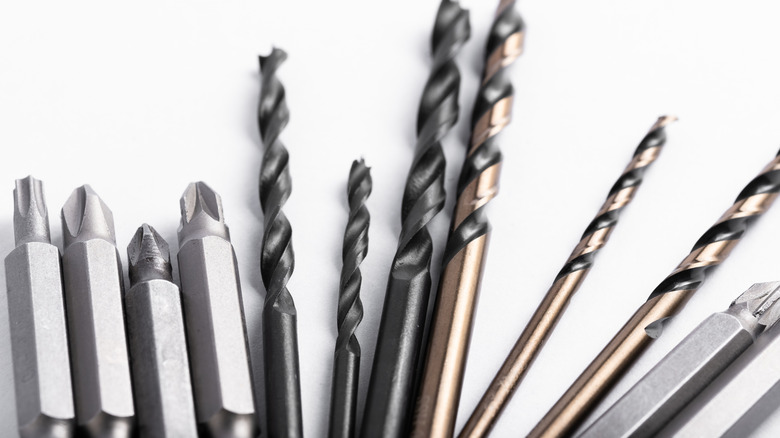
The tools you'll need to clean your bits will depend somewhat on how dirty they are. Generally, though, you'll want a stiff wire brush, a little container of soapy water, a gentler cleaning tool like a toothbrush, a microfiber cloth, and some machine oil.
First, get out the wire brush and run it along the bit's flutes and grooves. This will help remove large debris and weaken the grip any smaller particles and residues have established. Next, drop the bit in a mixture of water and mild soap and let it soak for around 10 minutes. Afterward, brush the flutes and grooves again with the softer brush, and any remaining gunk should slide right off. Rinse the bit with water, then dry it off completely with the cloth, ensuring no moisture remains. If you notice rust, you may want to soak it a second time in a rust-removal solution, followed by another gentle scrub.
Once the bit is clean and dry, apply a drop of light machine oil, using a paper towel to work it thoroughly into the flutes. Use actual machine oil here, not just a lubricant like WD-40, as proper machine oil also forms a protective layer that helps repel contaminants.