5 Windows 11 Features That Are Causing Your Computer To Run Slow
You may have noticed that Windows 11 is going through a bit of a midlife crisis. There is a perception that Microsoft has prioritized cramming more AI features into the OS instead of fixing its many issues. One of the major complaints is that Windows 11 is slow. In many cases, Windows games run faster on Linux than they do natively on Microsoft's OS, even with the added hurdle of running through an emulation layer. If you're a Windows user without a beefy gaming PC, the problem is even worse. Low-end Windows laptops may have perfectly decent processors and adequate RAM for other OSes, but wheeze and lag under the burden of Windows 11.
However, you can reduce much of Windows 11's overhead, speeding up your PC or laptop in the process. There are several Windows features that hog system resources, even though few people ever use them. In some cases, they're not even meant to aid the user; instead, they collect data for Microsoft. Some of that data may be used to improve Windows in the future, but there's no telling what else the company does with it, so why risk it?
In this guide, we'll go over five of the most common culprits that slow Windows 11 to a crawl, and how to crack down on them. From gaming features you probably don't use to telemetry collection you almost certainly don't want, here are five Windows 11 features that are causing your computer to run slow.
Startup apps are convenient but slow down your PC
One of the features Windows has long provided is the ability to boot apps automatically upon system startup. It's a very useful feature in some cases, as most users want security services and critical hardware utilities to be active from the moment they start using their computer. The problem is that Windows 11 makes it far too easy for developers to abuse this feature, and many programs have it enabled by default. This can lead to your computer running very slowly because an untold number of random apps are running in the background from the second your Windows environment loads. Adding to the frustration, many apps bury the setting to disable this behavior deep under several layers of menus.
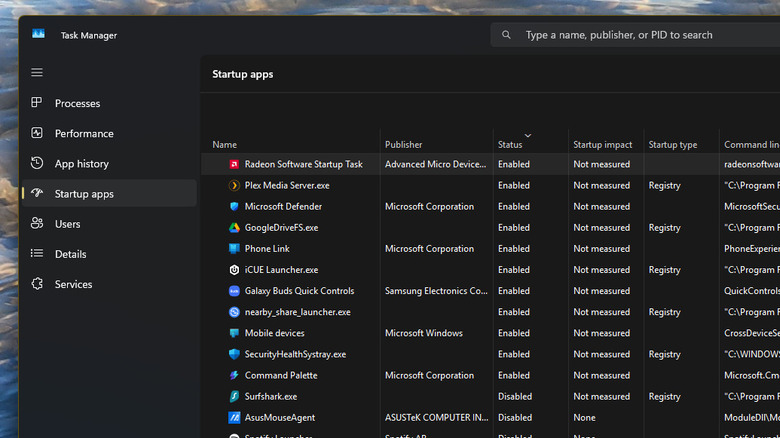
However, you can nip unwanted startup apps in the bud pretty easily. Simply open the Task Manager by pressing [CTRL + Shift + Esc], then click on the Startup tab on the left-hand side of the Task Manager window. You will see a list of apps that can start up with Windows. In the next column, you'll see whether launching at startup is enabled or disabled for each. To make things easier, you can sort this column by clicking Status so that all enabled apps are shown at the top. Right-click the entry for any app you want to disable, then click Disable. Even on very high-end machines with plenty of processing power, it's best to reduce the number of enabled apps to a bare minimum, choosing only those apps you have a clear reason to have running at all times.
Turn off the widgets and news features you probably don't use

Microsoft reintroduced widgets with Windows 11, which live alongside a news feed. By default, the feature can be surfaced from an icon on the taskbar. In theory, it sounds like a useful addition to the operating system — after all, widgets have proven their use on mobile platforms like Android and iOS, so why not bring it upstream to PC desktop environments? In practice, though, it's hard to imagine who this feature is for (though, given the amount of MSN content on offer, the answer is probably Microsoft).
The news you're shown is mostly inane celebrity gossip, SEO slop, and ads in disguise, and you can only make the slightest tweaks to this trough of triviality. As for the widgets, you'll find things like weather, sports scores, and photos from your library, with a paltry assortment of third-party widgets. Have you ever needed a way to control Spotify that involves more clicks than simply using the Spotify app?
Moreover, the news and widgets interface is painfully slow, even on a high-end gaming PC we used to test it for this article. It has a documented history of hogging the CPU, even when it's not in the foreground. On the bright side, you can turn this resource-wasting feature off with just three clicks. It's one of the easiest tricks to speed up Windows 11. Simply right-click on an empty section of your taskbar, click Taskbar Settings, then switch off the toggle for Widgets near the top of that settings menu. Should you ever wish to enable the feature again, you can easily do so by reversing the toggle.
Get rid of OneDrive, especially if you don't use it
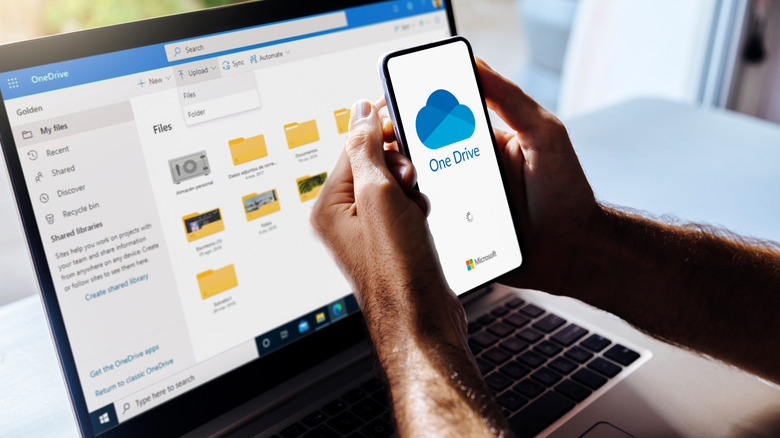
By default, Windows 11 comes deeply integrated with OneDrive, Microsoft's cloud storage solution. Microsoft would, of course, very much like you to pay for a subscription to its services, and getting your files into its cloud is one way to do so. The problem is that OneDrive is a mess, with users reporting being locked out of the service and falling foul of the unintuitive way OneDrive's syncing and backups work (and which can lead to OneDrive deleting local files if you're not careful).
All of that would warrant ripping OneDrive out of your PC by the roots, but the final straw is its impact on system performance. All cloud backup programs work in the background to catch and upload new files and file changes, but OneDrive's background syncing adds a lot more system bloat than is necessary, especially when compared to competitors like Dropbox and Google Drive. Things have become so bad that, in October of last year, Microsoft released an article advising users with slow Windows 11 installs to disable OneDrive syncing to increase performance. (Microsoft has since removed that language from its support article.)
We do not recommend turning off syncing. Instead, you should get rid of OneDrive entirely. It can be easily uninstalled just like any other app on your computer, and many users will see a noticeable performance uplift after doing so. However, to be thorough, you will also need to unlink your account and device. For full instructions, check out our guide on how to disable OneDrive on Windows.
Get rid of animations and visual effects to gain PC speed
Windows 11 leans heavily into its Fluid 2 aesthetic, which Microsoft is about evoking emotion. This calls into question whether Microsoft knows what emotions are, but more importantly for our purposes, it has led to visual effects and system animations that prioritize form over function.
Whether you're opening a program, tabbing across apps, or just opening the newly improved Start Menu, Windows has an animation for it. Some of them are pretty, some aren't, but all of them expend system resources you could be freeing up for actual work. The animations also take time to complete, which can add to the feeling of sluggishness. And then there are the visual effects. Window and UI elements can shift colors and be semitransparent. It looks nice if your hardware can handle it, but on bloated Windows installs or computers with too little RAM, it can cause stutters and hiccups.
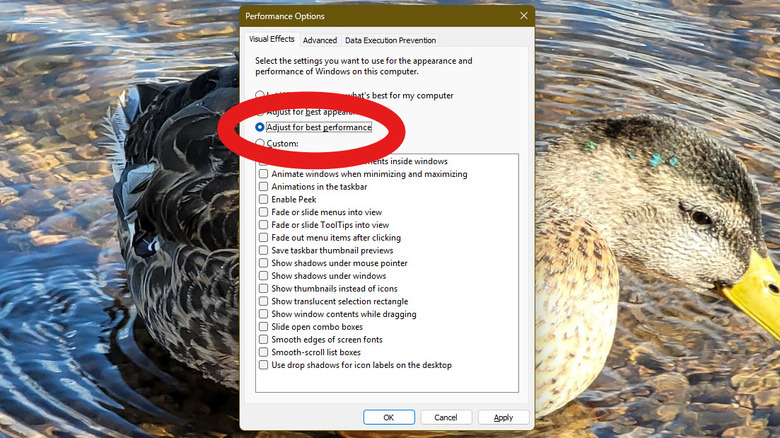
Thankfully, you can adjust most of Windows 11's visual flourishes to find what works for your PC. To do so, open Settings, then type "Performance" in the Settings search box. Choose "Adjust the appearance and performance of Windows" from the dropdown suggestions, and an old-school Control Panel box will appear. At the top, you'll see options to let Windows choose what's best for your computer, or to prioritize either performance or appearance. Below that, you can choose to enable or disable individual effects, a useful option if a particular animation or two are causing your issues. If the option to let Windows pick what's best for your system isn't getting the job done, try using the Adjust for best performance option.
Windows Recall is a resource hog and privacy nightmare
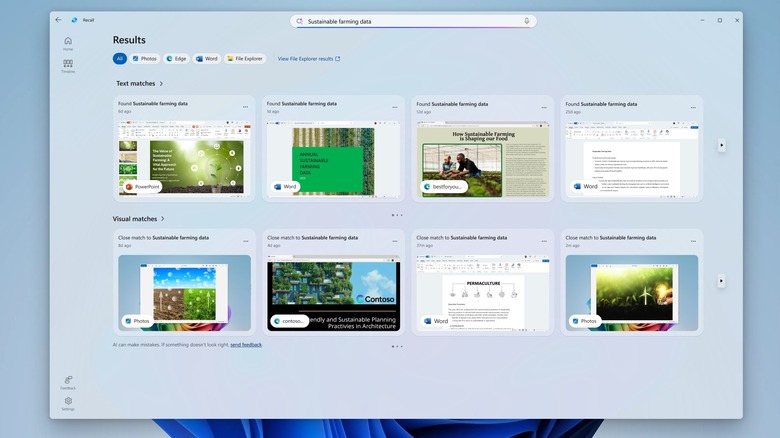
Lastly, a feature you should consider disabling if your PC has it is Windows Recall. Available only on what Microsoft confusingly calls Copilot+ PCs, Recall is an AI feature that takes a screenshot every few seconds and then lets you search through those screenshots later. If having a record of every digital deed stored on your computer sounds like a cybersecurity nightmare, that's because it was. Microsoft recalled the feature shortly thereafter to fix gaping security vulnerabilities that would have allowed anyone with access to a Windows 11 PC to get hold of those screenshots.
After being rereleased, Recall was wisely left disabled by default. That means it shouldn't be enabled on your system if you didn't turn it on yourself. And you probably shouldn't turn it on, not only because those screenshots will pile up on your drive, but because Recall is as much of a burden on your system as you might suspect it to be. It turns out that having a program running in the background to do constant screen captures isn't particularly great for performance, especially on systems with low-end CPUs or insufficient RAM.
To reiterate, Recall is only available on a small subset of newer PCs, so most people don't need to worry about it. If Recall is enabled on your system, you can disable it easily. Open the Start Menu and type, "Features," in the search field, then select "Turn Windows features on or off." In the panel that appears, scroll down to find Recall and uncheck the box next to it, then click Okay.