4 Simple Tips To Improve The Picture Quality On Your New Roku TV
When buying a new Roku TV, you might assume the picture will look great right out of the box. And for many, that may be perfectly true (at least to a point). Roku TVs are cheap and highly rated, and they give you a solid enough image using the default settings. But those settings are meant to work throughout a variety of rooms, lighting conditions, and content types — they're not specialized to your unique needs. Alas, that part's on you. And for that reason, many owners never realize how much better their TV can look with just a little bit of adjusting.
Improving the picture quality on your Roku TV doesn't require any deep technical knowledge. The system includes built-in picture modes, easily adjustable settings, and optional expert controls that can significantly improve your TV's brightness, color, motion, and contrast. Whether you plan to be streaming movies, watching live TV, playing video games, or some combination of the three, there are optimal settings for you. Here's how you can get a cleaner, more accurate, and more enjoyable image out of your Roku TV.
Change your default Picture Mode settings
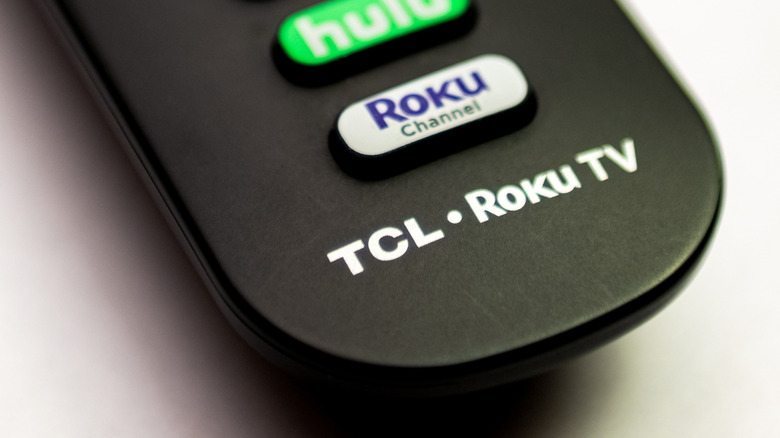
The fastest way to improve the picture quality on a Roku TV is to change the picture mode. These picture modes are preset collections of settings optimized for specific viewing conditions or types of content. And to make things even easier, the TV remembers picture mode selections for each input. That means your streaming box, your favorite apps, and your video game console can all use different modes without manual switching every time.
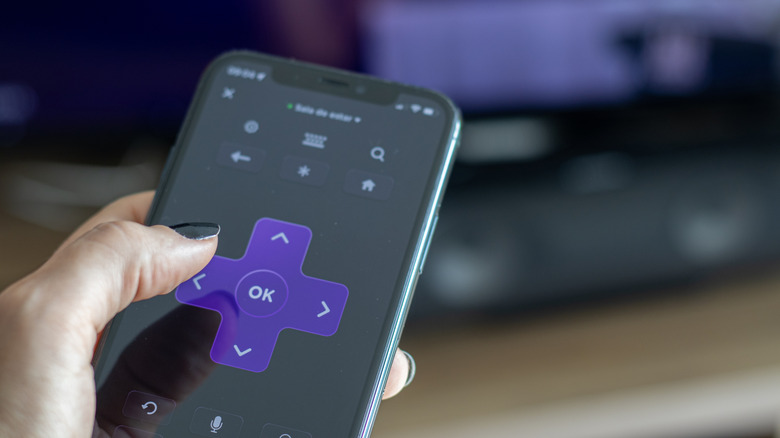
To get started, press the Star button on the Roku remote, select Picture Settings, and choose Picture Mode. From there, Roku TVs give you several picture modes to choose from. Low Power prioritizes energy savings without sacrificing picture quality. Standard mode works well in moderate to bright rooms. Alternatively, Vivid boosts brightness and color for spaces with a lot of ambient light. Sports mode gives more attention to motion and clarity during fast action, while Movie mode is designed for darker rooms for a more cinematic look. Models from 2024 on also come with a Smart Picture mode setting, which automatically selects a mode based on what you're watching.
Customize your unique Picture Settings

Once you've settled on a picture mode, you can make even more improvements to the picture quality by customizing your individual picture settings. Roku TVs let you fine-tune settings directly within the Picture Settings menu by selecting the Customize Picture option. These controls let you adjust how the image looks at a fundamental level. They can be customized to match room lighting, screen size, or other personal preferences. You can also quickly correct issues like washed-out blacks, overly bright whites, or unnatural colors.
The most relevant picture settings you'll want to focus on would be backlight, brightness, contrast, sharpness, color, and tint. Backlight controls the overall light output of the screen (which is especially important in bright or dark rooms). Brightness determines how dark black areas appear, while contrast affects how intense white areas look. Sharpness can be raised or lowered to adjust artificial edge enhancement, while color adjusts how vivid the image appears. Tint helps balance red and green tones, which can improve skin tone. This section also includes picture size options that automatically detect the best fit for the content to avoid any image distortion or cropping.
Tweak the Expert Picture Settings
If you want even more precise control and you're not scared of the "expert" label, certain 4K Roku TV models also include Expert Picture Settings. These advanced controls give you even deeper customization beyond standard picture adjustments. The menu can only be found on 4K Roku TVs running Roku OS 12.5 or higher. (Also, an active video signal is required, meaning something has to be playing or an HDMI input has to be selected.)
Specific settings include options such as gamma correction, noise reduction, color temperature, white balance, color space management, local dimming, and motion-related features. Gamma settings influence how light and dark tones transition across the image. Noise reduction can clean up grainy or compressed video. Color temperature presets affect the warmth or coolness of the image. Advanced white balance adjustments let you fine-tune red, green, and blue levels. And if your TV has "Action Smoothing" or some other "smoothing" setting listed, you may want to turn that off, too.
All of these settings are powerful, and they should all be adjusted carefully. Your changes are saved to the selected picture mode and input, so if you take it too far, you might have to fully reset your picture to the default settings and start all over again from the beginning.
Toggle Game Mode on or off
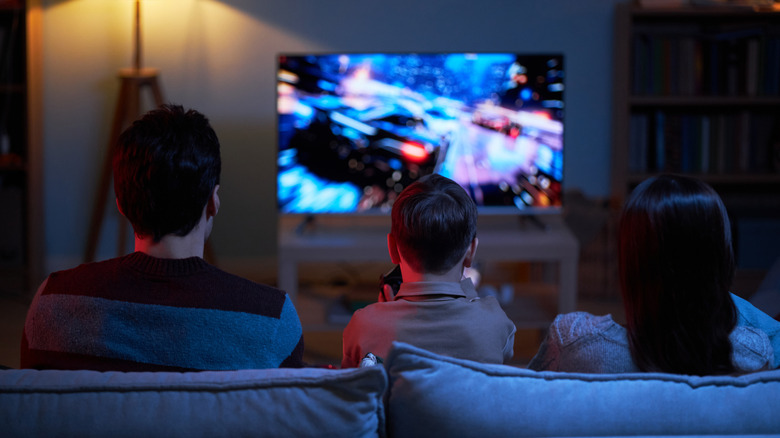
If you're going to be using your Roku TV for more gaming than anything, you'll need to prioritize different picture settings than those who mainly watch movies or television. That's because, for games, responsiveness matters just as much as image quality. It's why Roku TVs come with Game Mode. This setting reduces input lag by minimizing image processing.
Some Roku TVs automatically detect video game consoles and enable Game Mode for that HDMI port. If you don't like the way it looks, Game Mode can also be turned on or off manually by navigating to Picture Settings, selecting Customize Picture, and toggling Game Mode. Newer consoles may rely on Auto Low Latency Mode (ALLM). This automatically switches the TV into a low-latency state when a game launches and back to normal viewing afterward.
Certain Roku TVs also come with other gaming settings like variable refresh rate, FreeSync, and high frame rate and HDR support for an even better picture. Some models also include a dedicated THX Game Mode that balances visual quality and performance. If games still feel sluggish, try checking your console's picture settings. Using a high-quality HDMI cable also helps.