5 Handy Uses For Your MacBook's USB-C Port
We may receive a commission on purchases made from links.
In the early 2000s, Apple's first MacBook models were equipped with a generous number of ports. The 17-inch MacBook Pro from 2009 came complete with a Mini DisplayPort, MagSafe, Ethernet port, FireWire 800, audio line-in and line-out, Kensington lock slot, and three USB ports. Even the thin and lightweight 11-inch MacBook Air from 2010 offered a surprisingly wide range of connectors, including two USB ports, a Mini DisplayPort, a headphone jack, and MagSafe.
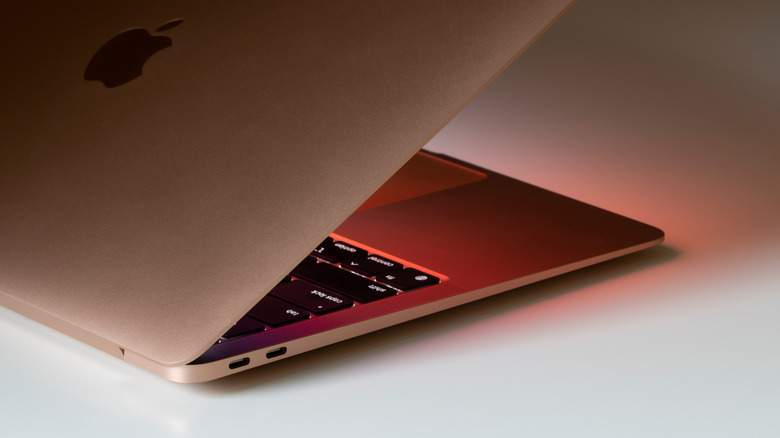
These days, however, Apple adopts a more minimalist approach with its MacBook models. If you have purchased the recently released 13-inch MacBook Air M4, you'll notice that it only has four ports: a headphone jack, MagSafe, and two USB-C ports. The 14-inch MacBook Pro M4 Max 2024 has also limited the connectors to a MagSafe, three USB-C ports, a headphone jack, an SDXC card slot, and an HDMI port. While the smaller number and range of ports seem like a downgrade, it actually isn't. That's because there's more than one use for the modern USB-C port.
Charging your MacBook and other electronics
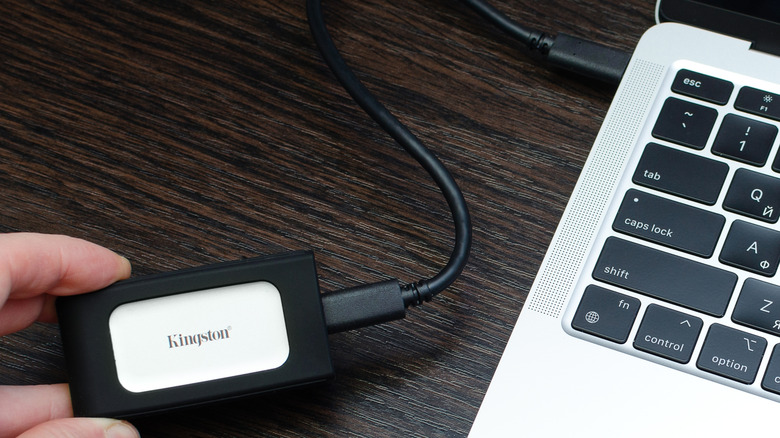
If you've been using MacBooks forever, then you're probably used to charging them via the MagSafe port. It was, after all, the default charging port for MacBook models from 2006 to 2015. In an effort to match industry standards, Apple eventually switched from MagSafe to USB-C. The tech giant did bring back the proprietary connector in recent MacBook Air and Pro releases, but the USB-C port remains a handy way to power up your laptop.
As far as performance goes, there's generally no difference when charging your MacBook with a USB-C port versus a MagSafe port. It all comes down to what power adapter you're using. If you want to fast charge your MacBook Air, you need at least a 67W USB-C power brick. Using the 30W or 35W Apple adapters won't cut it. For the 14-inch MacBook Pro, you can choose between a 96W and a 140W charger for fast charging, but the 16-inch Pro requires only the 140W charger.
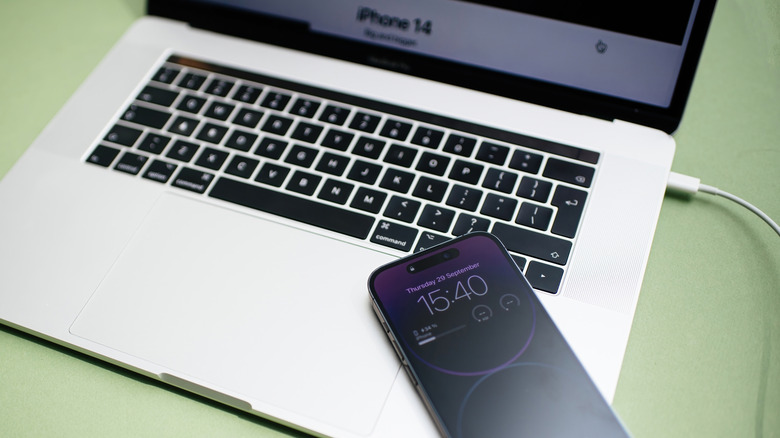
Besides your laptop, the USB-C port on your MacBook can charge other devices like your phone, tablet, and wireless earbuds. This can come in handy when you're out and about and find it a hassle to carry around a separate power adapter for your small electronics. If your connected device doesn't have a USB-C port (such as older iPhone models with Lightning ports or a USB-A mini fan), you'll need to use an adapter to plug it into your MacBook.
Expanding your MacBook's ports
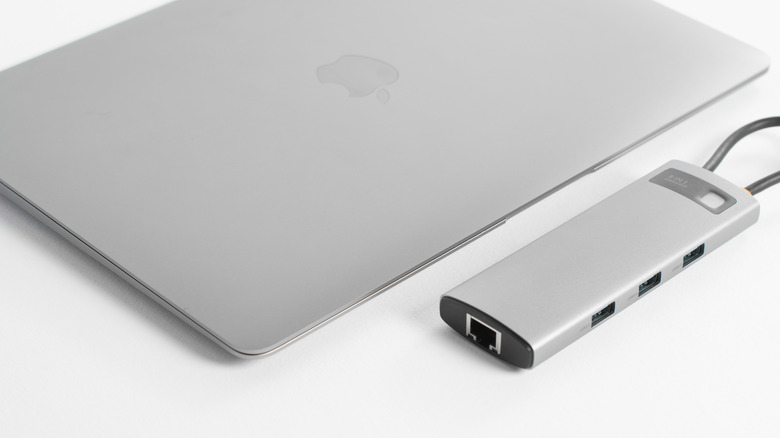
The newer MacBook releases may be powerful, but they typically come with a limited range and number of ports. For instance, the 15-inch MacBook Air M4 only features a MagSafe 3 port, two USB-C ports, and a headphone jack. So now, what happens if you're working with multiple devices, especially those with connectors that don't match your MacBook's ports? Say, you're using a USB-A keyboard, mouse, and printer. Or perhaps you want more reliable internet access via LAN cable. Unfortunately, you can't directly plug those devices into the newer MacBook releases. The good news, though, is that it's actually easy to add extra ports to your MacBook via the USB-C.
To expand your MacBook's connectivity, all you need to do is connect the laptop to either a USB-C hub like the Anker 7-in-1 USB-C Hub or a docking station like the UGREEN Revodok Max 213. Both are generally designed to do the same thing: give your MacBook more ports and add new connection options it didn't originally have.
The only differences between a USB hub and a USB dock are their portability and performance. Hubs typically offer only around five ports, meaning they tend to be on the smaller size. They're more ideal for on-the-go use. Docks, on the other hand, are larger and typically feature more than ten ports. Plus, they support faster transfer speeds and higher-resolution monitors. If you just want a plug-and-play accessory for connecting your few peripherals, you can go with a hub. If you're working at home and need higher specs, a docking station might be a better option.
Extending your MacBook's display
Usually, you would use the built-in HDMI port to connect your laptop to a monitor. However, unlike most other laptops, not all MacBook models include this standard display connector — you can only find it on MacBook Pros. However, that doesn't mean you can't pair your MacBook Air or older MacBooks with an external display. That's where the USB-C port comes in handy.
MacBooks, depending on the model and the number of USB-C ports it has, support one or more monitors. For instance, the MacBook Air M4 with two USB-C ports allows two 6K@60Hz, two 4K@144Hz, one 4K@240Hz, or one 8K@60Hz display. Meanwhile, the 2017 MacBook Retina can only handle one 4096x2304 monitor. For the MacBook Pros, even though they already have an HDMI port, their USB-C ports can still be used for extending your screen together with the HDMI. For example, you can connect three 6K@60Hz displays to each of the three USB-C ports on the MacBook Pro M4 Max, plus a 4K@144Hz on the HDMI, for a total of four monitors.
In addition to USB-C displays, which you can directly connect to your MacBook, the USB-C ports also support other types of external monitors. This includes HDMI screens, VGA projectors, and DisplayPort monitors. You just need to have the right adapter to plug them into the port. Apple offers a USB-C VGA Multiport Adapter and USB-C Digital AV Multiport Adapter (which has an HDMI port) for this purpose, but you can always go off-brand.
Transferring files from MacBook to another device and vice-versa
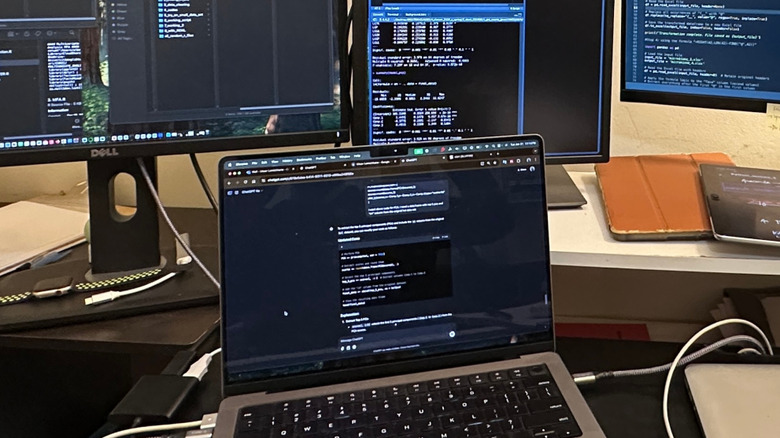
While it's now more common to simply download files from the cloud, retrieving them from a local source can still be faster and more convenient. This is especially true if you don't have internet access in the first place, are working with files of gigabyte sizes, or need to share the files with people already nearby. In such cases, you can use your MacBook's USB-C ports to quickly move files between the devices. These ports support high-speed data transfer — you can get as fast as 40Gbps for Thunderbolt 4 and up to 120Gbps for Thunderbolt 5.
To use the USB-C port on your MacBook for data transfer, just plug in the other device. This can be a typical external storage like an SSD, a flash drive, or an SD card. SSDs and flash drives usually have a USB-C connector built in, while SD cards need an adapter. You can also connect your Android or iOS device to your MacBook via a USB-C cable. It's a quicker way to transfer photos and videos, and also back up your iOS device to your MacBook.
Sharing files from a MacBook to another computer using the USB-C port can work too. If you're transferring files from MacBook to MacBook with USB-C, you'll have to start the system up in Recovery Mode, though. On the other hand, transferring files between a MacBook and a PC is typically done via network sharing, so you'll need an Ethernet cable and a USB-C to LAN adapter for your MacBook.
Connecting your MacBook to handy accessories

The USB-C port on your MacBook may be small, but it actually supports a multitude of accessories to enhance your user experience. For one, if you're using your MacBook for your home office, you can add an external webcam, microphone, keyboard, and mouse to your setup. They can come in handy when you're always hopping on video conferences, or when you just want to work more comfortably. Most of these gadgets typically come with a USB-C connection, so you can conveniently plug them directly into your MacBook. If your preferred accessory doesn't use USB-C, though, you can just pair it with an adapter.
If you're looking to make your MacBook even more powerful than it already is, the USB-C port lets you connect the laptop to an external graphics processor, too. This can improve the graphics performance of your games, support connection to more external monitors, and even enable the use of VR headsets. You just need to ensure your MacBook is running on an Intel processor and has a Thunderbolt 3 port.
Your MacBook's USB-C port can also help you transform it into a media center. Many modern monitors already feature a direct USB-C connection. For the audio, there are wired USB-C speakers like the Creative Pebble Pro Minimalist 2.0 that use USB-C for both audio and power, minimizing clutter. If you want the extra convenience, you can even plug in a USB-C wireless presenter like the DinoFire Remote Presentation Clicker for volume control.