10 Mistakes People Make When Using Power Tools (And How To Avoid Them)
Power tools are supposed to make your life easier. But all it takes is one careless move, and suddenly a quick fix turns into an all-day rescue mission. You've probably been there at least once. Maybe that low-torque job met your high-torque tool, and now the threads are history. Or perhaps you've experienced the heart-stopping thrill of watching your workpiece take flight because you thought, Eh, it's probably fine without a clamp. (Spoiler: It was not fine.)
The good news? Most power tool disasters aren't random acts of tool rebellion. They're predictable, avoidable, and usually the result of skipping a simple step. Whether you're working on cars, building shelves, or tackling home repairs, knowing these pitfalls can mean the difference between a flawless project and a frustrating mess. Ready to keep your projects on track? Here's your cheat sheet to avoid the biggest power tool mistakes, from using the wrong torque to ignoring those weird grinding sounds.
Ignoring tool torque ratings
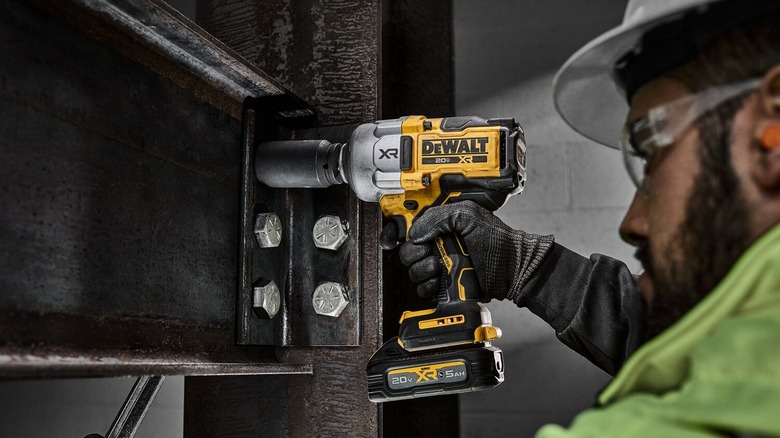
Think of torque as your tool's muscle power. It's the force that causes an object to rotate, usually measured in either foot-pounds (ft-lbs) or inch-pounds (in-lbs). The higher the number, the more twisting force your tool delivers. But more muscle isn't always better. The sweet spot between "Will this ever loosen?" and "Oops, now it's never coming out" is narrower than you may think.
Your lightweight cordless drill might top out around 80 ft-lbs (960 in-lbs), perfect for assembling furniture but utterly useless for wrestling with frozen trailer hitch bolts. Meanwhile, that beefy ½-inch impact gun laughing from your toolbox can deliver up to 1,000 ft-lbs (12,000 in-lbs) without breaking a sweat. And well, that's way more than enough to snap grade-8 bolts like pretzel sticks if you're not careful.
So, what's a DIYer to do? It all comes down to choosing the right tool for the job. Simply put, smart operators play matchmaker between the tool and the torque specs for each fastener. For example, a cabinet hinge might need the finesse of a drill's adjustable clutch, set just high enough to seat screws without crushing the particle board. Suspension components demand the brute force of an impact wrench, but with the discipline to stop as soon as it feels snug. And for the love of all things threaded, your delicate aluminum engine parts deserve hand-tightening plus a precise quarter turn, not your impact driver's ugga-dugga setting.
Overtightening the chuck or bit
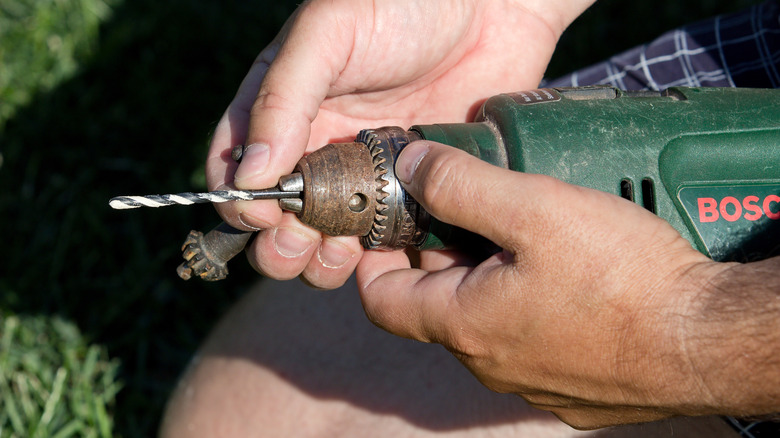
There's snug, and then there's "Why won't this bit come out?!" If you've ever found yourself wrestling with a drill bit like it owes you money, you've likely fallen into the overtightening trap. It often starts innocently enough. You load up the bit, give the chuck a good crank (maybe an extra one, just to be sure), and feel very secure in your decision. Fast forward 20 minutes, and now you're Googling "drill bit is stuck, help!" and your project is on indefinite hold while you try every YouTube hack involving WD-40, rubber mallets, and interpretive dance to free your imprisoned bit.
Here's the deal: Your chuck isn't a vise, and your bit isn't trying to escape. Whether it's a keyless chuck or not, the goal is to hold the bit firmly, not crush it into submission. Over-tightening doesn't just make the bit hard to remove, either. It can strip the chuck's threads, damage softer bits, or even wear out your tool's internals. So, what's the secret? If you have a drill with a keyed chuck, start by taking the battery out — no exceptions. Hand-tighten the chuck, then give it one smooth, confident quarter-turn with the key. For keyless chucks, you can leave the battery in. Just pull the trigger slowly until the bit seats snugly, then finish with the lightest twist by hand. Hear that satisfying little click? That's your cue to stop.
Leaving the workpiece unsecured
It's all fun and games until whatever you're working on decides to fly. Maybe it was just a quick cut or only a couple of holes. No big deal, until your carefully measured board shifts, spins, or launches like it's auditioning for Cirque du Soleil. Why? Because your hands make terrible clamps. No matter how strong your grip is, it's no match for kickback or a drill bit catching at 2,000 RPM.
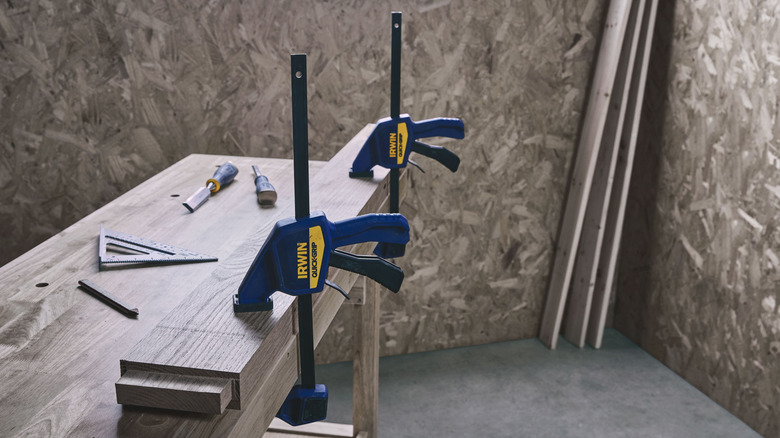
So, clamp it down. Hard. Like it personally insulted you. And choose the right clamp for the job. The basic F-clamp gathering dust in your toolbox is perfect for locking down sheet metal or keeping trim from sliding mid-cut. If your workpiece is longer than your arm and twice as stubborn, it's officially a pipe clamp situation. When you need to just hold something for a second, speed clamps are your go-to. And strap or corner clamps save you from an all-out wrestling match when working with oddly shaped materials.
That's not the end of the list. You've got dozens of clamp options out there, each with its own specialty. But no matter which one you reach for, placement is everything. If you're drilling on one side and the clamp's just lounging on the other, you're practically inviting the piece to take off. And don't forget to toss a scrap piece between the clamp and your project, unless you're going for that dented and distressed look.
Failing to let the tool reach full speed

Think that jumping in right when you pull the trigger on your power tool is the fastest way to get the job done? Not so fast. Starting a cut or grind before your tool reaches full operating speed isn't efficient; It's absolute sabotage. You're forcing your tool to work before it's even remotely ready, and the results are always ugly and often dangerous.
Circular saws that aren't fully spun up are more likely to grab, kick back, or splinter the cut. Routers can bite erratically, creating gouges instead of smooth passes. Grinders catch and jerk, or worse, send the piece flying right back at you. And jigsaws will bounce around like they've had too much coffee. These tools rely on momentum to do their job cleanly and safely. Rushing them means less control, more effort, and a higher chance of ruining your material — or your day.
The fix? Let the tool sing before you ask it to dance. Every tool has its own unique operating pitch, but it takes experience to know the song by heart. Generally, you'll want to wait a few seconds after pulling the trigger before making contact. Listen for a steady, consistent sound telling you the motor has settled into its rhythm. Only then should you make contact, not a moment before.
Applying excessive force
Do you often have a death grip on your drill? Or maybe you lean into your circular saw like you're trying to shove a boulder uphill? That urge to manhandle your tools might feel productive, but your power tools are silently begging for mercy. Pushing harder doesn't make things go faster. Oh no, it's more likely to make things go wrong. For instance, a drill that's forced too hard can slip off the mark, snap the bit, or seize entirely. Push a worm drive saw too aggressively, and the blade might kick back and send your board (or pieces of you) flying.
Power tools work best when you treat them like precision instruments, not blunt force weapons. If your tool needs more pressure than it takes to hold a porcelain teacup (pinky up, of course), something's not right. Try guiding your next cut or hole with just enough pressure to keep things steady. If the tool pushes back or struggles, take the hint. That's your cue to pause and reassess. You might need to swap out a dull blade, slow down your drill speed, or admit that your trusty cordless just isn't built for the job at hand.
Underestimating repetitive vibrations

A lot of weekend warriors (and even some seasoned pros) treat vibrations like a harmless annoyance, just part of the deal when using power tools. But those buzzy, rattly sensations in your hands? They're not harmless. They're micro-traumas, happening thousands of times per minute, and over time, they can lead to a serious condition called Hand-Arm Vibration Syndrome (HAVS).
It often starts subtly, with a little tingling, occasional numbness, and fingers going white in the cold. Easy to ignore at first. But that's a big mistake. If you don't do anything to stop it, nerve damage can occur, resulting in constant pain, reduced grip strength, and loss of fine motor control. And once that damage is done, there's no reversing it.
Remember that advice about not using Hulk-strength on your tools? That goes double here. The extra pressure pumps harmful vibrations straight into your bones and tissues. So, ease up a bit. Also, consider investing in tools with anti-vibration technology, like innovative Makita power tools. They're more expensive up front, but it's worth it. Think of it this way ... tools are replaceable, but your hands? Not so much. Spend smart now, save your grip later. Oh, and don't be a hero. Take regular breaks. Your project will still be there after your 15-minute vibration vacation.
Disregarding tool warning signs

Power tools often send SOS signals long before they fail. A high-pitched whine, a wobbling blade, or a sudden loss of power are all mechanical calls for help. Ignoring them is like slapping electrical tape over your check engine light and hoping the problem magically fixes itself. And that's never a good idea, because tools often prefer to go out with a bang, usually while you're balancing on a ladder or in the middle of a precise cut.
So, what's the smart move? When your power tool starts acting strangely, immediately stop what you're doing. Unplug the bad boy and give it a good once-over. Look for anything loose, cracked, or just plain sketchy. If you're scratching your head and have no idea what's going on, play it safe. Decide whether it's a warranty repair situation or your excuse to finally splurge on a shiny new upgrade. Want to avoid these tool meltdowns in the first place? Stick to some basic maintenance. Clean your tools regularly, keep blades and bits sharp, and lubricate moving parts, as instructed in the manual.
Neglecting dust collection

Let's talk about the fine, powdery coating on every surface in your shop. You might think it's just part of the job, but that dust is causing more trouble than you realize. Sawdust might smell nice, but it isn't harmless. It can be full of irritants and even cancer-causing particles, depending on the type of wood. Breathe in enough of it, and your lungs will start to feel the damage. And metal dust is even worse. Aluminum, magnesium, and steel particles can catch fire fast. One spark from your grinder, and your shop could go up in flames. On top of that, both wood and metal dust are basically tool kryptonite.
Luckily, the fix is easy. Start by setting up a real dust collection system. No, not just that tiny bag on your table saw. In a basic garage, a good shop vac with a cyclone separator can do a lot. But if you have a large shop, invest in a dust collector system with enough CFM (cubic feet per minute) for your tools. With either system, always turn on the dust collection before you power up the tool, and let it keep running for a couple of minutes after you're done. When it comes to cleanup time, use a vacuum with a HEPA filter, not a broom. Or at least dampen the dust with a spray bottle before sweeping. And while you're at it, make a schedule for cleaning your dust collector's filters and emptying its collection bin.
Storing batteries incorrectly
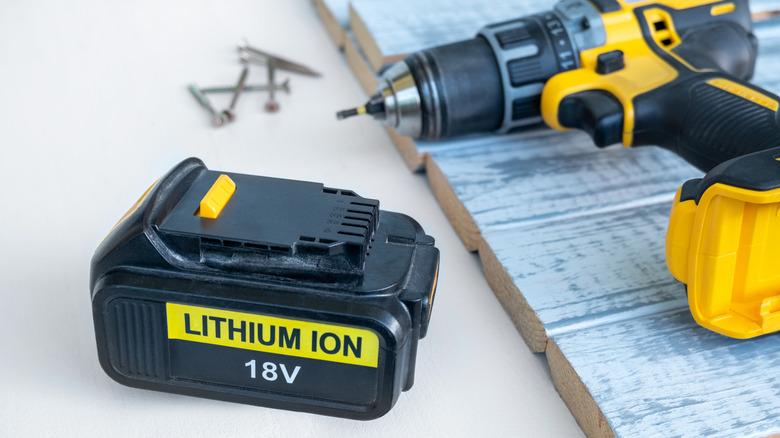
Your power tools might be tough enough to survive a zombie apocalypse, but those batteries? They're the delicate drama queens of your workshop. Store them wrong, and they'll throw a tantrum ranging from refusing to hold a charge to spontaneously starring in a Michael Bay movie. One of the biggest power tool battery mistakes is tossing dead batteries into a drawer and forgetting about them. Lithium-ion batteries don't like sitting around completely drained (or 100% full for that matter). When not in use, lithium batteries should be stored at approximately 40% to 60% charge. That Goldilocks zone keeps stress off the cells and helps avoid deep discharge — a state where the battery gets so low it might never come back.
Temperature matters too. Your garage might be convenient, but if it's an oven in summer or a freezer in winter, it's battery torture. Store your batteries in a dry place away from direct sunlight, preferably in temperatures between 14°F and 122°F (-10°C and 50°C). Think cool basement shelves, not an uninsulated metal shed or truck cab baking in the sun. And don't store them while they're still attached to the tool. Even when powered off, connected batteries slowly drain over time. Plus, if the tool gets knocked off a bench or shuffled around, the battery's the first thing to take the hit. A little separation during downtime keeps both pieces safer and ready to work when you are.
Overlooking cord hazards
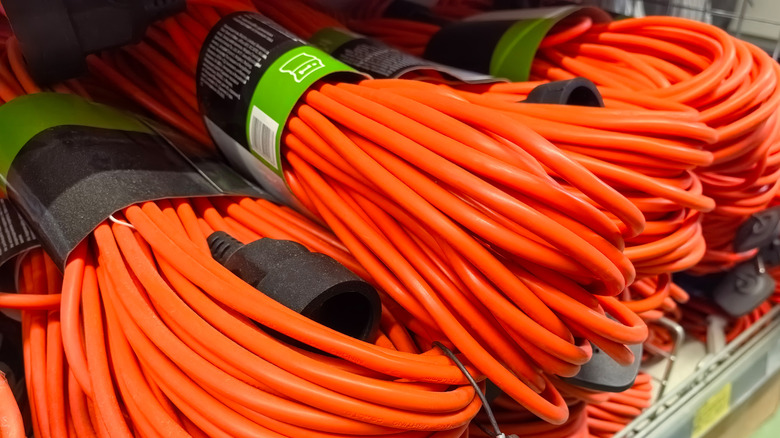
An extension cord looks like one of the simplest tools in your shop. Plug it in, plug something else in, and you're in business. But that simplicity is deceptive. Use the wrong one (or use it the wrong way) and suddenly a basic cord becomes a tool-wrecking, trip-causing, fire-starting monster. Here's the golden rule: Your cord should be as tough as your tool. Big, hungry machines often need short 12-gauge cables, not puny 14- to 16-gauge cords. Otherwise, you get voltage drops, overheating, or even tool damage.
And let's not forget the chaos of cords strewn across the floor. If you're running a cord across your workspace like some kind of DIY tripwire, at least have the decency to tape it down before you send yourself flying. Avoid doorways and high-traffic areas, and absolutely never run cords through sawdust piles or near blades, unless you're trying to see sparks fly. Then, there's the issue of wear. Workshop cords take a beating, and it's easy to miss a nick or fray. That outer jacket is all that stands between you and exposed live wires. That's why it's smart to use GFCI outlets. If something goes wrong, a ground-fault circuit interrupter can shut the power off before you get the jolt of a lifetime.
Upgrade your power tool safety practices

You wouldn't jump out of a plane with a parachute you pulled out of a dumpster. And you're probably not flooring it on bald tires, either. So why cut corners with power tools spinning at thousands of RPMs just inches from your face and hands? That's the thing about power tool safety. It feels optional, right up until it's not. It's easy to brush off until something goes sideways. And let's face it, you don't know what you don't know ... until you do. But now you do know.
You've learned all about the top 10 mistakes people make when using power tools. And even more importantly, you now know how to avoid them. So, what's next? It's simple: Put this knowledge into action. Before you fire up that saw or drill your next hole, take a breath and run through these tips. A little extra attention to detail might seem like a small thing, but it's the key to staying safe, keeping your tools in top shape, and making your DIY dreams a reality without any unexpected (and potentially painful) detours.