These iPhone Camera Settings Could Be Ruining Your Photos
iPhones are often the preferred choice for folks who seek a reliable camera but don't want to stray away from the comforts of Apple's ecosystem. Over the years, Apple has introduced a host of camera innovations that have truly lifted the game for smartphone imaging, thanks to features such as LOG capture, 4K 120fps videos, and audio mixing, to name a few. But the iPhone's mighty camera array is not without its flaws.
Over the years, as Apple has leaned more into computational photography and in-house techniques like Deep Fusion, algorithmic processing has taken the lead. It's not bad, but it often tends to give an unrealistic look to pictures due to aggressive color processing and shadow controls. Thankfully, there are a few settings and tools you can enable to keep your photos from getting messed up.
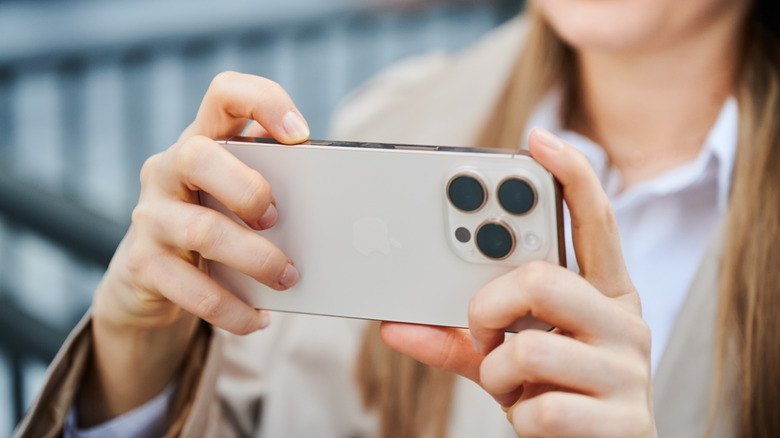
 Nadeem Sarwar/SlashGear
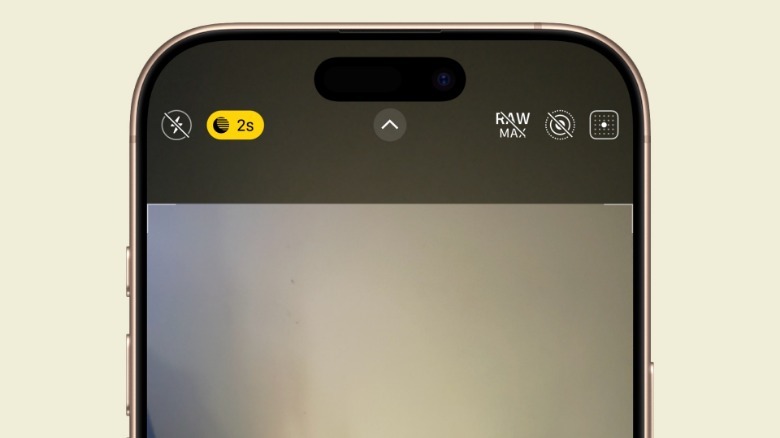
First in line is the night mode. In low-light scenarios, night mode is automatically triggered. See that circular icon with a dark crescent moon in the top-left corner of the viewfinder? That's the feature. Now, night mode is a fantastic tool to bring out more objects in a frame. It can even reproduce elements that you don't see with the naked eye.
The camera achieves that magical effect by splicing multiple shots at different exposure levels. The final result, however, can often be noisy, with a ton of surface smoothening. Moreover, if you want to capture a pristine image in a darker view, you want to disable the night mode processing and capture the frame as it appears in the viewfinder.
Fast shooting, or nah?
Next, we have a feature called Prioritize Camera Faster Shooting, which is predominantly tied to burst shooting, where you can click multiple pictures in quick succession. You have a higher chance of capturing just the right moment within a dozen or two sets of pictures saved in the gallery, but it produces lower-quality shots than what you would expect from the iPhone on a regular day.
The caveat with burst shooting is that the iPhone prioritizes faster capture and saving over applying algorithmic polish and post-processing to make photos look better, so as to keep the system resources free for quick bursts of photos rather than burdening them with processes like HDR application, color processing, bokeh refinement, etc. You likely won't notice the difference in daylight shots, but under challenging light, the differences are obvious.
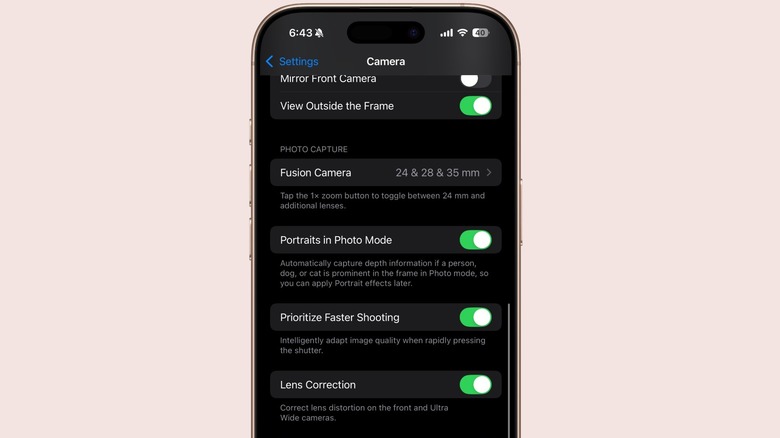
The camera experts at PetaPixel tested the differences and found that burst shots captured in low-light scenarios contained "more noise, reduced dynamic range, and less detail." It's not surprising, actually. When capturing photos under dim light, the system resources have to compensate for not just exposure, but also a whole bunch of other aspects using techniques such as frame stacking. So to get the best out of your phone, you'll want to disable this setting in Settings > Camera > Prioritize Faster Shooting > Disable the toggle.
Style over substance?
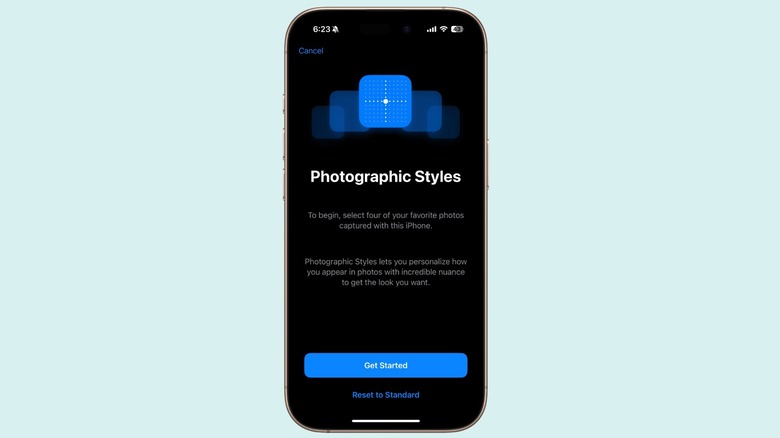
One of the coolest tools that Apple has recently bestowed upon iPhone cameras is Photographic Styles. With the iPhone 16 series, Apple introduced a next-gen approach that puts a D-pad into the camera app for more granular undertone, color, and intensity adjustments. The results are quite pretty and tailor-made for social media. However, they also mask the true color profile of a scene. If you're someone who chases pristine shots and natural depiction, turn it off. To do so, go to Settings > Camera > Photographic Styles > Reset to Standard.
One of the biggest strengths of the iPhone camera is the stunning portrait shots. Apple built a feature that automatically enables portrait capture if the camera detects a person or pet in the regular photo mode. The final result is not always accurate, even though you can make focus adjustments later on. The best approach is simply swiping to the Portrait mode in the camera app and making the granular adjustments during shot composition. You can disable the auto-portrait system in Settings > Camera > Portraits in Photo Mode.
If you are someone who meticulously adjusts the exposure in each shot, tweaks the undertones, and creates a sharp focus, you should also disable Live Photos. Not only does it take more storage space, but it also creates an unnecessary quality conundrum. Yes, you can extract the desired frame from a Live Photo, but it's not as sharp, focused, and composed for exposure as a still picture.