Here's What The Icons And Numbers Mean On Your Milwaukee Drill
The general operation of a power drill isn't rocket science: you squeeze the trigger, the bit spins, you put holes in things. However, that only applies when all you're doing is putting a hole in something, and you don't especially care how big or deep the hole is. If you're looking to do more detail-oriented work, you should take a close look at the tool. Most power tools have multiple functions and settings that can help you do your best work.
For example, if you're using a Milwaukee-branded drill/driver or hammer drill/driver, you may notice a variety of small symbols patterned around the device's tip and handle. By learning what these symbols mean and how they affect your drill's functions, you can set your drill to best suit the material you're working with and the size and depth of the hole you're shooting for. For even more useful info, check out our close look at the history of Milwaukee Tools.
Drill/driver settings
The Milwaukee drill/driver, as the name implies, can be used for both drilling holes into materials and driving fasteners into existing holes. To use these functions, you need to set the device's onboard selector for your preferred mode and power level.
The modes are marked around the torque selector collar behind the device's tip. According to the Milwaukee drill/driver owner's manual (PDF), if you want to use the drilling mode, you need to turn the selector collar to the drill symbol so it lines up with the selector arrow on the top of the device. It looks like a little left-pointing arrow with some diagonal lines on it.
If you want to use the driver mode, you need to turn the selector collar to one of the numbers printed around it. These numbers are the clutch settings; if you're trying to drive in a larger fastener, you need to set the torque on the device higher to accommodate. For even bigger jobs, a Milwaukee hammer drill can help out with major remodels.
Hammer drill/driver settings
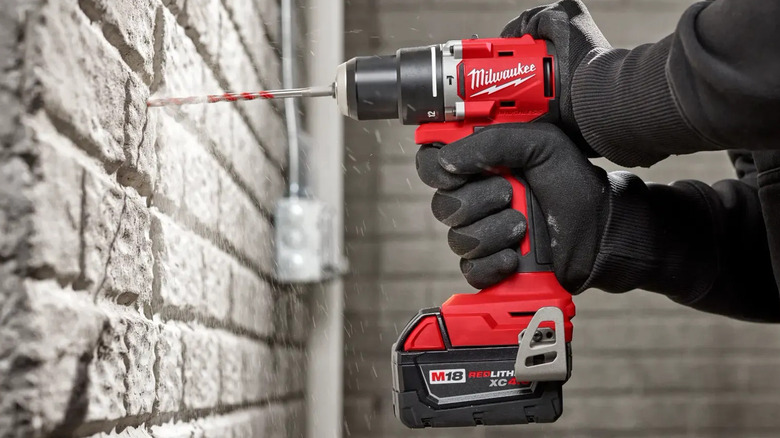
Since a hammer drill/driver has more functions than a regular drill/driver, the icons that control its functions are a little more varied and complex. Like the regular drill/driver, the hammer drill/driver has a torque selector collar with numbers on it for controlling torque levels. In addition to that, though, there's a secondary application selector collar behind it with three symbols: a drill, a hammer, and a screw. Rotating this collar allows you to set which of the device's three modes you want to use.
The drill setting is for the drill, used to bore holes. The screw setting is for when you want to drive a fastener into a hole. The hammer setting is for the hammer-drill, used for when you need to make a hole into especially dense material like masonry. Keep in mind that the torque selector only comes into play when using driver mode; it doesn't matter what number it's on when using drill or hammer-drill mode.
Miscellaneous icons
While the icons and numbers on the selector collars are the most important symbols to understand for your drill's day-to-day usage, there are a few other icons and switches you should be aware of.
If you look on the side of your drill, you'll see a button with a little side-pointing arrow on it. That's the forward/reverse setting. Push the button to flip the drill bit's rotation to clockwise or counterclockwise. You should also be mindful of the battery fuel indicator on your drill's attached battery pack. The battery symbol has four bars next to it that wink off as power is consumed. If all four bars are on, you're at full charge, and if only the leftmost bar is on, you're almost empty.
The exact placement of the icons on your Milwaukee drill may vary slightly depending on your model, but they all mean the same thing. Once you understand the icons on one drill, you've got the gist of it. Once you've got a good handle on all your drill's functions, you might expand your collection of highly rated cordless Milwaukee tools.


