How To Replace The Battery In Your iPhone: A Step-By-Step Guide
We may receive a commission on purchases made from links.
Your phone is nothing but a brick without a battery, and that's why it's unfortunate that its power source is one of the most likely components of an iPhone to fail. The upside to that is because it's not a niche problem, you have plenty of options when it comes to fixing it. One of those options is to get it replaced by yourself, but that has its own set of pros and cons.
The most straightforward solution is to take the phone back to Apple, which offers battery replacements. The cost is free to anyone who has an AppleCare+ plan, but if you haven't paid the additional fee for that level of warranty it will cost you $100 or more for a newer model. (Those of you still holding on to your iPhone 8 — you're in luck. Those replacements only cost $69.) If you want to check the cost of your specific iPhone model, Apple has an estimate calculator on its website, but depending on the severity of repairs, you may have to pay more.
If you don't feel like paying extra for someone else to replace your battery, you can save money by doing it yourself. Keep reading and we'll walk you step by step through the process of replacing it yourself at home, though we would be remiss if we didn't mention this could void your warranty.
Signs you need a new iPhone battery
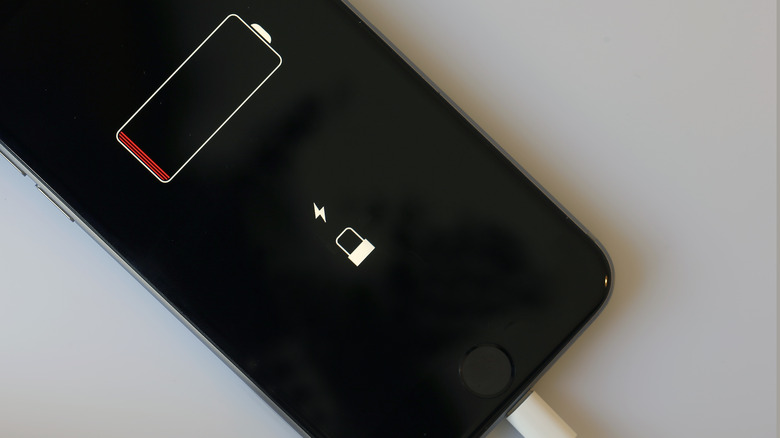
Chances are, your phone will let you know when you need a new battery. There are some obvious signs to look out for when it's beginning to degrade or having some kind of internal hardware issue. Some of the tell-tale signs include (but are not limited to):
-
Your battery life is worse.
-
Your phone is shutting down or rebooting by itself.
-
The iPhone generates more heat than usual.
-
The phone has started to bulge, indicating that the battery is swollen.
-
Apps no longer work well, such as being unable to stream media smoothly.
-
Your phone's battery health indicator gives you a warning that it's too low.
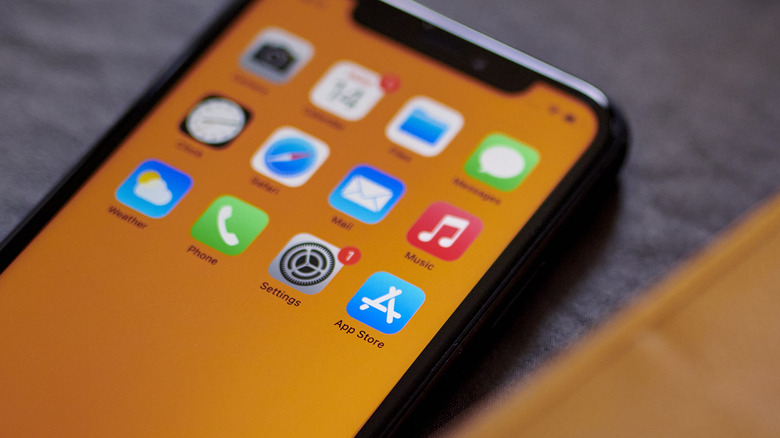
The last option is one that you can keep track of yourself. Apple has a feature that allows its users to check their own battery health. You can access it by finding the Settings and then navigating to Battery Health. For maximum performance, the battery health should show above 80%. If your battery health is under that, then it's time to replace your battery before you begin to see permanent damage to your iPhone.
Before you begin
If you're ready to try and replace your iPhone battery yourself, you'll need to do a few things before you get started. First, check the warranty on your phone. Apple usually considers removing the battery in its products as a breach of the warranty, meaning that you won't be eligible for free repairs from that point on. If your warranty is still intact, weigh the pros and cons before you proceed. Be warned that performing battery replacement by yourself could result in a broken iPhone, so we don't necessarily endorse this. It is only for the tech-savvy!
With that out of the way, there are also some supplies you'll want to get together. These can include:
-
A battery replacement kit that is compatible with your specific iPhone model
-
A P2 pentalobe screwdriver to remove the iPhone-specific screws used
-
A Phillips head screwdriver to remove the other screws
-
A suction cup that will be used to part the screen and casing
-
Some plastic pry tools you'll use to loosen the phone's adhesive
-
A pair of tweezers which may also be helpful when loosening the adhesive
-
Adhesive strips to re-adhere the phone case afterward
-
Isopropyl alcohol
-
A clean surface
There are some battery replacement kits, such as this one, that should contain all of the above. However, they vary by iPhone model, so you might have to gather these things separately if there aren't any kits compatible with your phone.
The other important step you need to take before you get hands on is to make sure your battery is below 25%. The higher the charge is, the more of a risk you take with the lithium-ion battery catching fire or exploding.
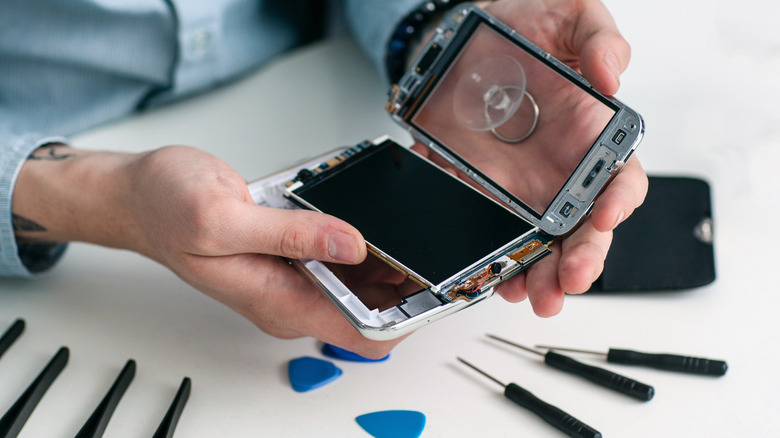
Removing the display from your phone
Replacing your iPhone battery by yourself is much easier if you buy a premade kit. Most involve the same general tools and steps, which we will outline in this guide. We also recommend watching a video or two if you ever feel stuck, as it can help to see how everything is done.
Start by turning your phone off and using the specialized screwdriver to remove the P2 pentalobe screws from the bottom of the phone. These can be found on either side of the charging port. Once the screws are removed, you can use a warming pad or a hair dryer to apply heat across the bottom of the phone to soften and loosen the adhesive.
Next, you'll use the suction cup to create a cap between the phone screen and the phone's case. Once the gap is visible, slide a pry tool two millimeters or less into it. Use the same process of warming the phone, then rotate your prying tool along the left side and then the right side. Do the top last, and slide it gently along the top of the phone. The display will still be attached via cables, but you should be able to open it to the right.
To completely remove the cover and have unrestricted access to the phone's internal mechanisms, you'll need to remove the battery cover, disconnect the battery connector, then unscrew the cover of the battery sensor, and disconnect it. Once these cables are disconnected, the display will lift off.
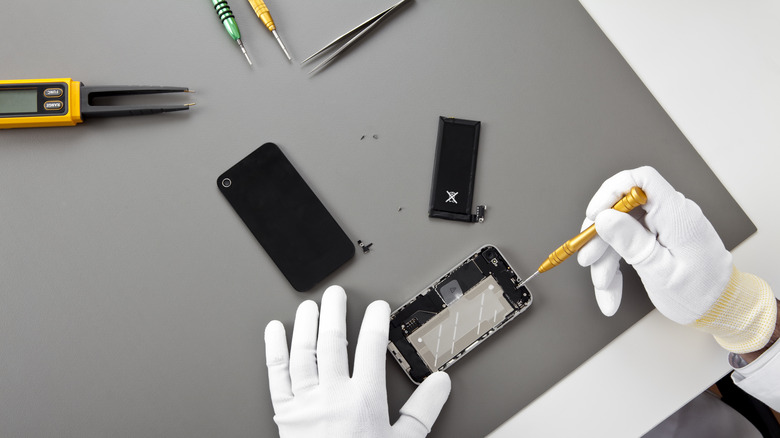
Replacing the battery
Now that the display is off, you can move on to dealing with the actual battery. Before it can be removed, the four screws holding the loudspeaker in place need to be removed. Use your tweezers to remove the loudspeaker, and you'll have better access to the pull tabs holding the battery in position. Once you've exposed enough of the tab you should be able to grab the pull tabs with your fingertips and pull them out.
If your pull tabs break, use the isopropyl alcohol. Put a few drops along the battery and tilt the case, then leave it for a few minutes. The alcohol should weaken the adhesive bond and allow your phone to come out more easily. Your new battery ideally comes with its own adhesive strips. If not, they can be purchased online. Apply the adhesive strips to the replacement battery, then slot it into the position where the old one was. Once the battery is reconnected, you can turn your phone on to ensure the replacement battery is working. If it is, power your phone back off and resume replacing the sensor cover.
Replacing the outside adhesive is important for keeping your phone water-resistant. Your replacement kit should have directions for how to best apply the adhesive. Next, replace all of the components you disconnected, unscrewed, and removed previously. Finally, screw the pentalobe screws back onto the bottom of the case.
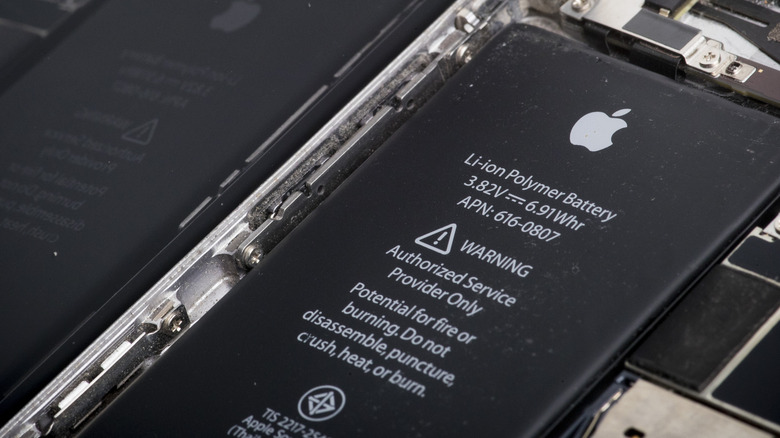
Heads up: Your phone may give you a warning that the battery you're using is not an authorized Apple product. You will also not be able to check the battery's health or performance using the options on the settings menu, but this is true whether you replace your battery with an authorized Apple battery or a different brand.
What to do if DIY isn't for you

If this entire process sounds intimidating or out of your wheelhouse, that's perfectly understandable. Taking apart an iPhone involves removing lots of small screws, working with tweezers to remove and disconnect various things, and applying adhesive. If that sounds like too much stress, it's okay. Not everyone wants to crack open a piece of technology and start poking around in the guts of it. After all, iPhones aren't cheap, and newer models still sell for $1,000 and up — that's a lot of money to put at risk.
There are plenty of phone repair shops that will replace your battery for a fee, and this is one of the more affordable repairs an iPhone can go through. This kind of replacement can take under an hour unless the store has a backlog of clients, so you shouldn't be without your phone too long. You can also make an appointment with a technician at the Apple Store and let them perform the repair for you. Those options may be less cost-effective, but on the flip side, they will be less taxing on your stress levels and in the end, you'll have a phone with a brand-new, fully functioning battery.