How To Turn A Raspberry Pi Into A Wi-Fi Extender
We may receive a commission on purchases made from links.
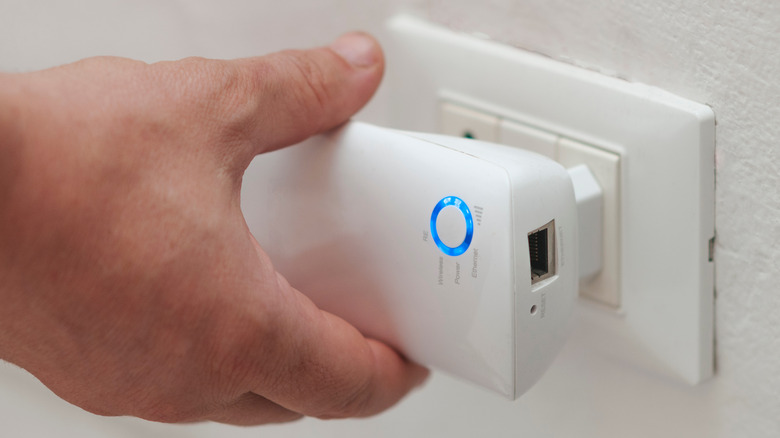
You know how this story goes. Every time technology promises to improve your life, your wi-fi network comes up a little short. You've stowed your new laser cutter in the workshop, but the signal doesn't reach there. Your robot lawnmower has to come into the kitchen for instructions. Your kids can't google "what is this hideous bug?" from their treehouse. The answer is often a wi-fi repeater, and the best way of making one on the fly is via a BalenaOS project.
Let's begin at the beginning. Wi-Fi extenders are also known as range extenders or repeaters, and the names tell the story. An extender is installed within range of your base wi-fi router and then broadcasts its own Service Set Identifier (SSID), which you can think of as the name of the wi-fi connection. The stronger the original signal, the faster the connection provided by your extender. Unlike IDs in many other contexts, an SSID doesn't have to be unique. In fact, if your extender's SSID and password are the same as your base router's, your device can switch freely between them. (This isn't always ideal. More on that later.) If you're on a safari in the wilds of your backyard and wander out of your original wi-fi range, you can pick up a signal from an extender and carry on. The extender's signal can't be any faster than the signal it gets from the router, and will probably be a bit slower. But it's often better than nothing.
How to make a Raspberry Pi wi-fi extender

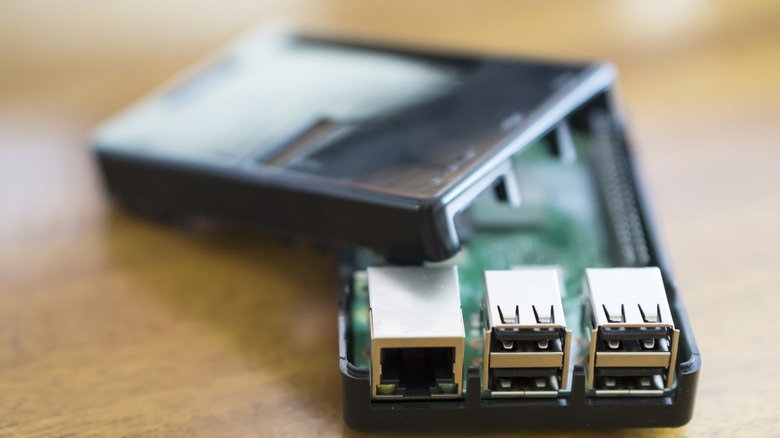
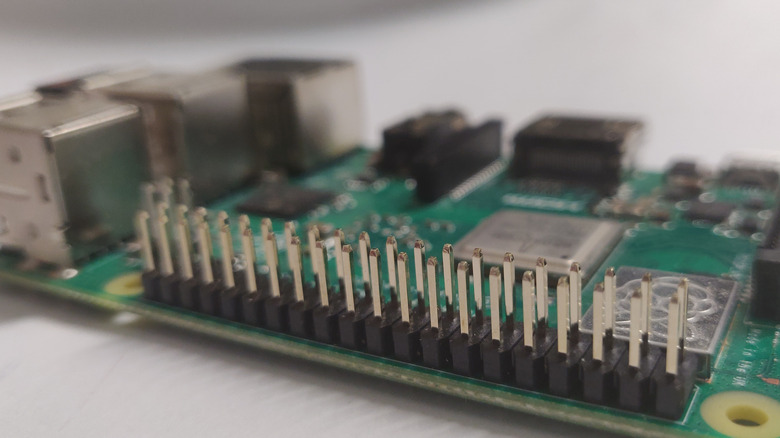
Because wi-fi repeaters are inexpensive and relatively uncomplicated devices, we've based our instructions on creating an extender using a Raspberry Pi Zero W, the smallest traditional Pi with built-in wi-fi. With BalenaOS, the steps for the Pi Zero W are basically identical to any other Pi with wi-fi capabilities. In all cases, you'll need a wi-fi dongle in addition to the on-board wi-fi; one will connect to your router's SSID, and one will broadcast the extender SSID. You'll also need a power supply for the Pi (micro-USB in the case of a Pi Zero) and either a USB drive or a MicroSD card. That's it for hardware.
All of the software setup is Balena-related. BalenaOS and Balena Cloud comprise a Docker-based system for deploying fleets of IoT devices, but you don't need to worry about any of that. Balena is free for your first 10 devices; you can think later about whether you want to use it for other purposes. Overall, the setup is painless, but not necessarily fast. Balena's ecosystem will insulate you from entering (or mis-entering) 200 cryptic Linux command-line instructions, but it does require some setup of its own. Don't worry, they've made it as straightforward as possible. First, you'll get everything in order with Balena Cloud, then you'll flash the USB drive or MicroSD card and set up your Raspberry Pi. Then set up the project and push it to your Pi, and you're done.
How to set up Balena Cloud
Your Balena Cloud account is managed through a browser (except when you create a new release for your fleet, which has to be done either via the Balena CLI command-line app, or via Git). To set up Balena Cloud:
-
Click here and follow the instructions to create your free Balena Cloud account. During this process, you'll provide your e-mail address, and Balena will send you a link to verify it. You can optionally provide your first and last names, company name, and whether this is a personal or professional account. You can use Open Authentication (OAuth) with Google or Git and skip the signup process.
-
Install Balena Etcher. This will be used to write disk images to your MicroSD card or USB drive. Other apps for writing disk images will work as well.
-
To get your wi-fi extender project started, you'll need to create a project and deploy it by clicking here. The first step is to create a fleet, which you'll name and select a default device type for. In our case, we'll choose "Raspberry Pi (v1/Zero/Zero W)." Under Advanced Options, you can set two environment variables called AP_SSID and AP_PASSWORD. This is a point of potential confusion, since we're going to set up two SSIDs. These particular variables create the access point SSID which will allow your devices to connect to the extender, not the credentials of your original wi-fi router. After entering the information, click Create and Deploy.
How to set up your Raspberry Pi
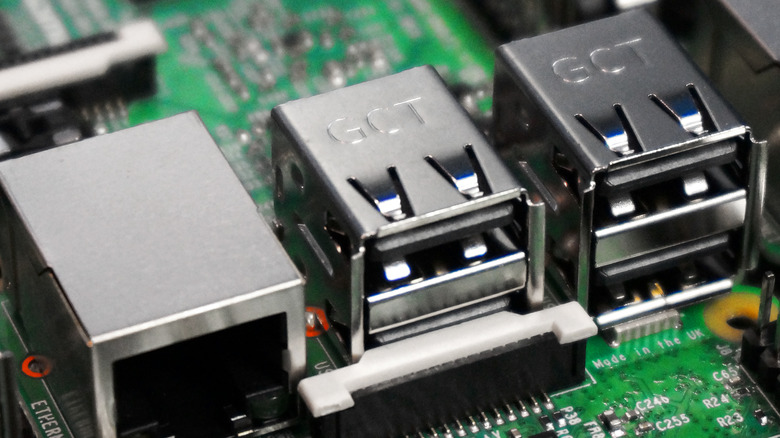
- Connect your wi-fi dongle to your device. In our case, since Raspberry Pi Zero devices don't have a full USB-A port, we'll need to use an adapter so that the USB-A dongle can be attached to the micro-USB port near the center of the Pi board.
- The next step is to add a device, but first allow the initial build (shown under Releases in the top right of your dashboard) to complete. Then click Add Device, change the edition to Development, and select Wifi+Ethernet. This is another counterintuitive option, since you're not using Ethernet at all. It simply allows the device to function as either an access point or a repeater. Under Wifi SSID and Passphrase, supply the credentials the extender will need to log into your existing wi-fi router.
- In the Add Device dialog, click Flash, and allow Etcher to launch. You can also download the disk image here if you're using an application other than Etcher.
- Follow the on-screen prompts to flash your initial release to the MicroSD or USB drive. Once the process is completed, remove the card or drive from your computer, connect it to your Raspberry Pi, and boot your Pi up. In the case of a Raspberry Pi Zero W, this means connecting your power supply to the micro-USB slot next to the edge of the board.
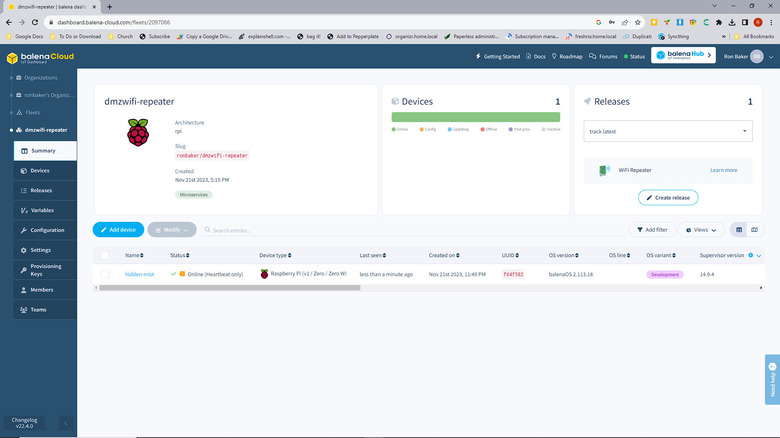
- You should see this device in your fleet in Balena Dashboard within a few minutes.
How to configure your extender

If all goes well, you will be able to use your wi-fi extender now. If you can't, the most likely explanation is that credentials for one of the two networks are incorrect. See the troubleshooting section below for how to tell using the Raspberry Pi's built-in LED. To add or change configuration variables like SSIDs and passwords, click Device Variables from the device menu on the left-hand side of the dashboard. AP_SSID and AP_PASSWORD are the credentials for the extended network you're creating. WIFI_SSID and WIFI_PASSWORD are the credentials for the network you're extending (from your original wi-fi router).
Click Add Variable to create this name/value pair. If you want to change AP_SSID and AP_PASSWORD values you created during project deployment, click Override in the Device Value column. Note that the Docker containers running on your Pi will be restarted if you change environment variables, so expect some delay during this process.
When to use a wi-fi extender
A wi-fi extender is rarely an ideal solution to any problem. A range extender must overlap the original wi-fi coverage area in order to pick up a signal, and that connection becomes the theoretical maximum speed of a connection via the extender. The solution is so sub-optimal that some experts will advise you to try moving your wi-fi router first, or even upgrading it. Since we're creating a repeater on the premise that you can't buy one in time, we'll ignore the upgrade option, but it might be worthwhile to move your wi-fi router to a spot that allows the highest possible speeds, if you have the latitude to do so.
But in general, whenever possible, you'll want to use an access point instead of an extender. An access point takes its signal from an Ethernet connection to the original router, which is far faster and more reliable than a marginal wi-fi connection. One cool feature of the Balena project is that it can switch modes effortlessly from AP to Repeater. For the AP mode, you must have an Ethernet connection available on your Pi, and for Repeater mode, you must have a wi-fi dongle for the second SSID. If all of that is in order, your app will automatically enter AP mode if there is an active Ethernet connection, and Repeater mode if not.
Other ways of building a Raspberry Pi wi-fi extender
There are a few other options for turning a Raspberry Pi into a wi-fi extender. If you're comfortable with SSH and the Linux command line, setting up dnsmasq and hostapd is the most common way to go. This means installing and updating software, managing WLAN settings, modifying configuration files, and making your changes persistent. You can mostly do this by simply copying commands from a tutorial like The Engineering Projects rundown, but you can get into a jam in a few ways, such as trying to specify the correct wi-fi dongle drivers.
Another option is to use software to turn the Raspberry Pi into a full-fledged wireless router, and then put that software into repeater mode. This is probably best suited for a device more capable than a Raspberry Pi Zero. The RaspAP project creates such a router on top of Raspberry Pio OS Lite (it won't work with the desktop versions), and the process is far simpler than configuring dnsmasq and hostapd. But there's still the possibility of some tricky work, such as configuring routing, so be prepared if you go this way.
Is a Raspberry Pi extender better than a cheap repeater?
Speed always depends on your infrastructure, but even with a zippy network, you'll see a degradation in speed over a wi-fi connection. And the Raspberry Pi models compatible with this project could potentially slow things down a bit, too. You should see an overall speed improvement in Access Point mode, of course, and it's likely that you'll get better speeds via a repeater than connecting directly to a weak signal from your wi-fi router. Balena reports that latency can be introduced by the extender, however, which might offset some or all of your gains, depending on how you are using your connection.
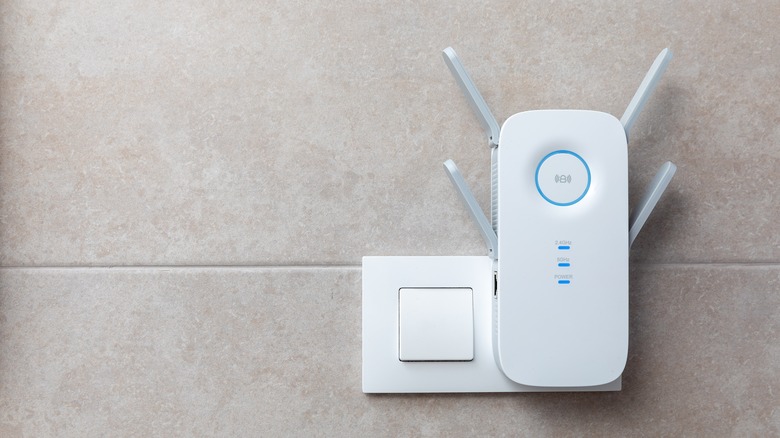
If you're wondering when to use a homebrewed Raspberry Pi repeater rather than an inexpensive wi-fi repeater like one of TP-Link's models, or one of various off-brand options from Amazon, the answer is always "when you have a Raspberry Pi and you don't have an Extender." Your Pi might perform as well as the TP-Link, but it's going to cost more and take a lot more time.
Troubleshooting your wi-fi extender
The most likely trouble spots you'll encounter while setting up a Balena wi-fi repeater will have to do with wi-fi itself. The most common of those issues are exposed by the Pi's ACT LED, which blinks a certain number of times to communicate particular errors to you. Two flashes indicate that the wi-fi chipset used for an access point doesn't have that capability. Three flashes mean that an Ethernet connection either doesn't exist or doesn't have internet access, and that repeater mode couldn't locate a wi-fi dongle for the new SSID. If you see four flashes, Ethernet isn't providing internet access and repeater mode doesn't have the necessary wi-fi credentials stored. Finally, five flashes indicate that Ethernet isn't providing an internet connection and that, while connecting via wi-fi worked, there's no internet connection there, either.
Another common issue occurs when you've named your original and extended SSIDs the same. This is great if you want wi-fi users to be able to move around without changing SSIDs. But your device might stubbornly cling to the first connection even if the extender provides a superior signal.
We mentioned above that a wi-fi extender is better than nothing, but setting that as your bar is almost always a recipe for disappointment, and wi-fi is no exception. A poor extended signal will be more prone to latency, buffering, and the like, and might be frustrating enough that silence is preferable to a start-and-stop, hiccuppy stream of the new Britney Spears audiobook.