The First Thing You Need To Do If Your Android Is Water Damaged
We may receive a commission on purchases made from links.
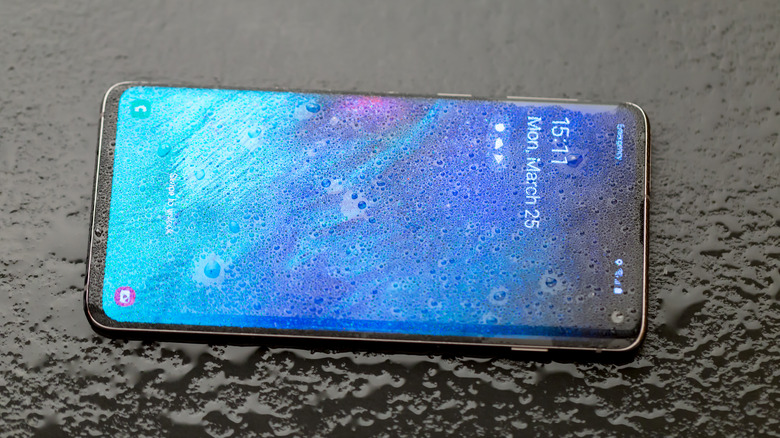
Our smartphones are one of the most important things we can carry around with us. They allow us to communicate with friends and family, connect to social and work services, capture the world on film, and even make payments. When you put enough burden on your smartphone, it stops being a device and starts being a vital lifeline. So, you can probably imagine the kind of feelings that are evoked when you unceremoniously drop your vital lifeline in the toilet.
While there have been some impressive advancements in the realms of smartphone waterproofing in recent years, the unfortunate fact of the matter is that most phones still can't stand up to a sudden splash. If you've got an Android phone that's either been splashed with a large amount of water or completely dropped into it, your first instinct may be to panic, but rather than that, you should take a few swift actions to try and salvage it.
First and foremost steps
As soon as your Android has been exposed to water, the very first thing you need to do is power it down. If it still works for the moment, then press and hold the power button and tap the power option to completely shut it down. Do not press any other buttons from this point on — pressing buttons might allow the water to snake its way further into the phone.
Next, you need to isolate it from any sources of electricity. Not only could a live electric current fry any soaked components, but the current could also cause you injury if you handle it heedlessly. If possible, remove any protective covers from your Android, pop open the back, and carefully remove the battery pack. If possible, you should also remove your phone's SIM card and SD card and place all three on a paper towel. Unfortunately, many Androids no longer have removable back plates, so if you can't pop it open, you'll have to skip this bit.
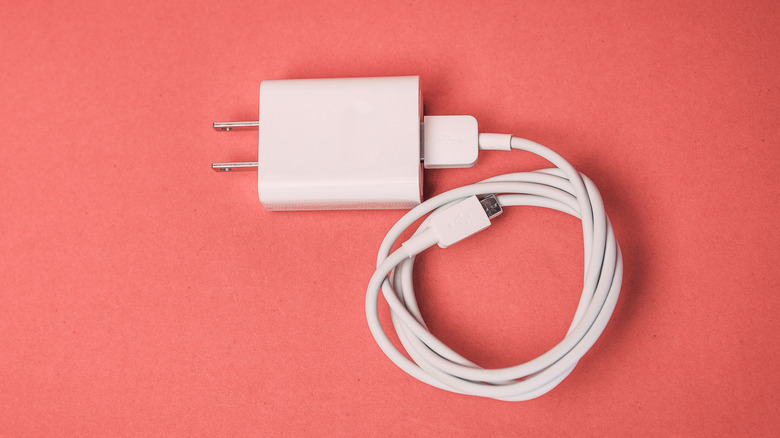
If your phone was plugged into any kind of charger, be it a regular wall charger, a computer USB port, or a portable battery, unplug it immediately. The phone needs to be completely unpowered for the duration of this salvage operation.
Emergency drying
Once your Android has been powered down and disconnected from any sources of live electricity, it's time for some gentle drying. First, use an absorbent microfiber cloth and gently wipe down the screen and outer casing. Make sure to get any loose droplets out of the phone's various nooks and crevices, especially any charging or headphone ports. If a droplet won't get out, you can use compressed air to nudge it into the open. Use it sparingly, though, as you don't want to push the water in further.
After you've removed as much obvious water as you can, you'll need to place your phone in a clean, dry spot and leave it to air dry for several days. Even the smallest bit of water can still mess up your phone, so you must give any hidden droplets time to completely dry and evaporate.
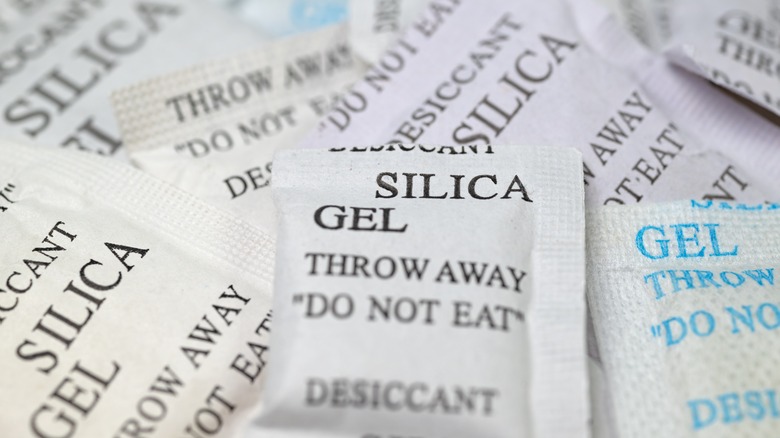
If you want to expedite this process, you can place your Android in a sealed baggie alongside some silica gel packets, those little white packets that usually come with sealed electronics. You can buy some at your local Home Depot and use them to soak up any ambient moisture from your phone. In a pinch, you can also try placing your phone in a baggie with some dry white rice, but the efficacy of this trick is a bit hit or miss, so it's best saved only if the silica gel isn't an option.
Did it work?
After you've left your Android to dry for a few days, give it a look-over. If it appears to be completely dry, you can reinsert the components (if you were able to remove them) and attempt to power them on. If you moved quickly enough and followed the steps correctly, your phone will hopefully be no worse for wear. Keep an eye on its functions over the following days, testing out its primary components, like the microphone and speaker, to ensure that everything is in proper working order.
If your Android won't turn on after drying off, then, unfortunately, it is most likely dead. At this point, you should contact your phone's manufacturer to discuss repair and replacement procedures. If you have insurance for your phone that covers water damage, you should be able to get a fresh one at no additional cost; otherwise, you'll have to pay for repairs out of pocket.
If you were able to salvage your SIM card, you can have it inserted into a new phone to get most of your old data back. If you weren't, well, hopefully, you had a cloud backup running on your old phone.
What not to do
While you're attempting to salvage your Android and dry it out, you may be tempted to try one of several tricks to remove the water faster. However, attempting these things is more likely to break the phone rather than help it.
First off, do not attempt to forcefully shake the water loose from the phone. You can give it a gentle jostle to remove any surface droplets from charging ports, but shaking it like a maraca is just going to circulate the water throughout the phone faster.
Secondly, and more importantly, never attempt to use external heat to dry the phone faster. This includes things like blow dryers, radiators, microwaves, and ovens — exposing your phone to that kind of intense heat would immediately break it even if there wasn't any water in it. The only option is gradual air drying.
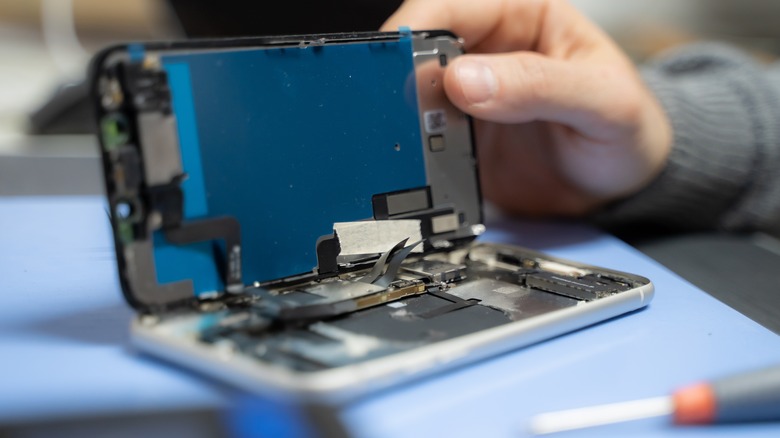
Finally, if the back cover of the phone is removable, you may be tempted to completely disassemble the phone to remove the water by hand. While this is technically an option, it should not be attempted unless you are an expert in smartphone maintenance and assembly. If you yank parts out randomly, you won't be able to put them back together, even if you can remove the water.