How To Fix Joy-Con Drift On Your Nintendo Switch
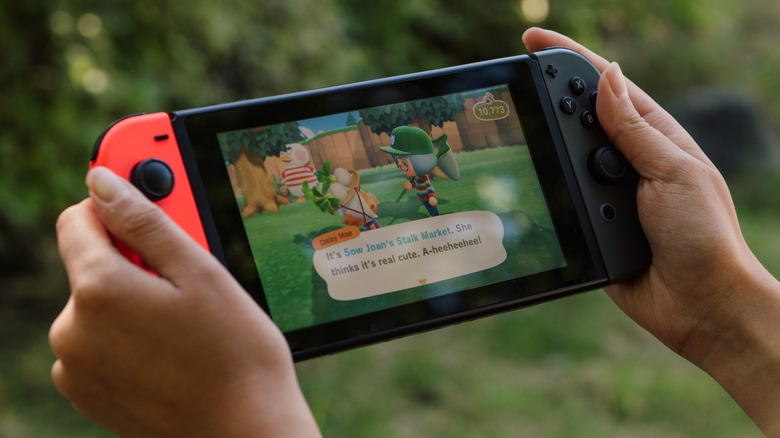
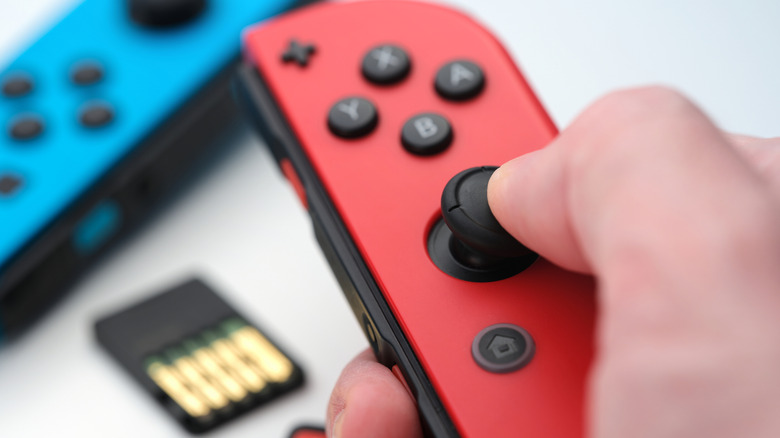
If you've ever played a Nintendo Switch for any length of time, you may have experienced the dreaded plague of Joy-Con drift. Like a gamer spirit using your controller as its own personal Ouija board, things on the screen just start moving even if you know you aren't touching the thumbstick.
Nintendo's Joy-Con drift problems are so notorious that there was actually a class-action lawsuit over them. While there's still no definitive explanation for what causes the ghosts in the machine, Nintendo is willing to help, but that means you'd have to part ways with your Joy-Cons for however long it takes Nintendo to get them fixed for you. If you'd rather avoid that, you can always try to fix the controllers yourself first, although be careful not to damage them, as that might cost you your warranty.
Since Nintendo's specifications page itself doesn't offer a wide range of technical assistance on what impacts drift or how to resolve it, we'll give you step-by-step directions on fixing your controllers. However, before you start whipping out your spudger and tweezers, there are a few less invasive options you can try to see if that gets you back on track.
Calibrate the thumbsticks
One of the first and easiest things you can try is calibrating the controller itself. If your drift is being caused by something physical like dust, this won't help, but if it's just a software glitch, a recalibration might be just what you need. Here's how you can give it a try:
-
Make sure the controllers are detached from the console.
-
Check to see if your console has the latest system update.
-
Open the System Settings menu.
-
Choose the Controllers and Sensors option.
-
Choose Calibrate Control Sticks.
After that, it's just a matter of letting the system work its magic. If you want another software solution and calibration doesn't do the trick, you can try to update the Joy-Con software. To do so, just navigate back to System Settings and choose Update Controllers. If you're skipping straight to this step, just don't forget to ensure your console has the latest update.
Clean the Joy-Con with a vacuum or compressed air
If your Joy-Con is still drifting after a recalibration or a software update, it may be a blockage issue that actually doesn't require the full tool kit to rectify. You can attempt to clear out small debris and other physical items with compressed air or suction.
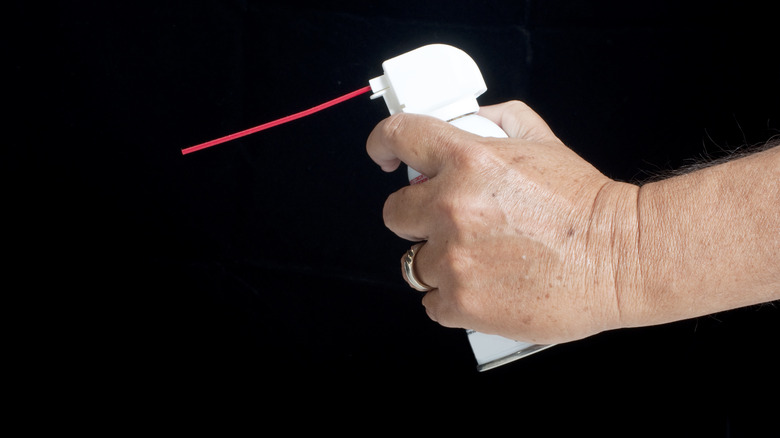
Because it is commonly used for things like cleaning out the inside of your computer or your keyboard, you can get compressed air at any electronics store or most big box stores in general. To clean the Joy-Con, just aim the nozzle directly at the seam. Give it a few good blasts just to dislodge and shift out the grit and then wipe it down. With any luck, this will get the job done and you won't have to break into any of the hardware itself.
Before you attempt to do this, remember to detach the Joy-Cons from your console and do not re-attach them right away. Let them rest for about 10 minutes before attaching them again, and make sure that they're perfectly dry.
How to request repairs from Nintendo
Because Joy-Con drift is a fairly common issue, Nintendo actually offers a free repair service for Joy-Cons. It's always considered a best practice to get repairs done by a professional before resorting to other means. Nintendo has a specific form to fill out if you want to send your Joy-Cons to have them repaired. If you don't already have a Nintendo account, you have the option to create one on this page, or you can file a repair ticket as a guest. The availability of repair services may be limited depending on your location, so make sure you're using your local version of Nintendo's website when you fill out the form.
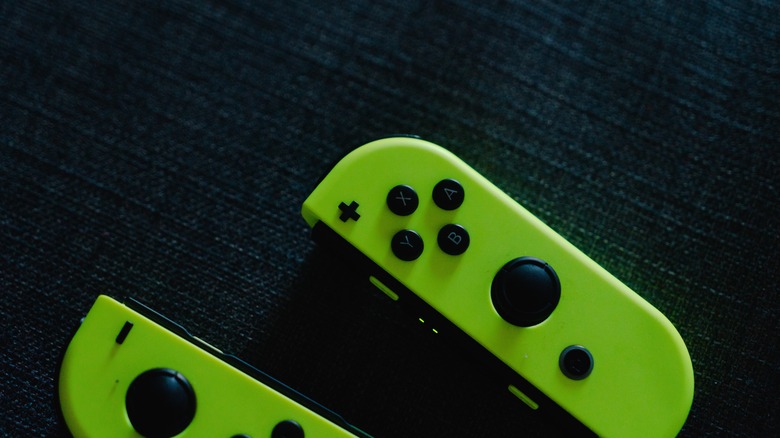
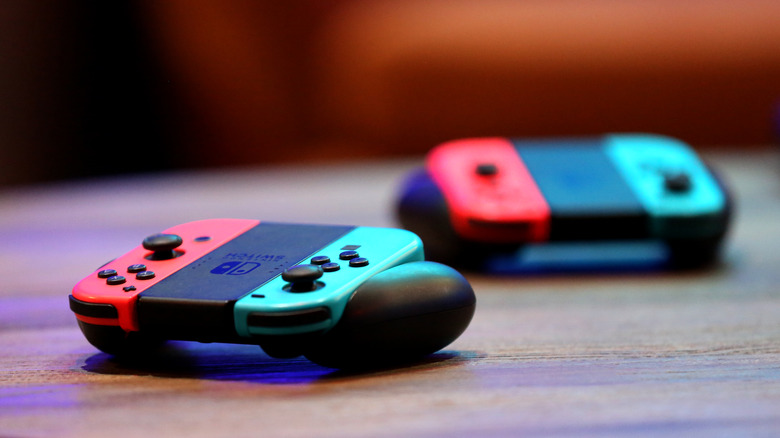
Unfortunately, not every Joy-Con can be repaired. If nothing else is working to fix the drift issues you're having, it may just be time to send it on to the great console in the sky. You can use the same form to file a ticket and request a refund. At that point, all that remains is to buy some new Joy-Cons, and Nintendo has a bunch of fun colors to choose from.
Tools you'll need to fix Joy-Con Drift
Necessity is the mother of invention, and YouTuber VK's Channel actually invented a way to fix Joy-Con drift that we'll lay out here for you. If you absolutely have to do it yourself, his video will show you how. Just be warned that following these steps may void your warranty. If you'd rather hold your breath for Nintendo to have an official solution to this that you are eligible for, skip this section and check out how to get a repair or replacement from Nintendo itself — we cover that down below.
If you're at the point where the drift is so bad you just need to try and fix it yourself, it may be time to break the tools out. Here's what you'll need to fix your Joy-Con drift:
-
Screwdrivers. You'll need a Tri-point and a Phillips head.
-
Scissors
-
Tweezers
-
Spudger
-
Card stock/heavy paper. Avoid anything with a coating or lamination.
-
Pick. A guitar pick is perfect for what you'll need.
If you don't happen to have them lying around your house, you can buy a lot of these tools in kits. Because they're commonly used items when dealing with electronics, hit up any electronics store or head over to Amazon.
How to fix Joy-Con drift on your Nintendo Switch
If you want to be able to play in peace, following the instructions laid out by VK's Channel might be an option. First, gather all the tools outlined above, and then follow these steps to attempt to fix Joy-Con drift by yourself.
-
Remove the four screws on the back.
-
Lift the back panel using the opening or guitar pick.
-
Use the spudger to remove the battery connector from its socket.
-
Lift the battery out with the pick.
Here's the point where the instructions become a little more specific depending on which Joy-Con you're working on. If you're fixing the left Joy-Con, skip steps five and six.
If you are fixing the right Joy-Con:
-
Remove the antenna and the antenna's coaxial cable.
Now resume with the same instructions no matter if it's left or right.
-
Remove the three golden screws underneath the battery.
-
Use compressed air to clean out dust from the controller.
-
Find the metal plate and cut cardstock to the exact size. Don't use tape or glue — just make sure the cardstock is covering the metal plate entirely.
-
Place the frame back on top of the plate and screw it down.
If you're repairing the right Joy-Con, place the antenna and coaxial cable back down, then finish off the same way with either controller.
-
Put the battery back in and use the spudger to make sure it's in place.
-
Put the back panel on and screw it together.
Good job, gamer! You're done. All that's left is to see if it worked. If not, you might have to reach out to Nintendo for help, and hope you haven't voided your warranty!