How To Safely Clean The Inside Of Your Computer
We may receive a commission on purchases made from links.
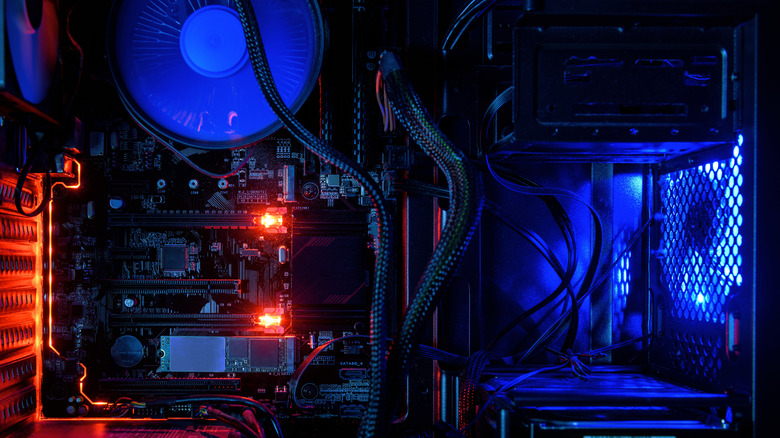
If you own a PC, you probably know that you need to clean it now and then. By that, we don't mean occasionally organizing your folders and uninstalling programs you don't use, but rather cleaning the physical object: your PC case. This can be as simple as dusting the outside of the case and as advanced as disassembling all components and giving your desktop a good deep clean. You can do as little or as much as you like, but the truth is, every once in a while you should clean both the outside and the inside of the case — at least to some extent. Keeping your PC clean is an essential part of keeping it healthy.
This may seem scary to both seasoned PC veterans and new users alike. It's true that cleaning electronics can be a little intimidating; at the very least, it seems like a chore for most people — and it is. In order to deep clean a desktop PC, you will need to take a couple of hours out of your day and focus on your computer's spa day instead of doing something much more fun. However, the benefits make it worth the trouble.
How to prepare to clean the inside of your computer
Whether you want to give your PC a proper clean or you're looking for something quick and easy, you should prepare before you get started. You'll need a few things to make this easier and safer. Cleaning the inside of your PC is not as simple as wiping it down with a piece of cloth. If your PC hasn't been cleaned for a long time, there'll be dust in places you wouldn't even think about, and getting rid of that should be your number one priority.
In order to safely clean your PC, you will definitely need a can (or two) of compressed air and a long straw to attach to it when needed. You'll also need a lint-free cloth, paper towels, a screwdriver or two, and a clean, steady surface in a well-ventilated room.
You may also want to purchase an anti-static wristband. This is optional but very worth getting and keeping at home for whenever you clean your PC. Static damage is a real danger and could potentially damage your components. Depending on how much dust you're expecting in your machine, you might want to grab a vacuum cleaner.
If you plan on going in for a deep clean, you could also need to purchase thermal paste. You'll only need thermal paste for your CPU if it's been a while since you re-applied it. If you don't feel confident with disassembling your computer to this extent, you can skip this step.
Clean your hands, pull your plugs
Before you start cleaning your PC, it's important to prepare for the ordeal. Start by unplugging everything, especially the power cord, but preferably all the different cables. This is a good time to organize them a bit too if they're tangled up. Make sure you know where everything goes when you want to reconnect it later — take a photo before unplugging everything if you think you might need it for reference. Once the PC is disconnected, flick the power switch on the back to off — that's the switch with the I and the O on it.
Wash your hands and dry them thoroughly with a paper towel to avoid producing static. Next, either put on your anti-static wristband or simply press your palms against the side of your PC case to ground yourself. Make sure your hands are touching metal and not the window of the case (if it has one). You should do this periodically throughout the process to make sure you're not causing static within the PC case.
Pick up your computer and place it on a steady surface, such as a desk that doesn't wobble, if you've not already done so. Make sure the surface is clean and that you can access the PC from all sides. The room should be well-ventilated, but not overly drafty.
The dust removal begins
With everything turned off and your palms free from static, remove the side panels and the front panel of your PC case, if your PC has removable panels. If you can only remove the side panel, that's okay — you'll just have to clean the front panel from the inside of the case. If you have enough space on your desk or table, set the panels down and clean each of them using a lint-free cloth. If there are any vents, use compressed air to blow out the dust (make sure you're doing this away from your PC). You can use cotton buds and isopropyl alcohol to clean the glass in your desktop case if there are fingerprints on it, but your main focus should be getting rid of dust.
Now, it's time to move on to the inside of your case. Once again, ground yourself by touching the side of your PC case in order to remove static before proceeding with cleaning the inside of the case.
Grab your lint-free cloth and start by wiping some of the dust away. Do this on the bottom of the case, as well as on any easy-to-access components, such as the graphics card or the power supply. Wipe any vents that you can and try to get rid of as much dust as you're able. Make sure that all the dust you wipe up doesn't go straight back in — gather it up and throw it away instead of letting it fall to the floor, and if you do let it drop, vacuum it right up.
All the nooks and crannies
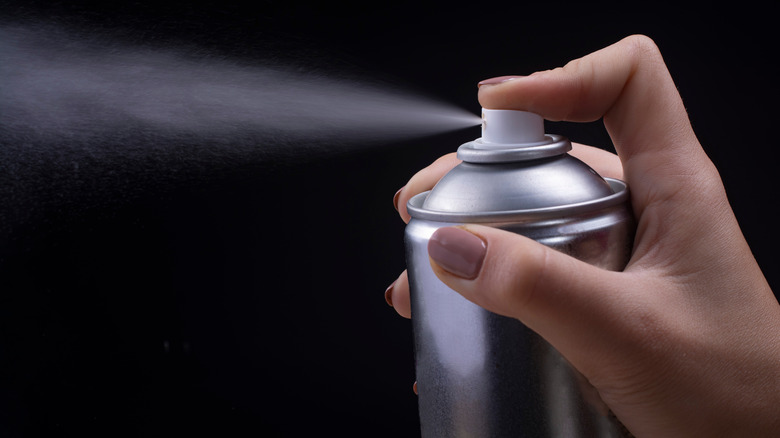
Take your can of compressed air and begin blowing away the dust from places you can reach. This includes all vents, all components, and everywhere you can access without disassembling the PC completely. Use your compressed air can's straw to access the vents, clear out the front panel (blowing the air from the inside out) and the back panel, and dislodge any dust that might be stuck in various nooks and crannies inside your PC.
At the end of this process, you should have a dust-free PC at first glance, and most likely a whole lot of dust on the floor of your case. There are two things you can do about this: wipe it away with your lint-free cloth or vacuum it up. You will need to be exceedingly careful if you choose to use a vacuum cleaner, as you could easily damage the delicate components inside your PC. If you absolutely must use a vacuum for this step, make absolutely sure you don't have any loose parts that could be sucked up accidentally.
At this point in the process, you could stop. If you're only aiming for a periodic clean, this light dusting should suffice. If you want a deeper clean, you'll need to make certain you're confident in your ability to keep all your parts in order, because this is the point of no return.
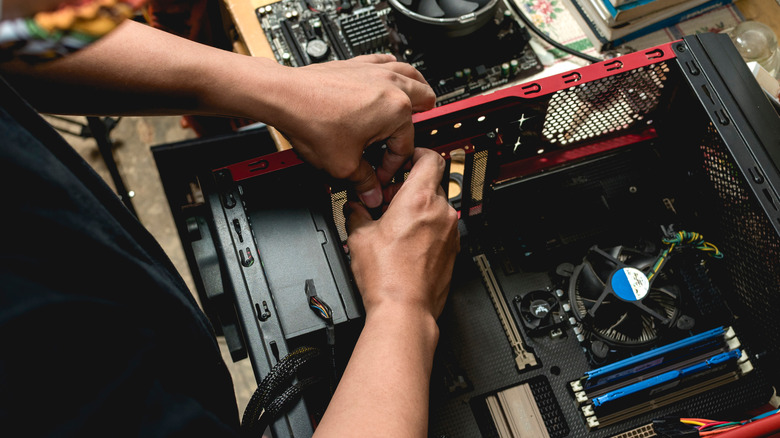
Deep cleaning the little parts
In order to deep clean your PC, start by removing all your components one by one, being extra careful to note where each piece was placed before you remove it. Be gentle as you pull them out and set them on a non-conductive surface once you detach them. You can temporarily move the case aside to ensure you don't blow any of that dust back in as you clean individual components.
You'll be cleaning them using the same combination of tools — compressed air and a clean, lint-free cloth. Pay plenty of attention to each key piece of hardware and be careful — some of these components cost hundreds (or thousands) of dollars, and many are fairly easy to break.
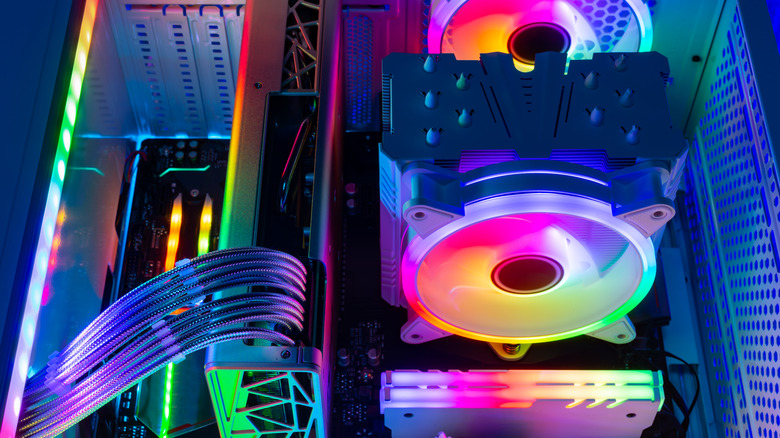
When it comes to fans, make sure you hold the blades in place as you clean the dust away from between them. Some parts, such as the graphics card or the power supply, can be disassembled even further to clean inside them — but you shouldn't bother with this unless you're a real tech wizard. These parts are very easy to damage, and they very likely have warranties that'll be voided the moment you open them up.
If you're removing your CPU heat sink in order to replace old thermal paste, you'll need to clean your old paste thoroughly, and extremely carefully. When it's clean, re-apply a fresh coat of thermal paste. This is another space where you're going to want to be absolutely confident in your ability to execute the basic but important steps required to clean without inflicting damage.
How to re-assemble your PC
With your PC all shiny and clean, it's time to put it all back together. Re-attach the components until everything sits securely in its place. Building a PC is a bit like LEGO bricks — the pieces will either fit together or they won't. You should never need to use brute force to jam a part into place.
Look carefully at all the slots in your motherboard and the pins on the components you want to attach. If in doubt, refer to the tutorial above for a good visual on what goes where.
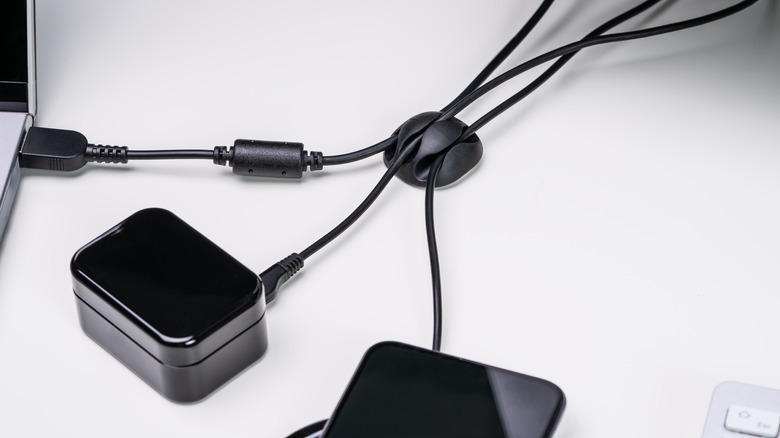
Make sure you shut the case properly — you don't want anything to be loose when you transport your PC back to its original location. Tighten all the screws, pick up the case, and set it down wherever you want it. This is a good time to tidy your cables a little bit when you re-attach them. Cord management kits cost very little and can be real lifesavers in situations such as this.
Plug everything back in, flick the switch on the back of your case, and turn your PC back on. You're done!
Why cleaning your PC is important

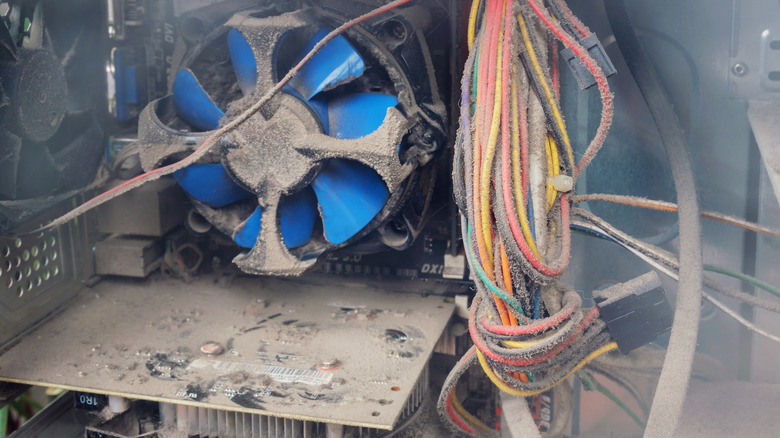
Many people don't make a habit out of cleaning their PC regularly, and honestly, no one can blame them. Not everyone enjoys this process, and much like any other chore, it's very easy to put off indefinitely. However, the longer you go without cleaning your PC, the more you'll see symptoms of it.
High temperatures slow your PC down and contribute to wear and tear. Your components are forced to work extra hard when caked in dust. As a result, the fans will run faster and louder in each component that has them, and the whole inside of the case will be more prone to static damage. Even if nothing bad happens and everything works fine, you can be sure that cleaning your PC will bring internal temperatures down considerably.
If you are aiming for maximum performance, try to give your PC a regular clean at least once every 4-6 months. Between those sessions, make sure to wipe away any dust from the vents without opening up the case. For deep cleaning, once a year is enough, and even once every couple of years is okay. However, as long as you open up the case and blow away the dust thoroughly, it's usually fine if you're not feeling too confident about removing the components.
Whether you start deep cleaning your PC regularly or not, try your best to combat dust build-up in any way possible. Your desktop will thank you by performing well for the years to come. And remember that you should clean the software side of things too, such as defragging your PC when needed or formatting it if necessary.