How To Change The Fonts In Your Instagram Bio

Your Instagram biography appears on your profile page and is meant to give your followers or anyone visiting your grid a brief idea about you. The basic information most people have on their profile are their name and profile picture. You can only change your name on Instagram twice in 14 days, but your profile picture and bio can be updated more frequently.
Your Instagram bio is where you can write a brief description of your account. Apart from providing key information about yourself, you can also use hashtags or tag other Instagram accounts you may be associated with. Instagram also allows you to add emoji and special characters to your bio. Other changes you can make to your Instagram bio include adding your pronouns and up to five links.
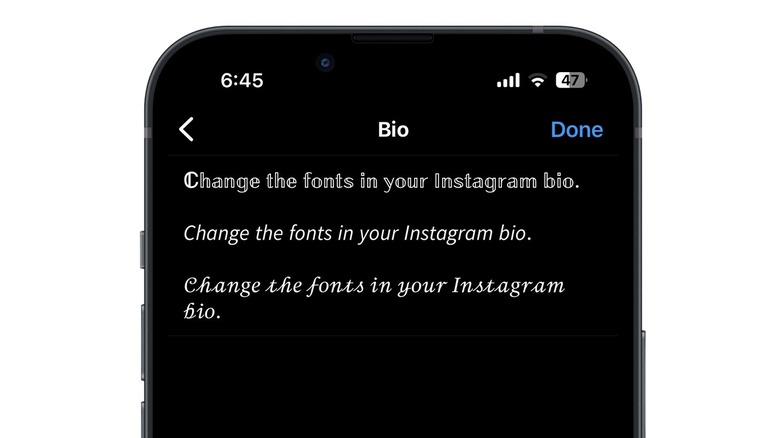
If you want your Instagram bio to stand out, you also have the option to change the font. You can't do this directly in the Instagram app, so you'll need to make use of a third-party font generator instead.
Change fonts in your Instagram bio on mobile
Before getting started with changing fonts in your Instagram bio, it's important to note that these fonts use Unicode characters, which can't be accessed by people who use screen readers. If you want the information in your profile to be accessible to everyone, it's best to stick to the standard font.
There are several online tools that can convert text into different fonts. Some of the more popular ones include LingoJam and Meta Tags. Go to either website, enter the text you want to modify, and choose a font from the available options. Once you've decided on a font, you can make the changes to your Instagram bio. Here's how to do that on the Android and iOS apps:
-
Open the Instagram app.
-
Tap your profile picture in the bottom right corner.
-
Tap Edit Profile.
-
Open the font generator website.
-
Tap on the generated text and select Copy.
-
Go back to Instagram and tap Bio in the Edit Profile section.
-
Long-press the screen and select Paste.
-
Make any additional changes to your bio.
-
Tap Done on iPhone or the check mark on Android.
Change the fonts in your Instagram bio on desktop
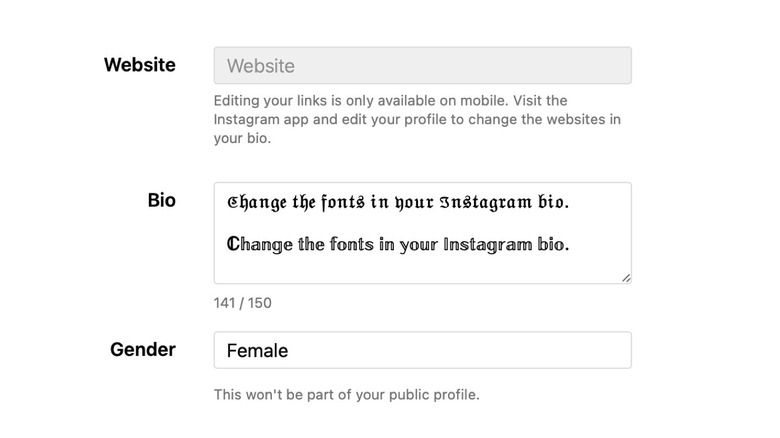
Changing the font in your Instagram bio is more convenient on desktop, mainly because copying and pasting text is easier. To get started, open a font generator site like LingoJam or Meta Tags. Type in your text and select a font to see what it looks like. The Meta Tags website will even show you a preview of the font on an Instagram profile mockup. It also has a handy Copy button next to the generated font options.
Once you've typed in your text and chosen a font, you can go ahead and make the changes to your Instagram bio. Here's how:
-
Open a new tab in your browser, and sign into Instagram on the web.
-
Click Profile in the left sidebar.
-
Click Edit Profile on top.
-
Switch to the tab with the font generator website.
-
If you're using Windows, select the text and press Ctrl + C. On a Mac, select the text and press CMD + C.
-
Go back to your Instagram profile and paste the text into your bio. Use Ctrl + V on Windows or CMD + V on Mac.
-
Click Submit.
Your Instagram bio can have a maximum of 150 characters, so keep that in mind when you're typing your bio on the font generator website. If the text is over 150 characters, it will get cut off on Instagram.