How To Create A New Apple ID (And Why You Might Need To)
If you own an Apple product, you likely are able to use it because of an Apple ID. Not unlike most services and platforms in use today, Apple ID is the account that allows your devices to be connected to each other via iCloud. It also helps users customize their user experience through app and entertainment downloads, as well as store personal data.
However, this might be a bit daunting if you are a first-time Apple user. After all, the Apple ID essentially helps your phone or computer operate outside of its basic functions. You might also find yourself needing to make a new Apple ID – maybe it is attached to an email you don't use anymore, or your previous account became compromised for some reason.
If you believe your iCloud or Apple ID account to be compromised, it is crucial to make a new Apple ID as soon as possible. That being said, this guide isn't just for experienced Apple users needing to know how to make a new ID. It is also for those getting an Apple product for the first time, as well as those just needing a fresh start.
Creating your brand-new Apple ID
No matter why you want to make a new Apple ID, you can do it on almost all of your Apple devices. The company details how you can do this on its website:
-
If you are logged in under a current Apple ID, go to the Settings app and click on your name, scrolling all the way to the bottom until you click Sign Out twice. If you aren't logged in, go to the App Store app and click on the empty icon in the upper right-hand corner.
-
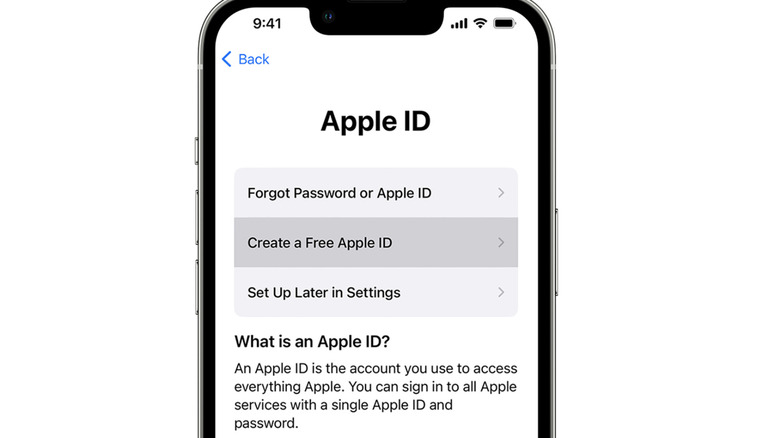
Once the page has loaded, click on the Create New Apple ID button at the bottom. Set up your email, password, and device region.
-
After submitting that information, you will be prompted to enter your credit card and billing information for any purchases you might make on the device. You can skip this option if you want.
-
Type in your phone number for verification and safety purposes.
-
An email will arrive at your connected email address for verification. Once it is verified, you will be automatically logged in.
Changing your Apple ID
You might find that it's easier to simply change your pre-existing ID instead of starting over with a new one. That is also a very easy thing to do and perhaps the easiest way to do this is by changing it through your iPhone or iPad's App Store.
-
Go to the App Store app, and click on your Apple ID profile picture in the upper right-hand corner.
-
When the Account pop-up appears, click on the first banner, which has the name and email associated with your Apple ID.
-
You will be asked to provide the password to your Apple ID. Once you do that, click Sign In and click on the Apple ID button. From that point on, you'll be redirected to appleid.apple.com.
-
Once again, click on the Apple ID button that appears on the page. From the choices provided, click Change Apple ID.
-
A pop-up will appear asking to put in the email address you want to make your new ID, so enter that in. Confirm your intent by entering your Apple password.
-
You should receive an email from Apple with a one-time confirmation code. Transfer the code from that email to the sign-up page.
If you prefer doing changing your ID on your Mac, simply go to appleid.apple.com. From there, follow step 4 onward.