How To Use Apple ID Security Keys On Your Mac Or MacBook

We may receive a commission on purchases made from links.
Modern computer security software and protocols are leaps and bounds above what they were just a few decades ago. However, they're still not quite impenetrable, which is why it's nice that you can protect your hardware with certain physical devices rather than just relying on passwords. One good example of these devices is an Apple ID Security Key: a thumb drive that acts as a second, physical step in two-factor authentication.
An Apple ID Security Key can be used with any iOS device, like an iPhone or an iPad, but in all likelihood, your most important personal files are stored in a proper Mac or MacBook computer. Luckily, you can use a Security Key to protect your Mac computer just as easily as any other Apple device. All it takes is a quick setup, and your Security Key can become a proper key to unlock your personal Mac's deepest secrets.
Security Key requirements
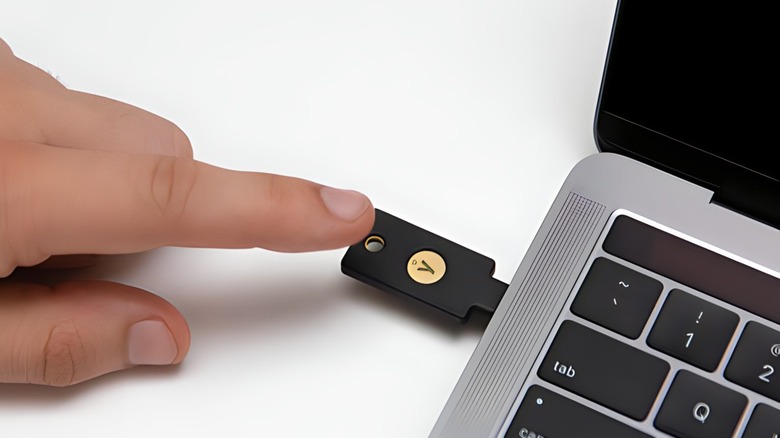
Before you can set up a Security Key with your Mac or MacBook, you need to ensure you have all of the proper hardware and software. First and foremost, of course, you need a FIDO-certified Security Key, such as the YubiKey 5C. Most Security Keys feature both NFC and USB-C connections, so as long as your Mac supports at least one (and it almost definitely will), you can connect them with no problem. If your Mac is a little older, you can still make the connection using a USB-C to USB-A adapter or a Lightning connection adapter.
As for the Mac itself, you need to be running macOS Ventura 13.2 or later, and your Apple ID needs to already have two-factor authentication set up and enabled. If your Mac is too old and can't have its OS version updated, you can't use a Security Key with it. Also, only regular Apple ID accounts are compatible with Security Keys — meaning you can't use one with a child account or a managed account.
Setting up a Security Key

If your Mac or MacBook is up-to-date, and you've got the Security Key in hand, then it's time to set everything up. Make sure you've got a steady internet connection while you do this, as you'll need to sign into your Apple ID account.
-
Click the Apple icon on your main screen to open the main menu.
-
Click System Settings.
-
Click your account name.
-
Click Passwords & Security.
-
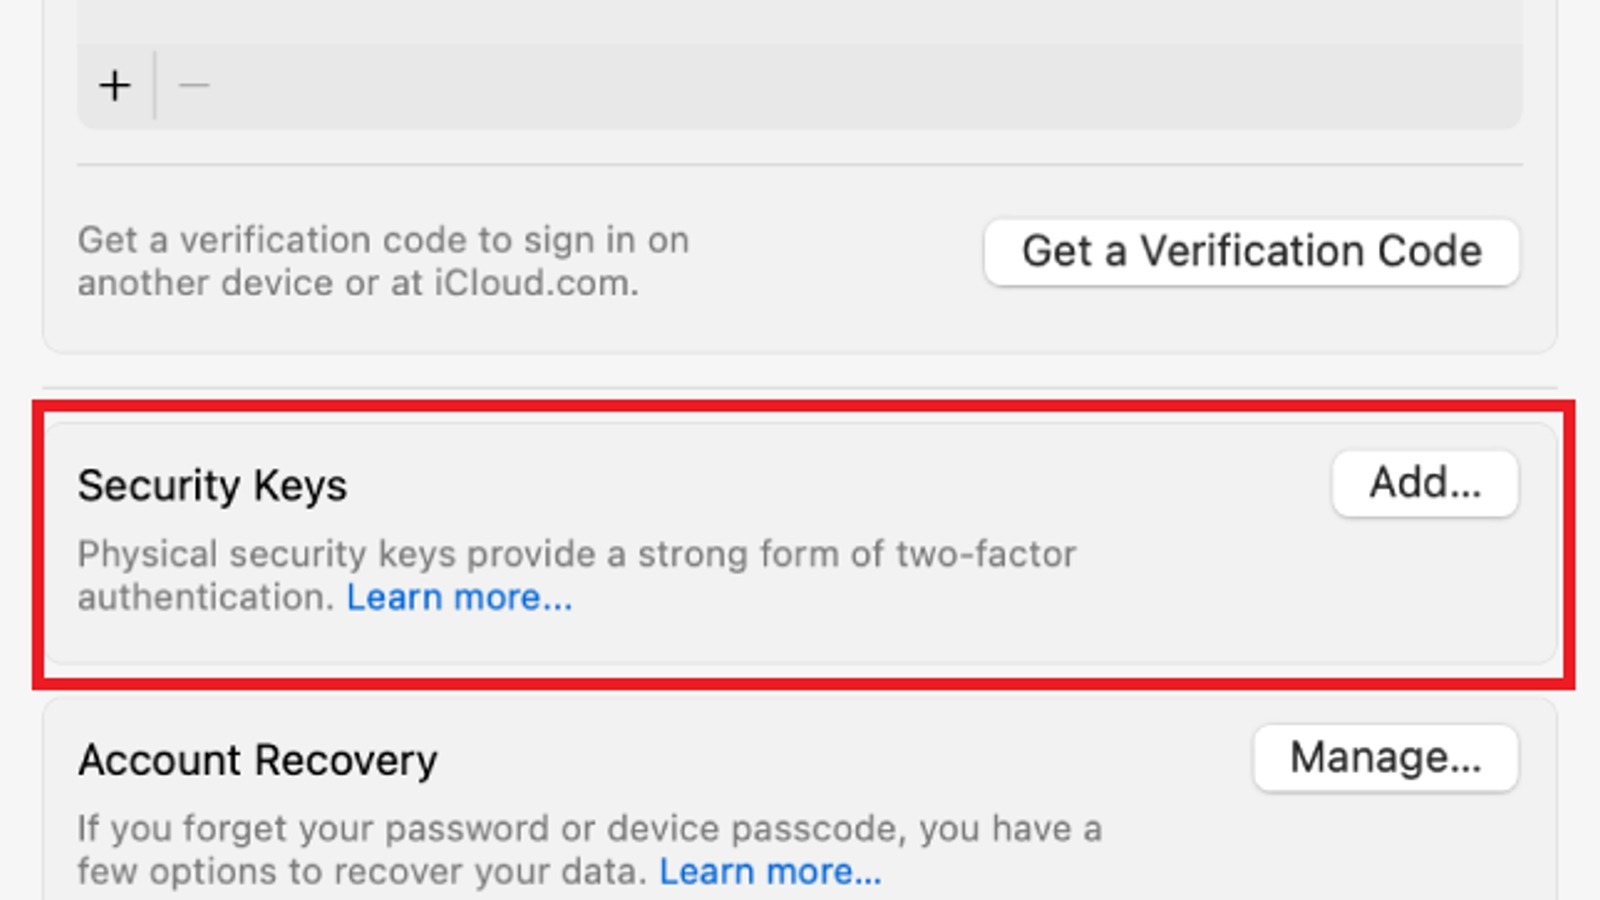
Find Security Keys in the menu, and click "Add."
-
Follow the on-screen prompts to sync up your Security Key to your Mac.
-
Once everything is connected, use the "Review" screen to see which devices are now associated with the Security Key.
-
Select whether you want all current devices to remain signed into your Apple ID account or if you want to sign some of them out.
Once your Security Key has been added to your Apple ID, you'll be prompted to insert it into/hold it near your Mac when logging in with your Apple ID username and password. If you ever want to stop using a Security Key, just click the "Remove All Security Keys" button in the Passwords & Security menu. This will switch your two-factor authentication back to the usual six-digit code approach.