10 Chromebook Features That Will Change How You Use Your Laptop
Google's Chromebooks are among the most popular laptops on the market. They aren't necessarily the most powerful computers, but they offer a functional machine that's great for everyday use and is generally pretty affordable. Since Chromebooks, like most netbooks, trade in some of the internal machinery in favor of cloud-based operations, they can get away with some hardware shortcuts that keep the costs down.
Chromebooks are great laptops for casual users or students who need a way to get online and do digital tasks without emptying their bank account. Still, just because Chromebooks are on the cheaper side of the laptop spectrum doesn't mean they're completely lacking bells and whistles. Some of the features you're used to from other computers are still present but hidden. Beyond that, Chromebooks have a number of features — some of which are exclusive to the brand — that can make your personal computer use a lot more enjoyable.
If you're looking for a way to get the most out of your new Chromebook or breathe some new life into your aging laptop, these are 10 features and functions you should be using.
Touchpad gestures

If you're used to working on a desktop computer with a mouse, it can be a struggle to transition to a laptop with a trackpad. You could pick up a USB mouse, but even that can become a problem if you're actually using your Chromebook on your lap. Sadly, mouse technology still struggles with tracking movement over wrinkled pants.
Fortunately, your Chromebook's trackpad can detect a number of gestures capable of replicating most of the functions of a mouse. Dragging and tapping your finger to move the cursor and click are no-brainers, but if you add fingers or make specific motions, you can unlock a bunch of extra mouse functions.
If you need to right-click, tap two fingers on the trackpad or hold the Alt key while tapping one finger. To scroll a page press and hold two fingers to the trackpad while moving them in the direction you want to scroll. Those are the two you're most likely to use on a regular basis, but there are more complex gestures. Swiping up with three fingers reveals all open windows while swiping right or left with three fingers will move you between tabs in a browser window. Check out Google's complete list if you want to become a master of Chromebook touchpad gestures.
Caps lock
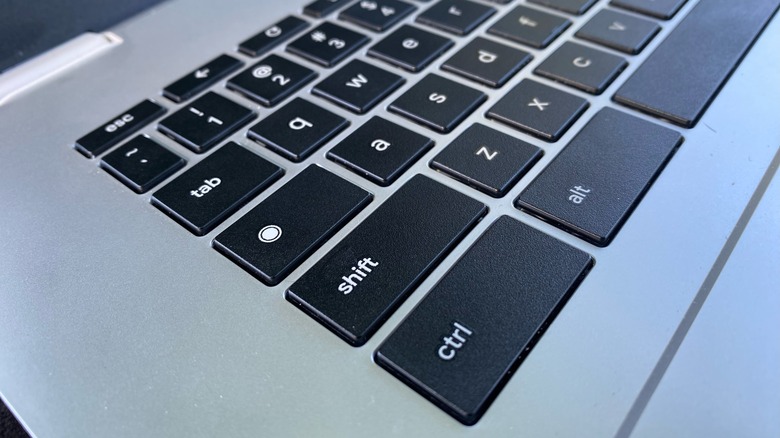
If this is your first Chromebook, one of the first things you're likely to notice is an unexpected key where the caps lock should be. This key is known as the Search button and is a standard addition to all current Chromebooks. Every time your pinky naturally travels to the caps lock key and actually initiates a search instead, you'll experience one of the unique sensations of Chromebook ownership.
At first glance, there's no immediately apparent way to activate caps lock. If you're like us, you'll resort to holding down the shift key and typing out a word or sentence one letter at a time. That's certainly a solution to the missing caps lock, but your Chromebook has a better one.
You can still use the search button as a caps lock as long as you press the Alt key at the same time. Hitting both buttons at once will activate the caps lock and hitting them in combination one more time will turn it off again. It's not quite as seamless as more traditional keyboard layouts, but it's a lot easier than typing out your capital letters individually.
The Shelf
Most modern operating systems have a taskbar or some other way of organizing the things you use most often, and Chromebooks are no different. The Shelf is where your Chromebook stores all of your favorite apps and websites so you can easily access them.
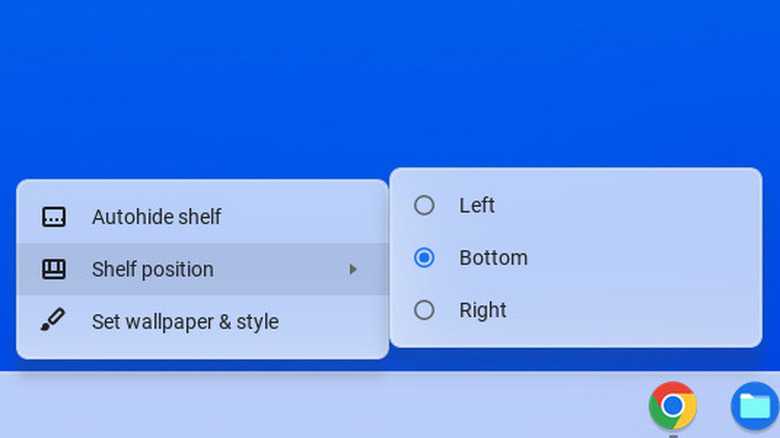
Typically, the Shelf hangs out on the bottom of the screen, but you have a decent amount of control over how it looks and operates. In addition to pinning your favorite sites and software, you can also reorganize your collection on the Shelf and change the look of the Shelf itself.
To change the Shelf's position, right-click on the Shelf on or an empty space on your desktop. In the menu that appears, select Shelf position and then choose where you want to mount it. You can leave it on the bottom or move it to either side. You can also choose to hide the Shelf when it's not in use to clear up a little more screen space. To keep the Shelf hidden, right-click it and select Autohider. It will vanish and only reappear when you hover over it, so it's there when you want it and gone every other time.
Virtual desks
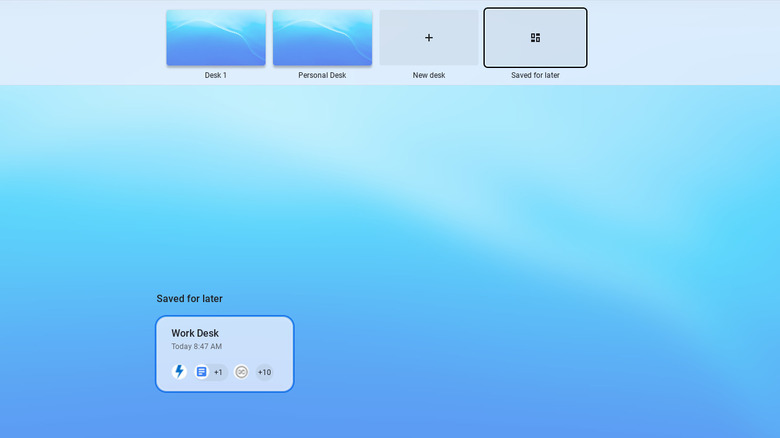
Virtual desks are the ChromeOS version of virtual desktops, and they work more or less the same as any other virtual desktop you've used before. If you're new to the concept, it's pretty straightforward. Normally, you're using your Chromebook as a single computer. On it, you have a number of programs and processes which you can use to do work (even if that work happens to be surfing the web). Virtual desks let you have multiple imaginary machines inside of the same computer.
Virtual desks treats your Chromebook almost like a larger virtual network, allowing you to build virtual computers separate from one another. Imagine having two or three separate computers in a room with you, then put all of those computers onto a single machine and you're near the reality of the situation. Virtual desks allow you to silo different projects into different desktops.
To create one, press the Show key (it looks like a rectangle with two lines on the right side) and select New Desk, then start moving your files and programs over. You could hypothetically keep everything personal on one virtual desk while everything work-related is on another. Or, if you're working on a particular project, you can keep everything related to that project on a virtual desktop. That way, you have ready access to the programs and files relevant to the task at hand without distractions or clutter from anything else.
Android Phone Hub
These days, everyone wants an integrated ecosystem. The idea is to get consumers into a particular brand of device and keep them there with the promise of enhanced functionality. Perhaps the most popular is Apple's ecosystem, which allows users to connect their iPhones, iPads, Apple Watches, Apple TVs, and Mac computers.
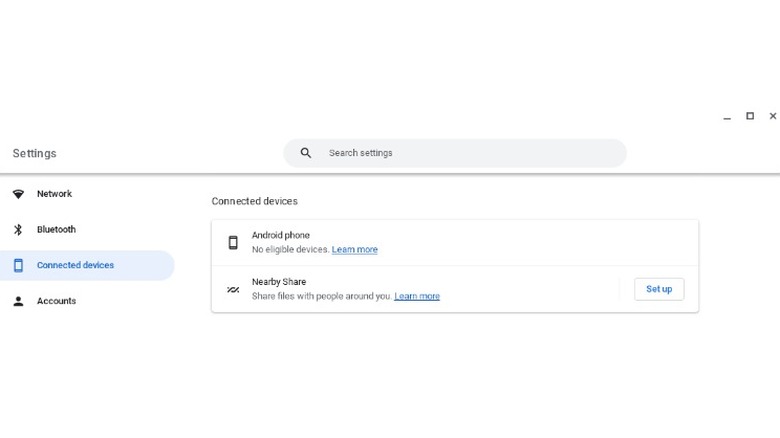
The Android Phone Hub is the Chromebook's answer to the same challenge, and while it's not as well developed as the Apple ecosystem, it can still level up the functionality of your Chromebook. Using Phone Hub, you can connect your Chromebook to any compatible Android phone, turning them into a networked pair of devices.
When connected, you'll get notifications and phone calls pushed from your phone to your computer, where you can read, answer, dismiss, and respond to them. You'll also be able to pull content from your phone to your computer or vice versa, allowing you to easily share files or stream content wherever is convenient. To get connected, click the time on the bottom right of your Chromebook's screen, then select Settings and Connected Devices. Then follow the prompts to connect to your Android phone.
Chromebook Perks
Device manufacturers sometimes offer special deals for additional accessories or related products as a way of offering more value and keeping consumers interested in their devices. Video game console makers do this by offering free games, usually legacy classics or indie titles, to users of their consoles. Subscription services like Audible do it by providing select titles for free to entice people into the ecosystem.
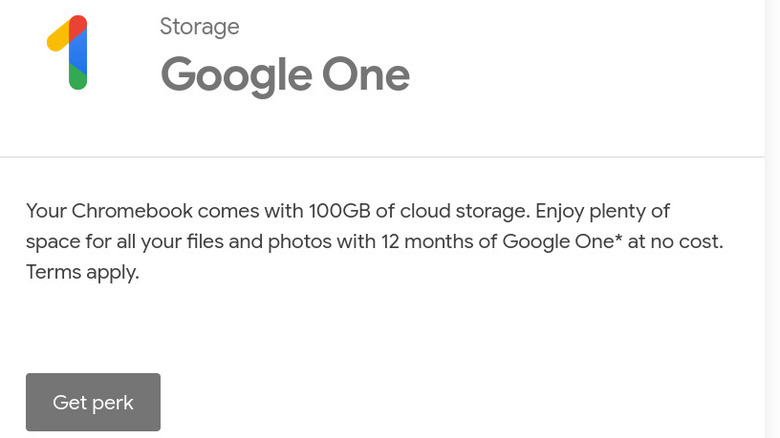
Your Chromebook also has a collection of special offers exclusive to Chromebook users. Perhaps the most important Perk, which you'll receive totally free, is a 12-month subscription to the Google One cloud storage service. That will give you 100 GB of cloud storage at no cost, at least for the first year.
Other offers include discounts or extended free trials for popular apps and software. Checking out the Perks is a great way to fill out your Chromebook with useful programs right out of the box. Offers change periodically, so it's worth checking Google's Chromebook Perks dashboard every now and again to make sure you don't miss anything good.
Guest mode
Since Chromebooks are almost entirely web-based, one of the first things you'll do after cracking open the box and throwing out the Styrofoam padding is tie your computer to a new or existing Google account. That account is the key to your computer and all of its web-based services.
Once connected, you'll have ready access to your Gmail account, Google Docs, and a host of other Chromebook functions, all of which are attached to your individual account. It makes for a convenient user experience, even allowing you to jump from Chromebook to Chromebook with relative ease. It also means that handing over your computer to a friend or coworker gives them easy access to your digital belongings.
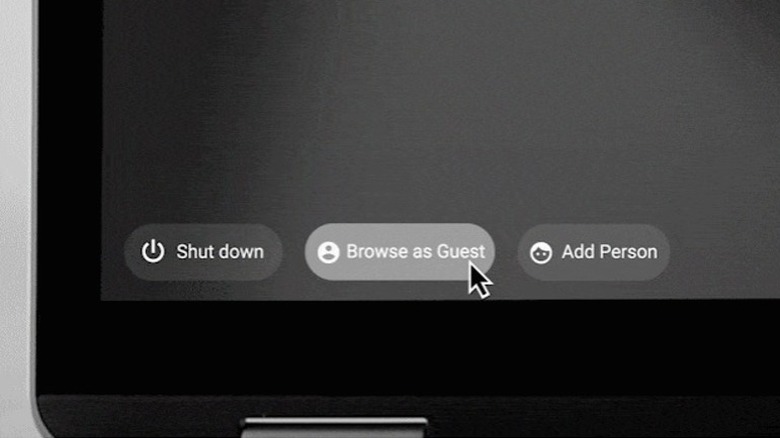
Guest mode allows someone to use your computer without being connected to any Google account, least of all yours. Setting it up is easy. Just log out of your existing account, then select Browse as Guest from from the login screen. When your guest is finished with their session, they can click the time at the bottom right of the screen and select Exit Guest. Importantly, Chrome doesn't save your activity while using Guest mode and everything, including browsing activity, cookies, and files, is deleted upon logout.
Split screen
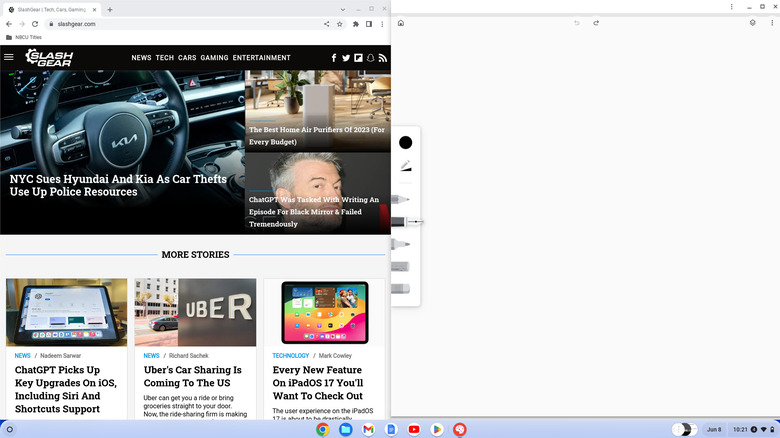
These days many of us use multiple monitors with our personal or work computers to make it easier to reference multiple programs or information sources at the same time. While not impossible, that's a little more difficult to do with a Chromebook, especially if you want to toss it in a bag and take it with you. Fortunately, Chromebooks have a built-in split-screen function. It won't give you a second monitor but will let you treat your single monitor as if it were two.
The most intuitive way is to drag and drop windows manually. Select a window you want to place, minimize it so it isn't taking up the whole screen, and drag it toward the top of the display on one side of the monitor. Then do the same thing for your second window on the other side of the screen. You may need to make some adjustments to get them lined up correctly. This method is also useful if you need more than two windows, as you can shrink and readjust as needed.
An easier way to take advantage of split screen is with keyboard commands. Click on the relevant window and press Alt + [ to snap a window to the left side of the screen. Alternatively, pressing Alt +] will move a window to the right side of the screen, the operating system takes care of the positioning, so you don't have to worry about lining things up.
Screenshot
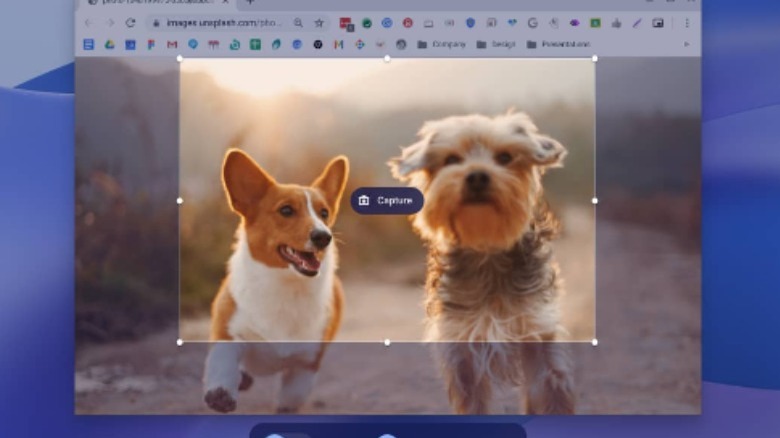
There are countless reasons you might need to grab a snapshot of your display. Maybe you're grabbing a screenshot to make a meme, or you want to save the confirmation of a purchase. Perhaps you caught an outrageous tweet seconds after it was posted and want to keep it for posterity — even after it is inevitably deleted. Whatever your motives, Chromebooks have a useful screenshot and screen recording tool built right in.
Some Chromebooks have a screenshot key on the keyboard, which looks like a box with a small circle inside. You should see it toward the top of the keyboard. If you don't have that key, you can launch the tool by pressing Shift + Ctrl + Show windows (a box with two lines on the right side) or Shift + Ctrl + F5, then select Screenshot.
Once the tool is launched, you can take a screenshot of your entire display or resize the viewing window to specify what you want to capture. If you're looking to record video or audio, you can use the same tool to video record all or part of your screen, as well. It's worth noting that some content — particularly video content from the major streaming providers — is protected against screen capture through certain browsers. Depending on the browser you're using and the content you want to capture, your mileage may vary.
Live caption
If you watch a lot of video content and you sometimes have trouble hearing or processing the audio, you're not alone. Using closed captions while watching video content is becoming increasingly popular. Certainly, there is a benefit for those with hearing disabilities, but captions are popular among the wider population, too. There's a lot going on in our lives and captions are a way to make sure we don't miss anything important in our stories.
Whatever your motives, if you're one of the growing number of folks who turn on captions by default, your Chromebook has you covered. Most of your major platforms will offer closed captions — either professionally written or computer generated — but some are better than others, and some don't offer captions at all.
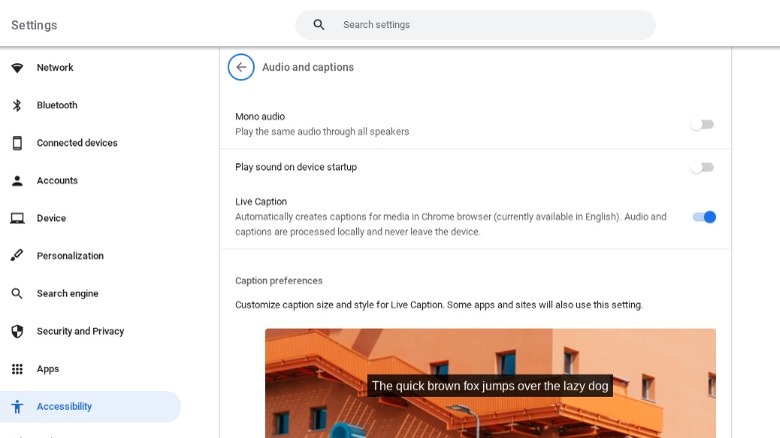
Your Chromebook, however, doesn't care what is offered by the video source. It will spin up captions from scratch for any video you're watching. To turn on live captions, open up the Settings menu and navigate to Accessibility. Select Audio and Captions, then Captions, and turn on Live Captions. Then turn on a video and watch the words fill up your screen in real-time, flowing ever upward like your own personal "Star Wars" title screen.