How To Install The Android APK On Windows Or Mac
As of 2021, Microsoft Windows 11 provides native support for running Android apps (via Microsoft). You don't need clunky third-party emulators to bring your favorite Android apps to the desktop anymore.
But, at least officially, you can only download apps available on the Amazon AppStore. It's a growing catalog of apps and games, to be sure. However, it's far from the endless selection of apps Android actually has to offer. You can install any app of your choice (given it's optimized for the desktop) using its APK package. Android apps and games are distributed as APK files — which can be sideloaded on Windows 11.
You can also install a third-party app store like F-droid or Aurora Store to make sideloading easier.
Installing and running APK files on a Mac, however, is much less streamlined. The macOS doesn't come with built-in Android support. So you have to fall back on third-party emulators to install APK files (via Android). With most Android emulators, you also get access to the Google Play Store and millions of apps.
Everything you need for running Android apps on Windows
To sideload APK files on Windows 11, you need three things: Windows subsystem for Android, ADB tools, and the APK file.
Windows Subsystem for Android is a compatibility layer that allows you to run Android apps on Windows 11. ADB is a set of tools that let you tether Android to your PC. Lastly, the APK file for your desired app can be downloaded directly from the internet. Not all APK files are safe, so make sure you source yours from a trusted platform like F-droid or APKMirror. Microsoft packages Windows Subsystem for Android (WSA) with the Amazon Appstore. But you'll need to enable virtualization first. Here's how:
- Enter your machine's UEFI settings (consult the device manufacturer for detailed instructions) and turn on virtualization (via Microsoft).
- Enable Virtual Machine Platform within Windows 11.
- Search for " Turn Windows features on or off" in the Start menu.
- Scroll down to find Virtual Machine Platform and Hyper-V. Enable both.
- Lastly, you'll need to restart your computer.
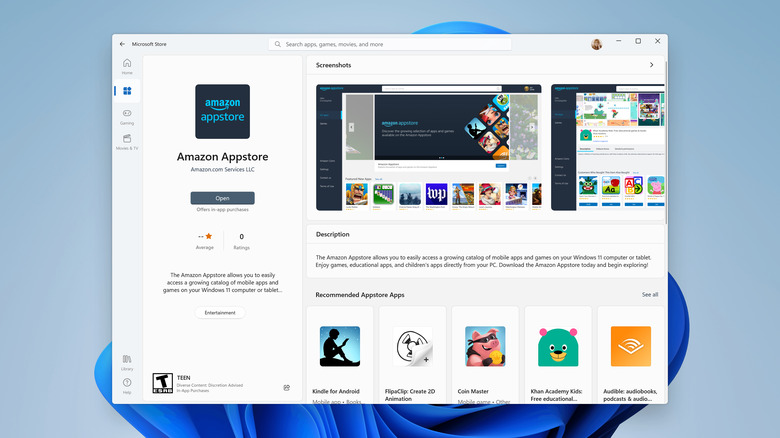
Note that the Amazon Appstore is only available in select regions. If your country isn't on the list, you can change your region or country in Windows settings (via Microsoft). Now you're ready to install the Amazon Appstore. Open the Microsoft Store and search for Amazon Appstore. Click the Get button. ADB tools are officially bundled as Android Platform Tools. Follow the download link to get the zip file and extract them.
Install Android APK on Windows 11
With everything downloaded and the Amazon Appstore installed, you're set to sideload the Android app on Windows 11.
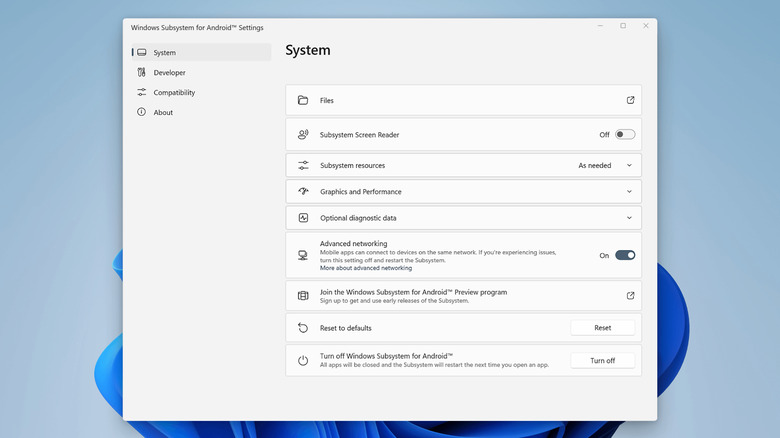
1. Search for "WSA" or "Windows Subsystem for Android" in the Start menu.
2. Open Windows Subsystem for Android.
3. Scroll down to Developer mode settings and toggle it on.
4. On the same tab, you'll find a button labeled "Manage developer settings".
5. Clicking the Manage developer settings link launches the virtualization environment.
6. Copy the IP address and port on the Developer mode. It should be in a format like this: 127.0.0.1:58526.
Now we use ADB to connect to the Android subsystem and sideload your app.
1. Navigate to the folder where you extracted the platform tools and open the "platform-tools" folder.
2. While in the platform-tools folder, hold down shift and right-click to open a Powershell window.
3. Type in the following command: adb connect 127.0.0.1:58526.
Replace the IP and port with your own, as displayed on the Developer mode tab in Windows Subsystem for Android (via Microsoft). And now you can perform the app install.
1. Copy-paste or move the APK file you downloaded to the "platform-tools" folder.
2. Enter the command: adb install appname.apk
3. You'll be notified if the installation was successful. You can rename the APK file, so it's easier to type in Powershell. Or you can repeatedly press Tab until the desired file shows up.
4. Launch the new app from the Start menu.
Everything you need for running Android apps on Mac
For Mac devices, you need a third-party Android emulator to install and run Android apps. An emulator — as the name suggests — virtually emulates the hardware and software components of an Android device on your Mac.
Google has an official Android emulator called Android Studio. Technically it's built for app development and debugging. But you can use it to run and install Android apps too. BlueStacks, on the other hand, is a more user-friendly emulator. It's been around since 2011 and supports an extensive catalog of games and apps. And it has native Google Play Store support (you'll need a Google account to access it). LDPlayer and NoxPlayer are also popular emulators designed and optimized for macOS.
We'll use BlueStacks for this demonstration, but the process is roughly similar for all Android emulators.
1. Head over to the BlueStacks website and download the BlueStacks installer.
2. Double-click the downloaded file to launch the installer.
3. Double-click the BlueStacks icon in the installer window.
4. Click Open if a warning dialog appears.
5. Click Install Now.
6. Enter your administrator credentials to complete the installation.
If blocked, open Security & Privacy to Allow BlueStacks to load its extensions.
Install Android APKs on Mac
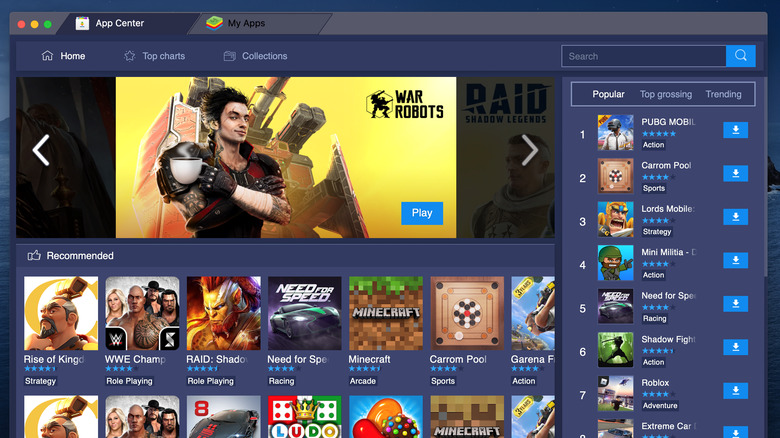
When you launch the BlueStacks app, you'll be greeted by the Play Store on the home screen. Click the app, log in with your Google account, and get any compatible apps and games directly from the Play Store (via Google). BlueStacks also has a dedicated store for games called the Game Center. But if the app you want to install is only available in APK format, try the following:
1. Download the APK into your Mac Downloads folder.
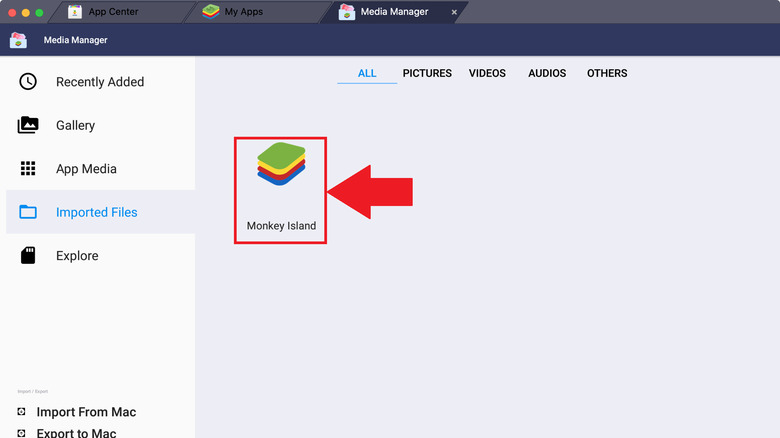
2. Open the media manager next to the round menu button.
3. Select import from Mac.
4. When Finder opens, navigate to the downloaded APK file and select it.
5. Click Open.
6. Double-click the APK once it's imported in the Media Manager.
The app icon will appear on the home screen when the installation finishes.
If the Media Manager doesn't, there's a simple alternative way to install APK files on BlueStacks (via BlueStacks).
1. Locate your preferred APK file in Finder.
2. Double-click the APK file.
The app icon will appear in the My Apps tab once the installation is completed.