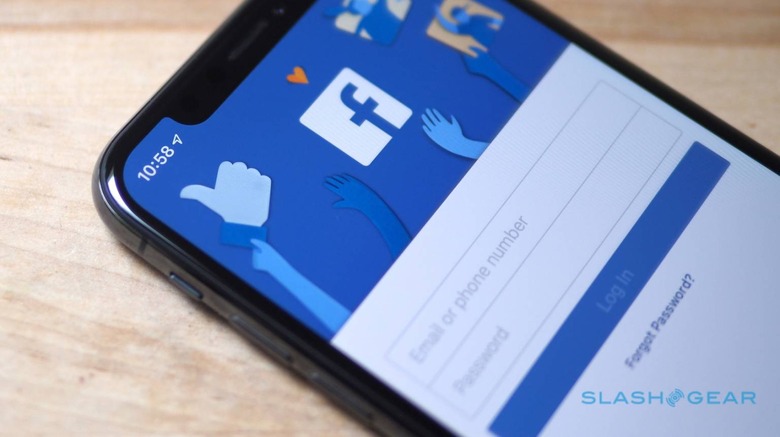
Facebook's Photo Transfer Tool Really Surprised Me - Here's How To Use It
I expected the Facebook photo transfer tool to be a grudging concession and tricky to use, but it's actually one of the easiest new Facebook features I can remember trying. Announced late last year, but only now available worldwide, it's a topical addition given a resurgence of questions about the ethics of one social network having so much power in our daily lives and around our electoral system.
Among the things that Facebook has been criticized for over the past few years is just how difficult it can be to leave the social network. Joining up is simple, unsurprisingly, but getting Facebook to not only disable but delete your account altogether, well that can be a battle.
If you use the "Delete My Account" option, Facebook will eventually remove the content you've uploaded from its servers. That can take up to 90 days to process, however, though during that period it won't be visible to other Facebook users. If you log back in during the first 30 days, the delete request is cancelled, too. Even if you manage to avoid doing that accidentally, Facebook does warn that it may keep copies longer than 90 days in its backups, or "or things like legal issues, terms violations, or harm prevention efforts."

With that in mind – and having heard from friends who've attempted to go through the process – I have to admit, I didn't have high hopes for Facebook's photo transfer tool. One of the guiding principles for the social network has always seemed to be "make it as sticky to users as possible": whether that's with new features or buying up other services such as Instagram and WhatsApp, the more Facebook can be embedded in your life, the better for Zuckerberg & Co.
The idea of allowing people to simply take their photos and video and move them, wholesale, over to a rival gallery service like Google Photos, well, that seemed like something Facebook wouldn't be especially keen on. You've long been able to download a copy of the data Facebook has from you – indeed doing so is recommended by the company if you plan to delete your account. Still, the idea of having to wait for that to happen, then spend the time re-uploading everything to a different service has probably put more than a few people off.
How to use the Facebook photo transfer tool
I expected an uphill battle and maybe even some passive-aggressive "why do this?" pressure, then, from the Facebook photo transfer tool. In reality, though, it's pretty straightforward. The two biggest demands it places on you are remembering your Facebook and Google passwords, and having a little patience.
First, you log into Facebook if you're not already. Click on the menu in the top right corner of the toolbar at the top of the screen – the one that looks like an inverted triangle – and choose "Settings" from near the bottom of the list. Next you're looking for "Your Facebook information" near the top of the list of options on the left.
Second down in the list is "Transfer a copy of your photos or videos," just above the "Download your information" option. The latter is what you'd pick if you wanted a full copy of everything Facebook has on you.
Clicking on "View" will take you to a password check screen – you do remember your Facebook password, right? – and once you're past that you should see the transfer tool itself. Clicking the drop-down box under "Choose destination" will only show one option, Google Photos. Eventually, Facebook says, it'll offer more export choices.
You can choose to transfer either your Facebook photos or your videos, but not both at the same time. Clicking "continue" will take you to a Google sign-in page, where you choose the Google account you want to export your Facebook media to. If you have more than one account – say, a personal Gmail and a work account – make sure to pick the right one.
Google will ask you to confirm you want to allow Facebook permission to access your Google Photos library. You'll need to click "Allow" in order for that to happen.
After that, you'll be taken back to Facebook, and presented with a "Confirm Transfer" button. Click that, and you'll see the transfer request in the Activity panel – you can also choose to stop it if you'd prefer not to make the transfer. If you also want to transfer the other media type – videos, if you chose photos initially, or vice-versa – you'll need to click "Back" and then access the photo transfer tool again from the list.
You need a little patience, too
The transfer isn't an instantaneous thing. Exactly how long it will take depends on Facebook's servers. However it's probably still a lot easier and quicker than requesting a full copy of your Facebook content, waiting for that to be processed, downloading it, then uploading the specific media you want to Google Photos yourself.
You should get an email – or indeed several emails – notifying you of each step of the process. In fact, even just allowing Facebook access to your Google Photos and initiating the transfers will probably have been flagged with messages to your registered Facebook and Google email accounts.
After that it's a matter of waiting and seeing. I'm still considering deleting my Facebook account altogether, but this seems like a sensible first step as I gradually extricate myself from the social network.