How To Fix Drift On Your Xbox One And Series X|S Controllers
We may receive a commission on purchases made from links.
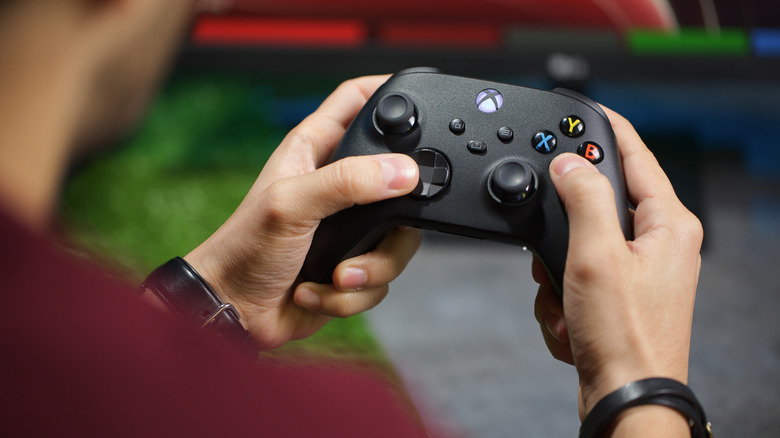
Sometimes, when playing games on your Xbox One or Xbox Series X/S, you may run into a supremely annoying problem: Controller drifting. What does that mean, exactly? Imagine that you're mid-fight against an enemy, your character randomly starts wandering off to the left or right, and it won't stop. Also known as analog drift, this phenomenon can cause gamers a lot of frustration. Due to its unpredictable nature, it can easily ruin a game if it happens at the wrong time. Regardless of when it happens, it's no fun.
Drift happens to many different controllers spread across all kinds of consoles. It's typically just a result of wear. Nintendo Switch Joy-Cons are notorious for it, but even PlayStation 5 players are not safe. Simply put, the more you game, the more likely it is that eventually, your controller will start to drift, and you'll find yourself searching for quick and easy ways to fix it. Fortunately, there are some simple steps you can take to address controller drift on your Xbox One and Xbox Series X/S.
There are a few common causes of stick drift
Stick drift can be caused by a few things, with some causes being more common than others. Ease of repair also varies depending on what is causing the stick drift. If the drift is being caused by dust and dirt building up, a simple clean may make it as good as new. Actual damage is a lot harder to fix. Wear and tear is probably the most common cause of controller drift, and sadly there isn't much you can do about it beyond playing less. If you're playing a particularly intense game like Call of Duty, you may start to notice some degradation after a few hundred hours. That may sound like a lot, but according to a report from 2020, the average gamer clocks up more than 440 hours of play time per year (via GamingSmart). Unfortunately, the only fix for degradation caused by wear and tear involves replacing the worn parts.
Damage is similar to wear and tear, albeit a bit more sudden. If you drop your controller (or lob it up the wall in a fit of "passion"), then you may end up with controller drift or other issues. Again, the only fix involves either replacing parts or the controller itself. Finally, controllers can simply lose calibration over time. This causes drift as the Xbox will think the controller is in a position that requires movement even when it's in its neutral position.
How to fix drift by using compressed air
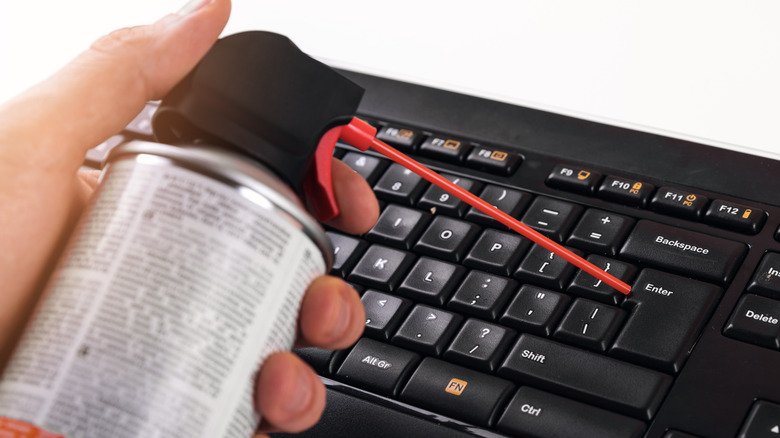
Oftentimes, when your controller begins to drift in a certain direction, the cause may not be due to a mechanical fault. It could just be a build-up of dirt and dust. Even if you try to keep things tidy as you game, some particles are bound to build up over time, and if your controller is not brand-new, it could be that it just needs a bit of TLC in order to work well again. If that is the case for you, the fix is simple enough and won't require disassembling the controller.
You just need to pick up a can of compressed air with a straw. This is sometimes also referred to as "compressed gas" or "pressurized air." In any case, it's a can of air that will loosen the dust stuck inside various electronics.
- Shake your can of compressed air and then attach the straw.
- Make sure your Xbox controller is completely off. Remove batteries if it's a wireless controller.
- Using the thin straw, blow some air into the bottom of your analog sticks. This should be done in short, quick bursts of air — don't continuously blow the same place for too long.
- Move your controller around as you do this. Turn it upside down to make it easier for the dust to dislodge itself.
- Once you're satisfied, wipe your controller dry and leave it to sit for a few minutes before you try to turn it back on.
How to fix drift by opening up the controller

If you tried to fix things without opening up the controller and you're still experiencing drift, you might have to dig deeper. This could involve removing the chassis of your controller and looking into the mechanics. However, this will completely void any remaining warranty you might have. If your controller is not under warranty anymore, there is basically no reason not to do this, as you won't be eligible for free repairs from Microsoft, so you can take these steps:
- Flip the controller over and remove the batteries. If it's a wired device, unplug it.
- Press your fingernails into the little cracks between the chassis of the controller, located on the parts that you hold on to while gaming. Pull the chassis off from both the left and the right part.
- Take a small flathead screwdriver and remove all of the screws that you can see.
- Push up on the back of the chassis until the front side comes off.
- Remove the analog stick that's causing you trouble.
- On the left side of the joystick, you'll see a small grey clip made out of plastic. If it's loose, you can try to tighten it as much as possible and see whether that fixes the drift. If not, try the next step.
- Push your screwdriver in between the grey clip and the joystick socket and remove the clip entirely by lifting it up.
- Re-assemble the controller and try it out.
How to fix drift by contacting Microsoft
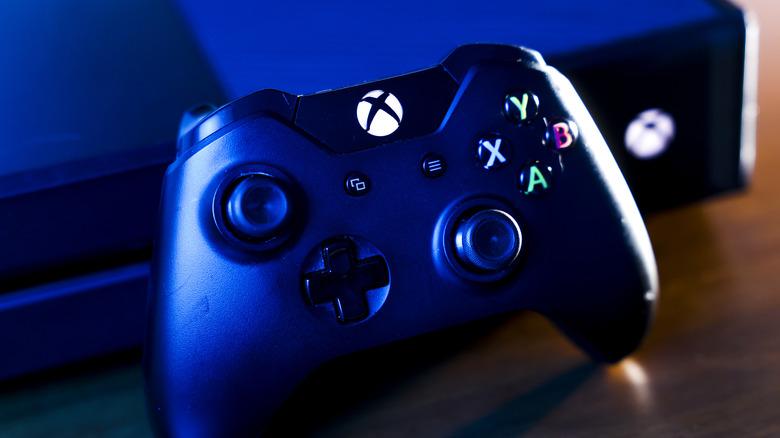
If your controller is still under warranty, your best bet is to contact Microsoft Support for Xbox and try to either have it replaced or repaired. Alternatively, you can contact the store where you bought it and report that it's malfunctioning. Oftentimes, you may not even have to speak to Microsoft in order to get this issue resolved. Unfortunately, if your controller is already a couple of years old and the warranty has expired, your options are more limited.
You can still contact Microsoft and hopefully get the controller repaired for a fee. This will often involve shipping the controller and waiting for it to get back to you, though, so your gaming will be put on hold while your controller is sent away. There is no telling how long it might take for the Xbox technicians to repair the drift. With that said, it's a fairly easy fix for a professional in possession of all the required tools, so it might not be that long.
If you want to forego the hassle of having to pay and wait for repairs, you could buy a new Xbox controller. Wired options are usually around $30 to $40 and, and unlike with repairs, a new, working controller will arrive at your home in the next day or so. You could expect to spend about $60 for a new wireless Xbox controller. Of course, replacing controllers is a last resort.
Try cleaning the thumbsticks with alcohol

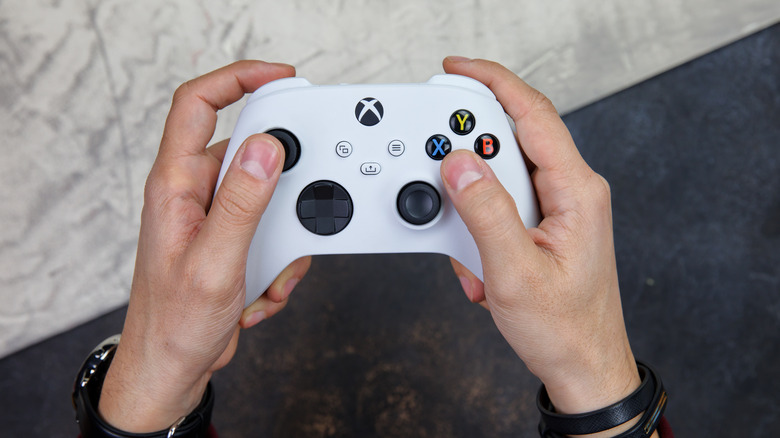
Filth can impair the functionality of many devices, and your Xbox controllers aren't an exception to this rule. Controllers are also magnets for dirt. Sweat, oil, grime, and skin cells from a player's hands tend to make their way onto controllers and into hard-to-reach areas on said controllers. On top of that, dust will also build up on your controller if you leave it in an uncovered area. Giving the thumbsticks a thorough clean with a cotton swab and some alcohol might be enough to restore their previous functionality.
Isopropyl Alcohol is ideal for this purpose. First, it acts as a solvent and is particularly good at breaking down oily substances. Secondly, it evaporates very quickly and doesn't leave a residue — so it's ideal for use when cleaning electronic devices. You'll want a relatively high concentration (at least 70%) and there are a few safety notes to consider. Although it is chemically similar, this isn't the same stuff you'll find in whisky or vodka and it can cause you some pretty extreme physical harm (so don't drink it). It's also pretty volatile so turn off the controller first and avoid sparks and naked flames while using it. Although it evaporates far faster than water, you still don't want to douse your controller in it. Pour a small amount into a glass or some other kind of vessel and dip the cotton swab into it as you're cleaning.
Restarting the controller might fix it
As annoying as software issues are, the fix requires no changing of parts, cracking things open, or playing around with noxious chemicals. The fix can be as simple as restarting the controller. Just turn it off, take out the batteries, wait a little while, and turn it on again. You can also reset your controller by holding down a button combination. If that hasn't solved the problem, try restarting the Xbox. If restarting both the console and the controller hasn't helped, the controller may need resyncing. Press the "pair" button on your console then hold down the pair button on the controller. The controller should then link up.
Failing batteries can be another reason your controller is having issues. Fortunately, this is another easy fix. Simply switch out your controller's batteries for a new set, or make sure the battery pack is fully charged if you're using rechargeable batteries. Finally, the problem could be caused by your controller's firmware. An update should solve any firmware-related controller issues. To update your controller's firmware, press the Xbox button and open the guide then select the "settings" option from the profile and system menu. Go to devices and connections, then select accessories. Click "Xbox wireless controller" and then select the three dots (...). If a firmware update for your controller is available, you'll see an option to install it. It's also possible to update your controller's firmware on PC with the Xbox accessories app (via Microsoft).
Expanding the deadzone fixes many issues
Most minor drift can be worked around, and expanding the deadzone is an easy way to do this. The deadzone is an area where the stick push doesn't register. The larger the deadzone, the more the stick has to move before anything happens. As drift occurs because the controller thinks the stick is being moved slightly while it's in an actual position, an expanded dead zone means that slight movement will no longer be picked up. The downside to this is, the stick becomes less responsive, and subtle movements become more difficult. But it's a small price to pay for a workaround that can fix most issues (even those caused by wear and tear) and extend the life of a failing controller.
Unfortunately, adjusting the deadzone on an Xbox controller isn't simple. If you have an elite controller, there is a "response curve" setting on the accessories app which essentially acts as a deadzone setting. For regular controllers, things are a bit more complex. There is no overall stick deadzone setting on the Xbox, but many games have a deadzone option in their settings menu. You'll have to manually adjust the deadzone for each game you play, and if that game doesn't have a deadzone option, you're unfortunately out of luck. For PC gamers, Steam has a deadzone option available under general controller settings. The optimal setting for most games tends to be the smallest deadzone you can possibly have without any drift occurring.