

How To String Up A DeWalt Weed Eater Head The Right Way
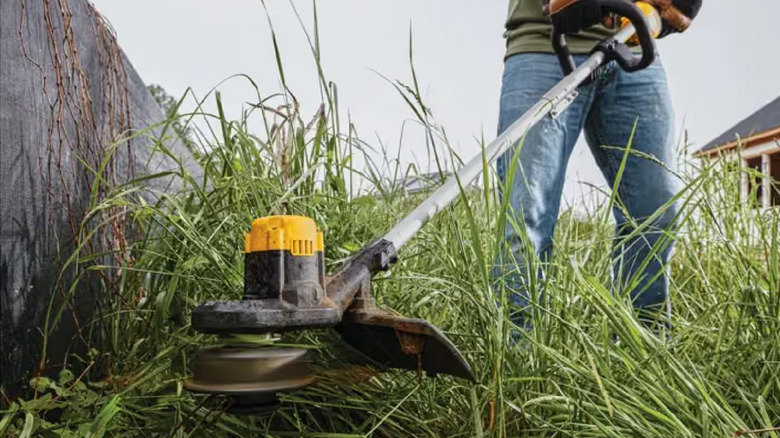
There are a handful of common issues with DeWalt weed eaters, but the most universal is running out of line. To get back into action, first you need to identify the type of head on your trimmer. A QuickLoad head rewinds without being disassembled, while the standard design requires you to remove the head, then wind two lengths of line onto it. You'll also need to make sure you have the right size line for a Dewalt string trimmer. For a QuickLoad head:
-
Remove the battery.
-
Cut a single length of line no longer than 25 feet.
-
Turn the spool head until the eyelets in the spool housing line up with the arrow on the head.
-
Push the line through one eyelet and feed it through until it comes out the opposite eyelet.
-
Pull the line until the two ends are equal in length.
-
Hold the spool cap with one hand, then turn the spool head counterclockwise with the other to wind the line onto the internal spool. Keep the line straight and be careful to avoid snags while winding.
-
Stop when you have about 5 inches of line outside each side of the spool housing.
-
Check the head to make sure the line is seated evenly and the cap isn't loose.
-
You're ready to go! Pop the battery back in and get back out there.
How to load a removable head

DeWalt makes a couple kinds of weed eater heads, and in some cases you can even put a 20V head on a 60V trimmer. While replacing the string in a removable head is a little more onerous than a QuickLoad, it's still fairly simple if you know what you're doing.
-
Remove the battery, then clear clippings and dirt from around the trimmer head so you can clearly see the Lock/Unlock indicator.
-
Rotate the bump-feed part of the head to "Unlock" and pop the head off the trimmer.
-
Cut two pieces of line to about 10 feet long.
-
Crook the end of one line and insert it into the anchor hole in the spool. This will keep the line secure while you wrap it around the spool.
-
Wind the line in the direction shown by the arrow on the spool.
-
With five inches of loose line left, tuck the end into a notch on the side of the spool. The notch will keep the line in place while you load the second one.
-
Repeat with the second line, winding in the opposite direction. Like a Ghostbuster, avoid crossing the lines.
-
Guide the lines through the grommets (the metal-reinforced holes) on the trimmer head.
-
Pull the lines so they extend evenly to both sides.
-
Reinstall the head and twist it back into the "Locked" position.
-
Replace the battery. If the lines are loose or crossed, don't just pull them. Instead, go back in and rewind, as pulling on them can create more tangles.