

How To String Up A Black+Decker Weed Eater Head The Right Way
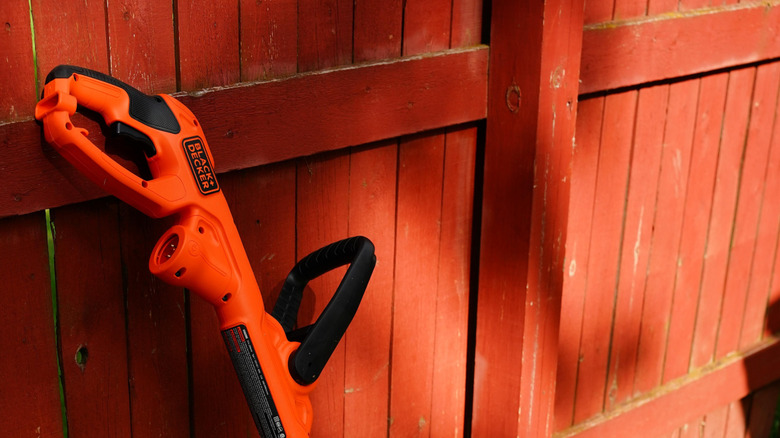
Black+Decker has something of a mixed reputation when it comes to power tools, to the extent that you can make a list of Black+Decker tools that users say you should avoid. That said, the company also makes some popular and highly-rated string trimmers (one of which landed a spot on our list of best weed eaters for detailing), and have made replacing the string spool in them a fairly simple process.
- Kick things off by disconnecting the power. Either unplug corded trimmers or remove the battery from cordless models.
- Next, flip the trimmer over so you're looking at the underside of the spool housing, then press the two tabs on opposite sides of the orange spool cap to lift it off. Make sure the spring remains in place on the spool cap.
- Grab the empty spool and yank it straight out of the housing. Clean out any pieces of broken string, grass, or other detritus that may have found its way into the spool housing, so it's clear for the shiny new spool. Note: Some Black+Decker Automatic Feed Spool models have a small lever perched on the base of the housing, which often comes loose. Make sure it's pushed back into the correct position before inserting the new spool.
- Peel off the protective tape that holds the end of the line in place on your new spool, then pull out roughly 5 to 5‑3/8 inches of fresh line.
- Guide the end of the line through the eyelet in the trimmer's spool housing so it's sticking out of the side where the line exits.
- Optionally, Black+Decker also sells bulk line instead of a pre‑wound spool. In that case, you'll want to anchor the line in the spool's starter hole and wind it tightly in the direction indicated by the arrows. Make sure you keep enough tension in the line so that the coils lie flat and don't overlap.
Seating the spool and finishing the installation

Now that your line is in place, it's a simple matter of reattaching the spool and running a quick test. After that, you're ready to get back to giving your lawn the TLC it deserves, though we recommend against using a string trimmer to edge your property.
- When the spool is ready, place it onto the central boss in the housing, arrowed side facing outward, and push it down firmly until it's seated. You may need to rotate the spool a bit so it's lined up with the housing. It should sit flush and not wobble.
- Pop the spool cap back into place by aligning it with the housing and pressing until the tabs click into place. If you've got a model that has parking slots or notches on the cap, make sure the line is released from those before you start trimming.
- Reattach the battery or plug the trimmer back in. Hold the trimmer in a clear area and run it briefly to ensure the line feeds smoothly when you tap the head on the ground (for automatic feed spool models) or when the auto‑feed system produces more line.
- If the line doesn't advance, disconnect power and recheck that the spool is fully seated. You'll also want to make sure the line is the correct diameter, and that there's nothing blocking the eyelet or housing.