How To String Up A Makita Weed Eater Head The Right Way
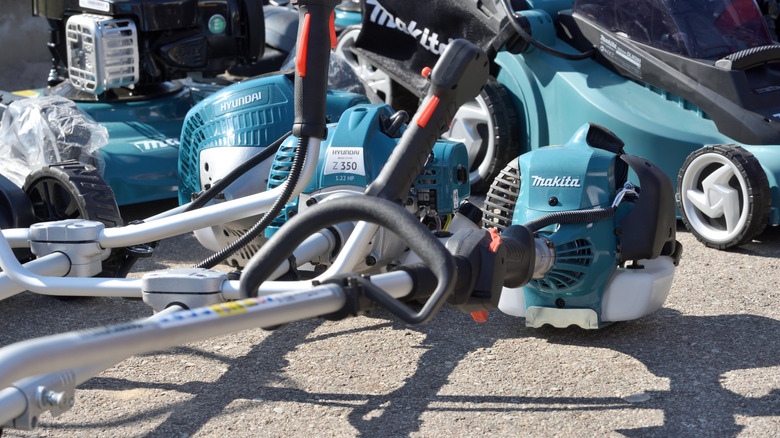
Makita has a strong reputation for manufacturing high quality power tools, and that extends to its line of string trimmers/weed eaters. That said, even the best weed eater will require some maintenance, and one of the most common tasks is restringing the line on the trimmer's head.
To properly string up a Makita weed eater's head, you'll need to first identify if you have an auto-feed, manual-feed, bump-feed, or quick-loading trimmer head. The line size can differ between cordless and gas machines as well. The type of head will determine what gauge replacement line you need to buy; take a peek at the original spool, or consult the owner's manual, where it will be clearly listed alongside the rest of your trimmer's specs.
Before you get into the actual restringing, be sure to disconnect the battery, or for a gas-powered model, disconnect the spark-plug wire. Position the weed eater on a flat, stable surface, with the head pointed upwards for easy access. For a traditional spool, you'll find two release buttons you can push in to remove the cap.
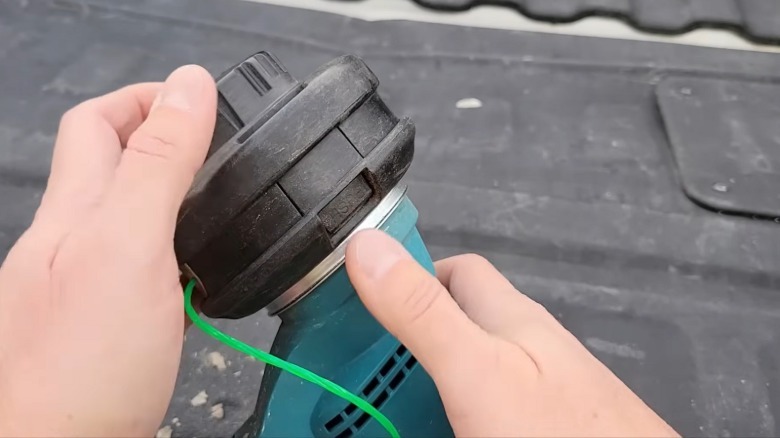
It's a good idea to snap a quick photo on your phone at this point, just to capture how the old line routes through the spool and eyelets, in case you need a little extra guidance later. Though Makita only grabbed the seventh slot in our grass trimmer brand rankings, it's more because of the level of competition than the quality of their tools. Makita designs its tools to be very user-friendly, and that extends to replacing the trimmer line.
Loading a standard spool or rapid load head
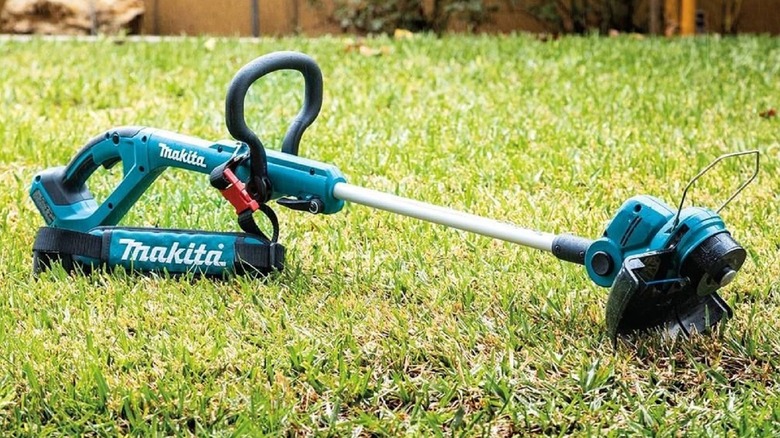
For a standard dual-line spool (like the Makita XRU15PT, one of the best string trimmers you can buy), start by cutting a length of replacement string, then fold the line in half, leaving one end slightly shorter than the other if the spool design calls for it. Next, hook the bent center of the line into the spool's anchor notch and wind the two strands in the direction marked by the arrow on the spool.
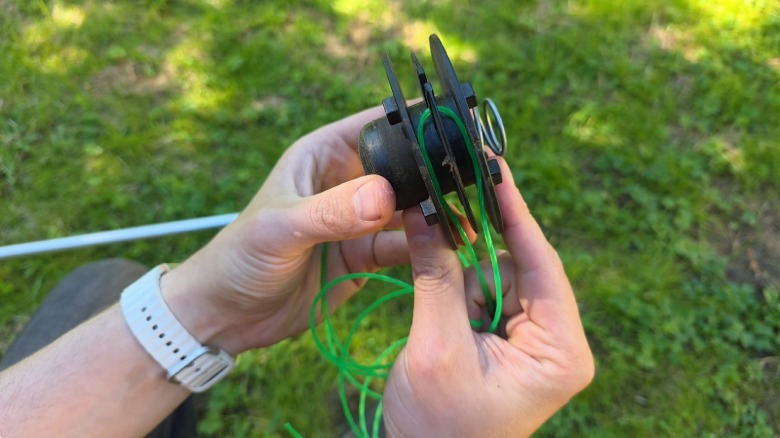
When there are only a couple of inches still free, secure each end in the spool's retaining notches. Pop the spool back over its spring, then guide both line ends through the exit eyelets in the head. Press the cap back into place until its tabs click, then pull the strings sharply to free them from the retaining notches. You're then going to extend them toward the cutter in the debris guard, which will automatically snip off any excess line.
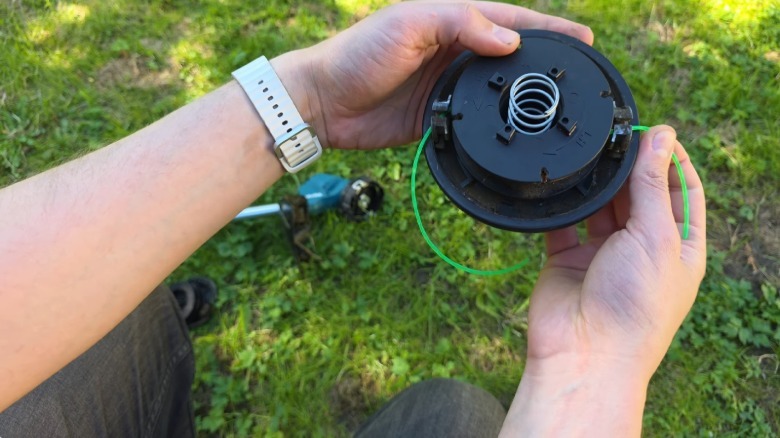
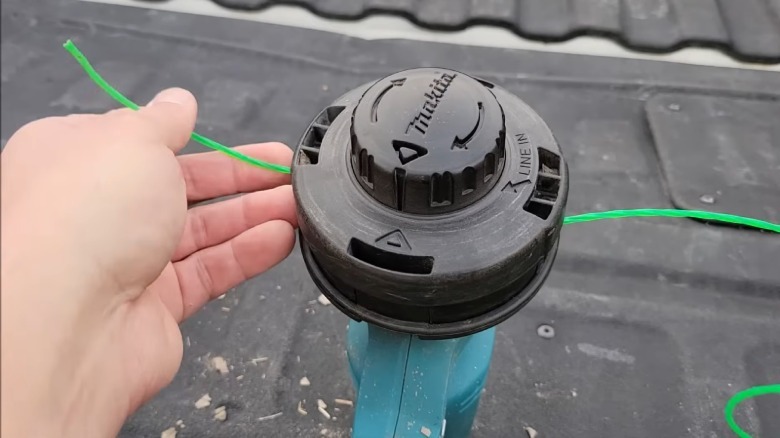
With a Rapid Load bump-feed head, you get to skip the spool-removal process. Here, you can just rotate the bump knob until the alignment triangles line up, then feed a piece of line through the head at a slight angle in the direction indicated by the "LINE IN" arrow. Pull it through and then up to match the lengths, then even it out until the ends meet at the same length. Now you just twist the bump knob to wind the line into the head, leaving several inches exposed at each eyelet, and you're all set.