

How To String Up A Stihl Weed Eater Head The Right Way
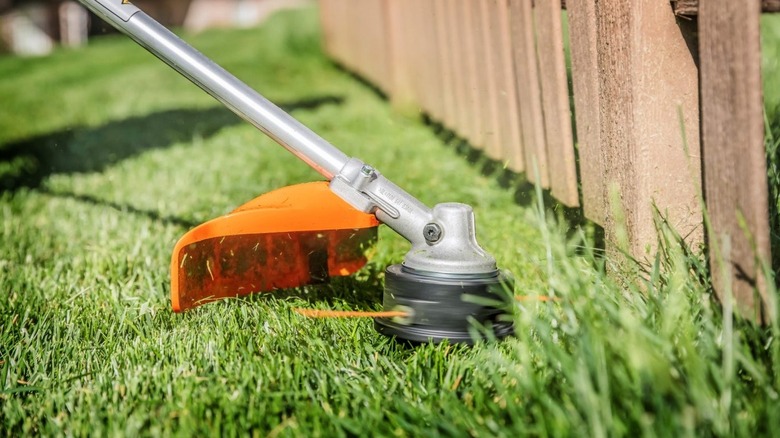
Trimmers, or weed eaters, are indispensable tools for both homeowners and commercial landscaping crews. Getting into places a mower can't, weed eaters cut using a spinning head that contains nylon string. It's this aspect that sets string trimmers apart from brush cutters, with the latter utilizing a metal blade or disc. However, anyone who has wielded a trimmer for any length of time will tell you that running out of nylon line can be a frustrating experience. Why? Because restringing these machines can be trying, halting progress on simple yard tasks.
Among every major grass trimmer brand, STIHL sits at the top, with a reputation for delivering optimal torque when dealing with stubborn brush. Despite that, restringing the darn things can still be difficult if you don't know the proper procedure.
STIHL features many different trimmer heads that include both bump-feed and auto-feed styles. The Autocut 27-2 C and the Autocut C 26-2 Easyspool are bump-feed heads rather than automatic-feed heads. A bump-feed trimmer requires manual releasing of additional line by tapping the trimmer head on the ground. Conversely, an auto-feed head, which automatically releases line when needed, can be found on trimmer heads like the Supercut 20-2. The 27-2 C is going to be the harder of the two bump-feed heads to restring, as you need to take apart the head and slot in both ends of the line. Still, it's possible to improperly restring a product like the Autocut C 26-2 Easyspool, which can cause problems.
Below, we'll go step-by-step to ensure proper replacement for these common bump-feed and auto-feed varieties. Whether you're restringing an Autocut 27-2 C, Autocut C 26-2, Supercut 20-2, or Supercut 40-2, soaking the replacement line in water for 24 hours reduces the likelihood of breakage.
How to restring a STIHL Autocut 27-2 C trimmer head
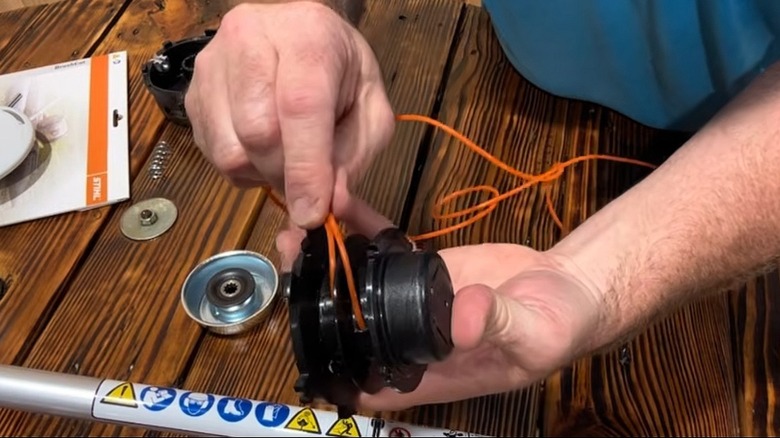
If your trimmer uses the STIHL AutoCut 27-2 C head, here's how to replace the line:
- Look for two tabs on either side of the head.
- Press the tabs inward to loosen the top cover of the trimmer head, then remove it.
- Next, you'll want to measure out enough trimmer line to use, usually not more than 20-25 feet, but double-check your manual to verify. A common rule of thumb among experts is measuring three arm's lengths.
- Remove the cylindrical spool from the trimmer head.
- In the spool, look for two holes (notches) next to each other separated by a partition.
- Insert each end of the nylon string into a different notch.
- With both ends of the line anchored into the center of the spool, begin winding the string based on the direction of the arrows found on the spool's back.
- Tightly wrap the string around the spool until you're close to the ends, still leaving several inches of line.
- Look for small grooves on each side of the spool that will pinch and hold the string to prevent unwinding.
- Place the spool back in the head, press down, and line up the string with each of the head's two eyelets. Then, feed the line's two ends through the eyelets, and secure the cap onto the head.
How to restring a STIHL Autocut C 26-2 Easyspool
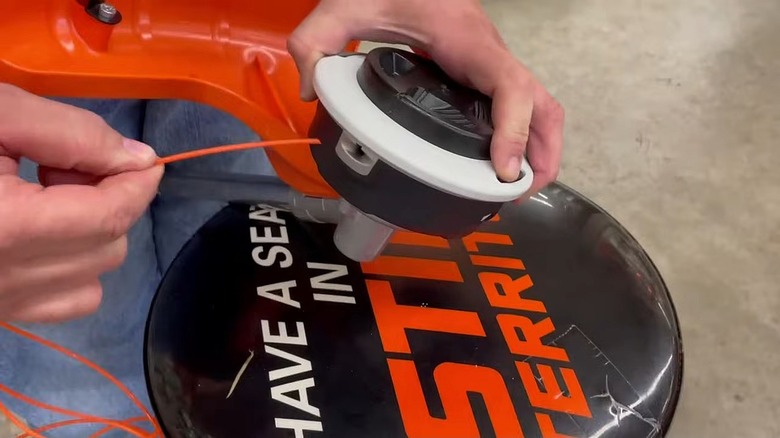
The C 26-2 Easyspool trimmer head, which can be purchased separately for about $40 at the time of this writing, is far easier to restring than others like the 27-2 C. However, this head doesn't fit all models, so you'll want to contact an official STIHL dealer to confirm prior to purchase. While the Autocut C-26-2 Easyspool simplifies the restringing process, the reaction to it has been mixed, with the product making the list of STIHL tools users say you should probably avoid. Nevertheless, the restringing process doesn't require you to take anything apart.
- First, twist the bump knob so that its lines align with the head's lines, indicating where to feed the trimmer line.
- Take a length of nylon string (around 20-25 feet) and feed one end through the eyelet on the head, and continue pulling it through the other side.
- Once you've fed through enough line so both ends are the same length, twist the bump knob clockwise to wind up the line.
How to restring an automatic-feed STIHL Supercut 20-2 trimmer head
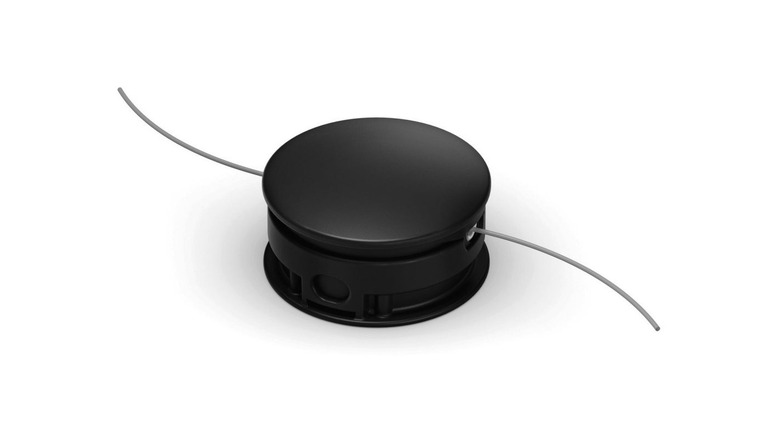
If using an auto-feed type trimmer head from STIHL, like the SuperCut 20-2, you get the advantage of not needing to adjust the line yourself during use. Unlike the bump-feed head type, an auto-fed trimmer head will release line as needed on its own. However, the process requires removing the head cover and spool. For the SuperCut 20-2, follow these steps:
- Locate tabs on both sides of the trimmer head's exterior, and press inward to release the cap.
- With the cap off, remove the spool from inside the trimmer head housing.
- Now, you'll want to measure out around 20 feet (6 meters) of line.
- The spool should display which direction the line needs to be wrapped around the spool.
- Similar to the Autocut 27-2 C, there should be a place to insert the end of each line in the spool, separated by a partition. This anchors the ends so you can wrap the line tightly. Begin winding the top part first.
- Once you near the end of the line after winding it around the spool, there should be a notch to hold the ends in place.
- Then, place the spool back inside the head.
- Detach the end of one line from the notch holding it securely, and insert it into the eyelet on the side of the trimmer head.
- Do the same step for the other side, ensuring line is sticking out of opposing sides of the trimmer head through the allotted holes.
- Check that the line isn't tangled and is able to feed smoothly, then reattach the cap.