How To Transfer Data From Your iPhone To A USB Flash Drive
We may receive a commission on purchases made from links.
The simplest cross-platform solution when you have to move data from your iPhone to a non-Apple device is still a USB flash drive. It works with Windows PCs, Android phones, and pretty much anything with a USB port. But the catch is not every flash drive works directly with an iPhone. You need one with the right connector, and you also need to know how to actually access and manage files once it's plugged in.
For models, like the iPhone 14 and older, Apple used the proprietary Lightning port. That means your flash drive either needs a built-in Lightning connector, or you'll have to use a compatible Lightning to USB adapter. Starting with the iPhone 15 series, however, Apple switched to USB-C. This opens up your options because you can now plug many standard USB-C gadgets directly into your phone without extra accessories.
Once you've got the right flash drive plugged in, the Files app lets you manage documents on your iPhone almost the same way you would on a computer. You can browse folders, copy files, move them around, and even preview documents before transferring them. However, for the smoothest experience, make sure your iPhone is running the latest iOS. Earlier versions of iOS support the Files app, but keeping your iPhone updated usually means better external drive support.
How to set up the transfer
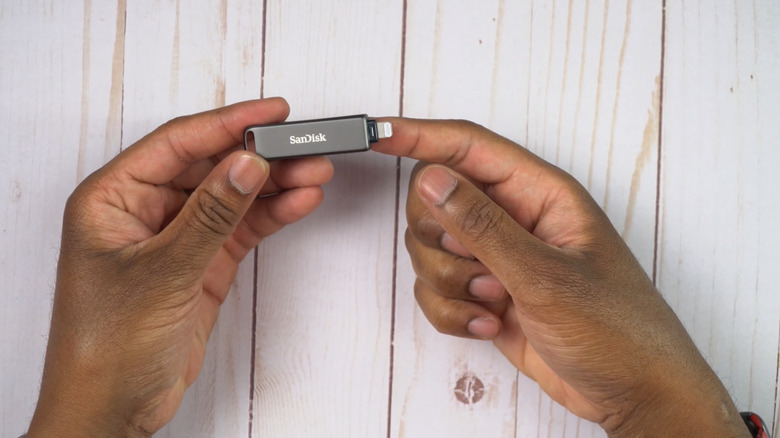
Some flash drives (like the SanDisk iXpand Luxe) plug directly into iPhones, but work with a companion app. The setup process is the same for both USB-C (iPhone 15 series and newer) and Lightning (iPhone 14 and older). All you have to do is:
-
Download the companion app from the App Store.
-
Plug the drive into your iPhone.
-
If prompted to trust the accessory, tap Trust and enter your passcode.
-
Open the app when prompted and tap the Add file button (+)
-
Select files and then tap Copy to Drive.
If your flash drive doesn't have a companion app, here's what to do:

Brittany Roston/SlashGear
-
Plug the flash drive directly into your iPhone
-
Open the Files app and tap Browse
-
Under Locations, select your flash drive
-
For Documents: Go to On My iPhone or iCloud Drive (via Files), tap Select, choose your files, and tap Move or Copy. Then, pick your flash drive as the destination.
- For Photos/Videos (in your camera roll):
-
Open the Photos app and tap Select.
-
Choose the pictures or videos you want to save.
-
Tap the Share button.
-
Scroll down and tap Save to Files.
-
Select your flash drive (listed under Locations) as the destination and tap Save.
-
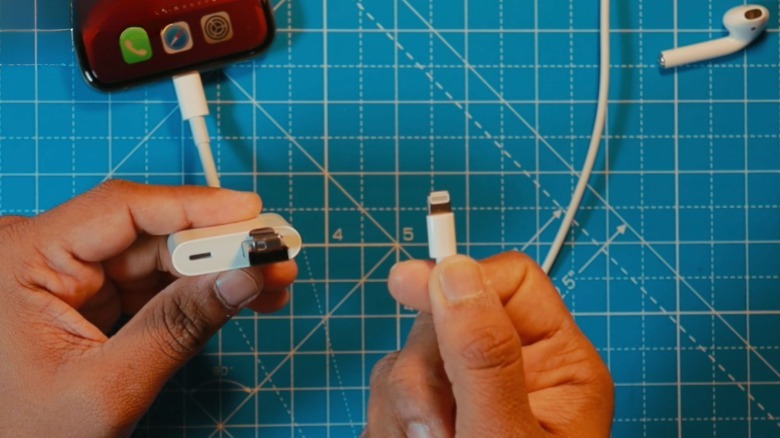
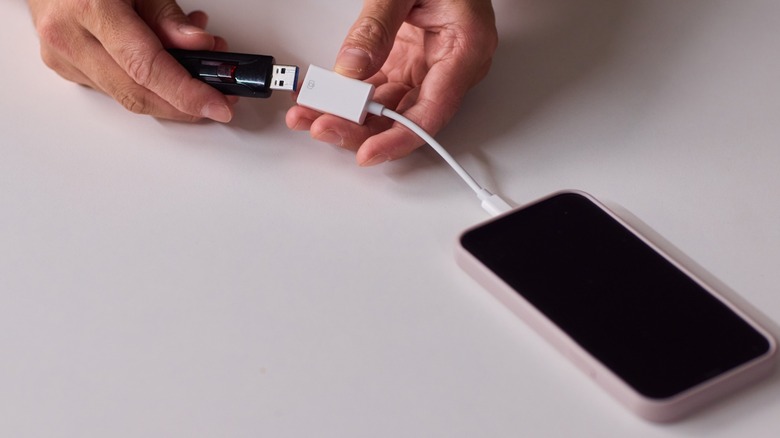
Now, if you're using a regular USB-A flash drive, you'll need an adapter. For USB-C iPhones, that means a USB-C to USB-A (USB 3) adapter cable. For Lightning models, you'll need Apple's Lightning to USB 3 Camera Adapter. Once you've got the right adapter, here's what to do:
-
Plug the adapter into your iPhone.
-
Plug the USB flash drive into the adapter.
-
Plug your iPhone charger into the adapter's power port.
-
Open Files, choose your flash drive under Locations, then select and move your files over.
What can go wrong (and how to fix it)
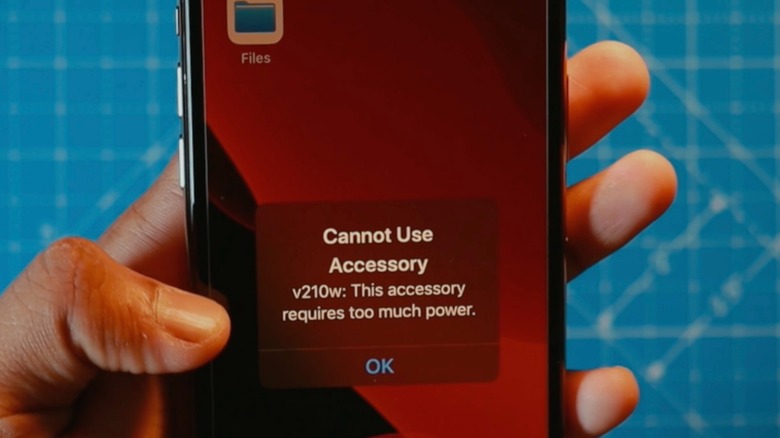
If you get a "This accessory uses too much power" error while using an adapter, that means the setup is drawing more power than your iPhone can supply. That's why we suggested plugging your iPhone charger into the adapter's power port. If the flash drive doesn't appear in the Files app, that's likely because it's been formatted in a file system iOS doesn't support.
Most USB flash drives work out of the box as long as they're formatted as APFS (Apple File System), exFAT or MS-DOS (FAT32). In any other format, like NTFS, the drive won't work. What you can do is erase and reformat the drive on your iPhone or iPad, and then try again. Another common problem is getting a "The operation couldn't be completed" error message when you try to move really large videos or too many photo files at once.
First, make sure there's enough storage space on the flash drive. Once you're certain space isn't the problem, try this:
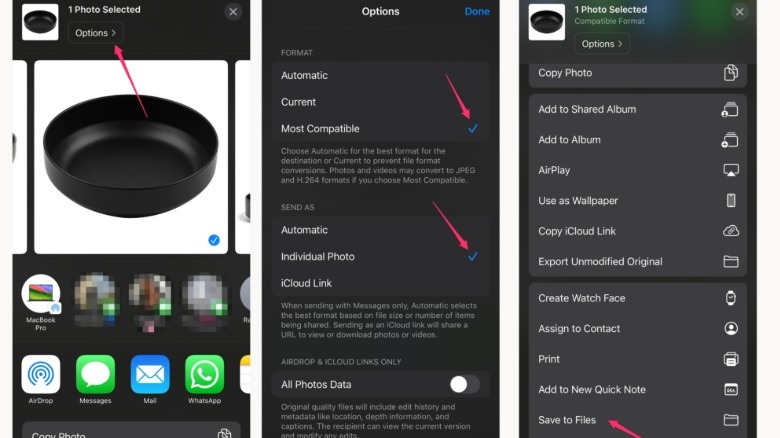 Olasubomi Gbenjo/SlashGear
-
Open Photos and select the pictures or videos you want to save.
-
Tap the Share button.
-
In the Share dialog that pops up, tap Options at the top.
-
Under Send As, choose Most Compatible. You'll see the export option change to Individual Photos or Individual Video (that just means each image or video will be saved as its own file, not that only one photo or video will be exported). Don't forget to click Done.
-
Next, tap Save to Files, then pick your flash drive (under Locations) as the destination and tap Save.
Once your files are on the USB flash drive, you can share your data with almost any device: a PC, TV, Android device, printer, or external storage hub.