Wrangle Your Ugly TV Cables With This Easy DIY Solution

We may receive a commission on purchases made from links.
One of the biggest downsides to electronics is the abundance of cables that come with them. Dealing with a rat's nest of tangled power cords, HDMI, and ethernet cables isn't anyone's idea of a good time, but leaving them unattended can make even an otherwise high-end entertainment center look messy and uncoordinated. Loose PC gaming setup cables under a desk don't just look bad, either. They can accidentally be stepped on or ripped out of their sockets. Worse yet, those who have pets and small children may very well be leaving them exposed to gnawing teeth, causing a safety hazard.
There are a few different ways you can organize your cables. Plastic cable-concealing tracks and cleverly placed clips can go a long way toward cleaning things up, but a much nicer solution is to hide the cables inside the walls. A grommet plate or a collection of outlets that serve as extensions can take this even further, keeping the installation clean so you don't just have to leave a raw hole in your wall.
There are a variety of in-wall power kits that can be used to keep all your cords nice and tidy. While installing these kits can be a bit more of a project than simple covers, it's nothing that a confident DIYer with a bit of free time can't handle. You should know, however, that installing them does involve the use of power tools as you modify the wall you're seeking to hide the cables inside. Let's take a look at the different kinds available, what they include, and what the DIY installation process looks like.
In-Wall power kit options

There are a few different in-wall cable hiding systems out there, and several companies make kits to help you with the installation. One of the most popular options on Amazon is the Echogear In-Wall Cable Management Kit. This is composed of two wall ports that each contain an AC plug. One is an inlet that is designed to be connected to the power via an included 6-ft. extension cord, while the other is an outlet that can be placed behind a TV, monitor, or other device in order to provide power from the wall directly behind it. These two ports are connected by a pre-wired 5-ft. cable that is ETL In-Wall Certified, meaning that it has been tested by Intertek and has been shown to comply with North American safety standards. Additionally, the ports have a grommeted pass-through where you can send HDMI cables, ethernet cables, optical cables, and more. This kit also includes the appropriate-sized hole saw bit and auger for installing the ports.
Other kits, like the Perlegear Cord Hider, are mechanically similar but offer a few more options on the output end of the connection. This model connects two ports with power and grommets for connectivity cables, just like the Echogear. However, the port that sits behind the TV has two AC power outlets, a USB-A outlet, and a USB-C outlet. This might prove to be the better option if you want to attach LED lighting or other devices that you don't want to be directly powered by the TV itself.
How to install an in-wall power kit
There are a few pieces of equipment that you're going to need in order to install one of these kits. Before starting anything, however, you should always flip the breaker to disconnect power from the outlet that you're working near. Once you've done that, you're ready to start installing.
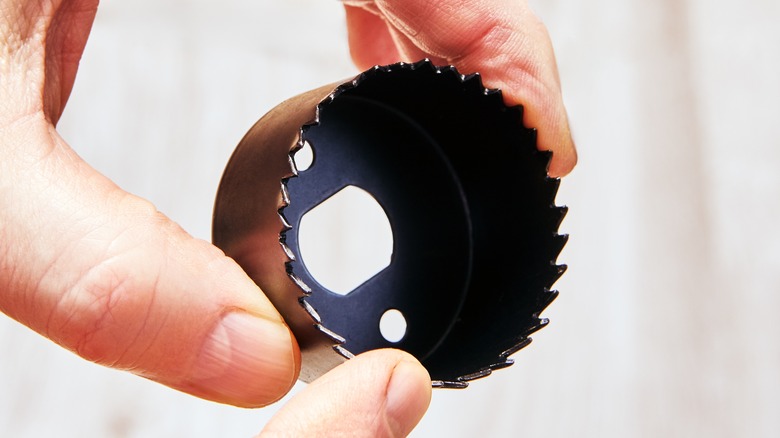
A hole saw like the one included in the Echogear kits is a great way to get a nice clean circular cut in either drywall or wood paneling. These are typically drill-powered, but those who don't own a power drill might consider purchasing a simple drywall saw. Similarly sized wood saws are also available for those who have wood paneling, though this will likely take a lot more elbow grease. Those who are cutting out squares might use a drywall saw, a rotary cutting tool, or an oscillating multi-tool. In any scenario, you can take a pencil, outline the back of the outlets in the locations you want them to go (ensuring that they're well away from any existing wiring and aren't directly over studs), and then cut out the holes.
The easiest way to perform the installation is to position your ports in a vertical line. This ensures that there aren't any studs between your ports that you would have to navigate a cable through. It also makes it easier to dangle cords from one cut out to the one below it without needing to use additional tools. Those who do choose to slightly offset their ports might need something like the Klein Tools Flat Steel Electrical Fish Tape to pull the cables from one cutout to the other. Then, all that's left to do is plug in, install, and secure the ports.