In My Ceiling Replacement, This Is The One Tool I Used Every Single Day
We may receive a commission on purchases made from links.
In January 2023, a massive ice storm occurred where I live in Oregon. The sheer weight of the ice that built up on top of my house cracked my roof, flooding our bedroom with cold water. Not only did this mean that I'd have to have my roof completely replaced, but it also meant that the ceiling and insulation were ruined on much of that side of the house. Suffice it to say, it wasn't the best start to the new year for my wife and me. But it did teach me a lot about drywall installation.
We hired roofers to handle the sheathing and shingling, but I decided to take on the ceiling replacement myself with some help from my brother. I started by collecting all the standard tools for such a task: prybar, hammer, drill (or you might prefer something like Makita's drywall screw-gun), drywall setter bit, utility knife, rotary cutter, joint compound, mud knife, mud pan, and so on. We even ran down to my local Harbor Freight and invested in a drywall lift. These products are recommended in most how-to articles and project preparation lists. All of them are incredibly useful if you're planning to take on a major drywalling project. Even so, there was one power tool that I found myself using just about every day that wasn't usually listed: an oscillating multi-tool.
This humble little tool wasn't originally on my list, but I ended up using it more than other tools that were for every step of the process, from the initial demolition of the old ceiling to the final polish of the new drywall. I used the DeWalt Atomic 20V MAX Cordless Brushless Oscillating Multi-Tool, but any multi-tool should work.
Using a multi-tool during demolition
Before installing a new ceiling, we had to tear the old one down. You need to start by removing any ceiling lights, fans, and vents, and then go ham on the old drywall with a crowbar and a hammer before removing each of the drywall screws from the joists. This is messy and time-consuming, but it isn't particularly difficult. That said, you might run into some unforeseen challenges, and knowing how to use a cordless oscillating tool can be really helpful for getting around them.
The first issue I encountered was that some of the drywall panels ran over the wall that separated the bedroom from the living room. I didn't want to replace the entire panel, so I needed to cut the edge along the seam where the ceiling met the wall. I first tried with a razor blade, but it was challenging in the areas where the drywall was attached to the joists. The multi-tool allowed me to get clean, flush cuts from multiple angles that cleared these last chunks of debris without making a mess. In fact, it was so easy that I ended up using it to clear the last of the drywall that remained along the entire perimeter.
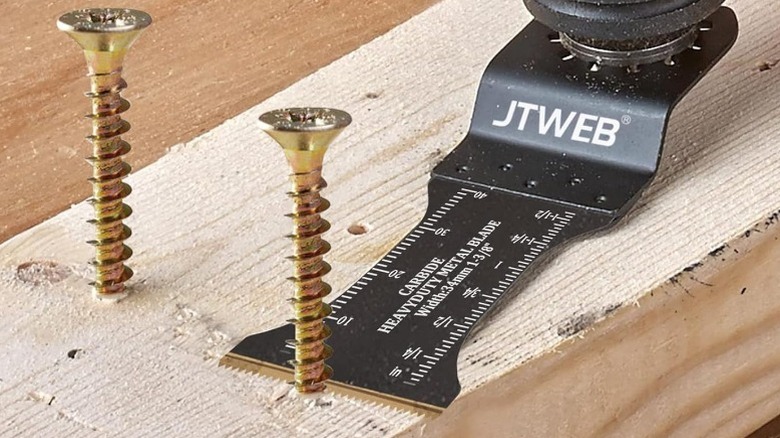
That wasn't the last time I used the multi-tool during demolition, either. A few of the drywall screws that we attempted to remove were stripped and required cutting. Swapping to a metal cutting saw bit made it easy to cut these stripped heads flush to the joist. This cleared the way for the drywall to go up onto a nice, smooth surface.
How a multi-tool came in handy during installation

After putting up some new insulation, it finally came time to install the new drywall. Most of these will be solid sheets that can be screwed to the ceiling as a single, unmodified piece, but you'll need to cut out holes for any lights, fans, and vents in your ceiling. Technically, you can do all of this with a rotary cutter, but I found it much easier to get clean, straight lines for the vents using my oscillating multi-tool.
The tool also comes in handy when you need to patch any mistakes. In a perfect world, all of your drywall sheets would be perfectly square and remain unharmed throughout the processes of buying, transporting, and mounting them, but that isn't how it went for me. There were a couple of crumpled edges and dents that I ended up needing to cut out and patch with a fitted piece of drywall. I used the multi-tool both for cutting out the damaged areas and for cutting the replacement patches. Its ability to get thin, clean lines made it easy to make snug-fitting patches that looked almost seamless, even before applying joint compound.
Finally, there were some vertical pieces of trim in the corners of the room that ran just a bit too high for the drywall to fit above them. I could have removed these pieces, put in the new drywall, then reinstalled them, but it was once again much easier to simply leave them in place and trim a bit off the top with my multi-tool.
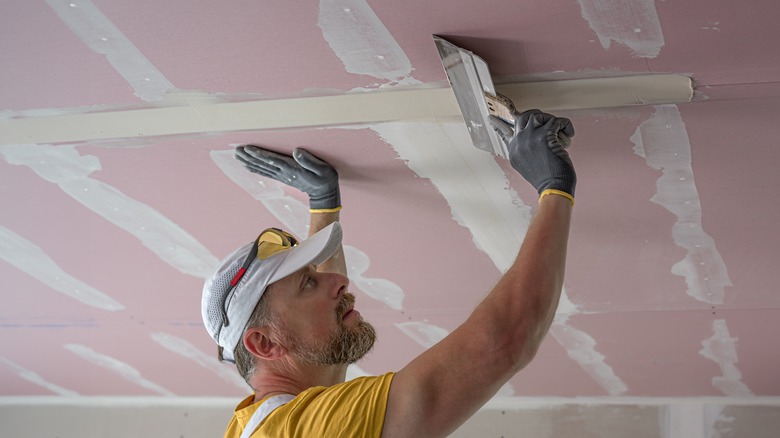
Applying the finishing touches with a multi-tool

The drywall is installed, so we're done, right? Not so fast. You still need to fill the spaces between the boards with drywall tape and joint compound, while also covering all the screws and any patches that you might have made. Then you need to let it dry and then sand it all down... Yay. There isn't much call for the oscillating multi-tool for most of this, but I did discover one final utility for it toward the very end of the project.
Drywall sanders typically operate like big circular sanders. These are great for getting a nice, smooth finish on your ceiling that eliminates the seams left by joint compound. Unfortunately, their circular shape makes it difficult to get into the corners. Most people hand-sand any seams in these hard-to-reach areas, but the oscillating multi-tool is great for sanding narrow gaps and crevices. Most of the assorted sanding attachments made for such tools are triangular in shape, making them ideal for corners or getting nice and close to the seam where the ceiling meets the wall.
Oscillating multi-tools are also much smaller, which makes them handy for spot-sanding individual burs and lumps without further sanding the surrounding area if that's something you're looking to avoid for any reason. Just make sure you get the right kind of accessories for your tools. Some, such as Makita's Starlock Oscillating tool, are different from other options in that they have specialized attachment configurations.