5 Steps You Need To Take To Properly Winterize Your Camper Or RV
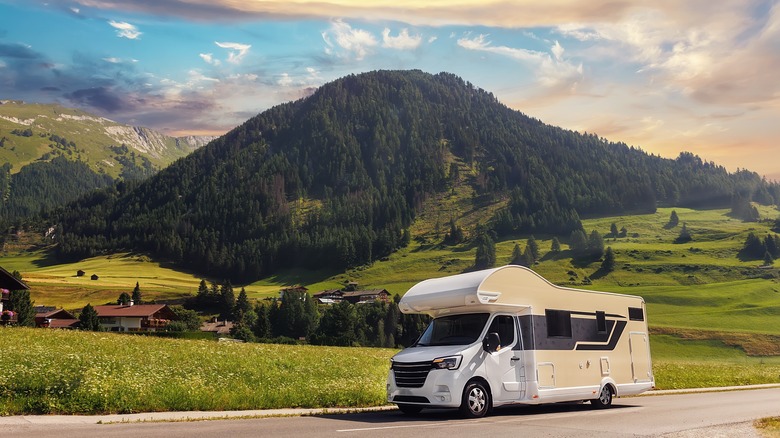
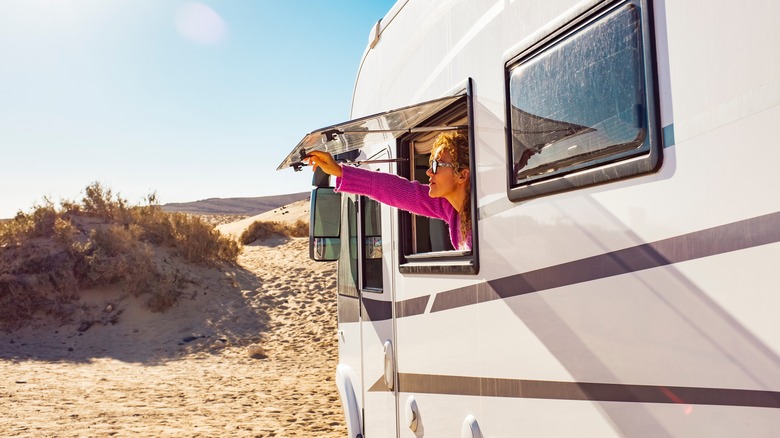
A camper or RV gives you the option to hit the woods for the weekend or take a road trip across the country with a mobile residence that goes where you go. You've got a bed, a bathroom, a refrigerator, and a few other basic amenities so that life isn't so rough even when you're roughing it.
Of course, the convenience of an RV or camper comes with some compromises. Even with extensions (sections of your RV that expand after you're parked to create more room inside), space is at a premium. Gas and electricity have to be provided manually unless you're parked at a long-term space or one of the fancier campsites. Perhaps the most important difference is that campers and RVs need some special preparation to safely survive cold winters.
You can pay a professional service to winterize your rig for you, or you can do it yourself with a little preparation. If you're packing up your camper or RV for the winter, following these steps can help you avoid potentially serious damage come springtime. It's worth noting that these are general guidelines applicable to most campers and RVs. Refer to your rig's manual for specific winter care instructions.
Drain and clean your RV's holding tank(s)
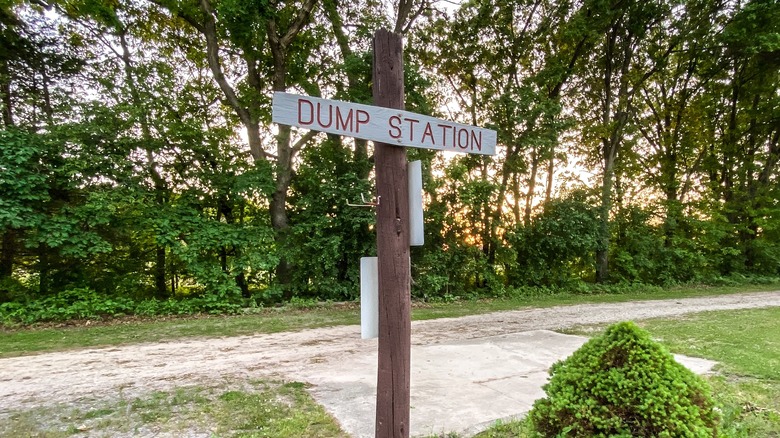
Whether you're putting miles behind you on the open road or roughing it in the great outdoors, your RV's built-in bathroom can be a lifesaver. No matter where you are, you have a clean and private place to do your business, but all of that waste has to go somewhere. Being disconnected from a municipal sewer system means wastewater (and everything in it) goes into a holding tank. Emptying and cleaning those tanks is an important part of preparing your camper or RV for winter storage.
Fortunately, modern holding tanks make things simple compared to the worst RV design idea of the '70s, a failed experiment that actually pushed waste out through the exhaust. With today's systems, the process is straightforward: Take your camper or RV to an approved dump station or a permitted sewer hookup (options include campground full-hookups, gas stations, and wastewater treatment plants), connect the sewer hose, open the valve, and let gravity do the rest.
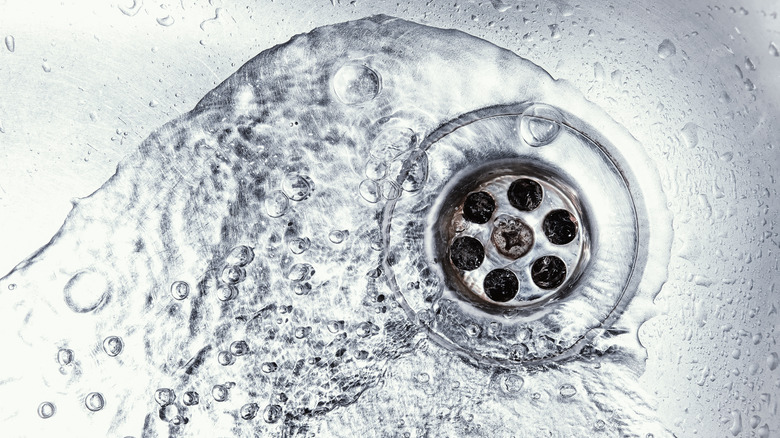
Sometimes, everything doesn't drain the first time. If that happens, refill your holding tanks with water to loosen remaining debris and empty them again. Getting your tanks really clean often requires a rinse to remove debris stuck to the sides. Some tanks have built-in sprayers to do this for you; otherwise you can buy a tank-rinsing wand (a hose-powered spray wands sold at camping stores) to spray and dislodge deposits.
Flush your RV's water lines
If you've ever accidentally left a drink in the freezer too long, only to find the can or bottle burst when you came back for it, you'll have some idea of why clearing the pipes and water lines is so important. Water expands when it freezes, and any water left in the lines over the winter has the potential to cause damage. Winterization is a relatively quick, simple, and affordable process, while fixing a burst pipe is much more time-consuming and expensive.
To clear the lines, first disconnect your RV or camper from your external water source. That's usually as simple as disconnecting a hose. Next, turn off the power and shut off the propane. Flush the toilet by holding the valve open, then open the faucets and drain valves to let most of the water drain out. In some cases, this may be enough, but you're better off flushing the lines with air to get them as dry as possible.
Connect a blow-out plug to your RV's water inlet and use an air compressor to flush the lines. Keep the pressure at 30 psi or lower to avoid damaging the water lines. Don't forget to drain the water heater, but do this last so that the water has time to cool before you open the drain.
Apply RV antifreeze to the plumbing
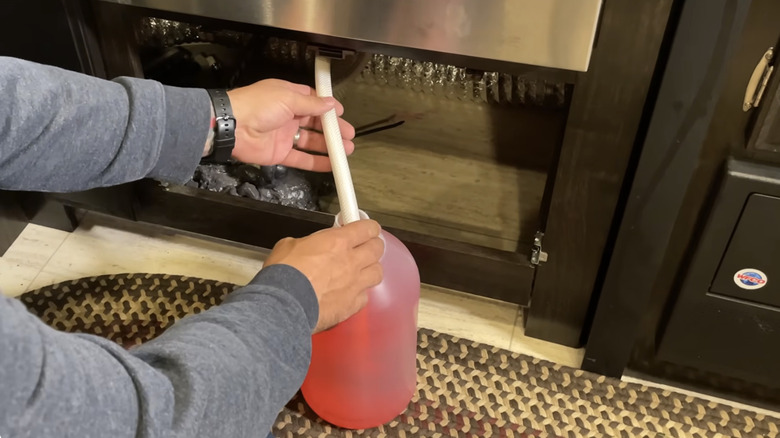
Depending on where you're setting down for the winter and how low the temperatures go, RV antifreeze may or may not be necessary. If temperatures in your area don't drop too low, simply flushing the lines may be enough, but many RV and camper owners swear by RV antifreeze for a little added security.
RV antifreeze is specially formulated to fill up at-risk locations and protect them from freeze damage throughout the winter. Pour some into your black and gray holding tanks, down each sink and shower drain, and into the toilet. RV antifreeze helps to protect your pipes, drain valves, and seals, so you don't have any inconvenient repair jobs in the spring.
If you really want to go the distance to protect your RV or camper, you can pour two or three gallons of RV antifreeze into the pipes and push it throughout the system using an external handpump. If you decide to do that, it's important to bypass the fresh water tank and any water filtration systems. As always, refer to your rig's manual for specific instructions to protect your RV and prevent contamination of your potable water system.
Double-check for leftovers and weak points
When winterizing your RV or camper, it's easy to forget the little things. When you're focused on the big things like emptying the holding tanks and clearing the lines, you might overlook less noticeable problems.
Leaving an RV for the winter is sort of like leaving a hotel room: It's worth doing a couple of laps and checking all the nooks and crannies to make sure you're not forgetting anything. This is especially important before you pull in any extensions. A forgotten toy or favorite gadget can get crushed or even damage the RV if it gets wedged in the wrong place.
Check for supplies you might need over the winter, like hiking boots or your favorite sweater. Check for any food left in the refrigerator, freezer, oven, drawers, or tucked into storage spaces. Nobody wants to return in the spring to find rotten food and the bugs that will inevitably follow. Inspect your RV or camper for cracks or holes in the roof, walls, and flooring. Check seals around the doors and windows, and make any necessary repairs. If your area is prone to pests like mice or insects, you might consider applying your preferred deterrent.
A cover protects your camper or RV over the winter
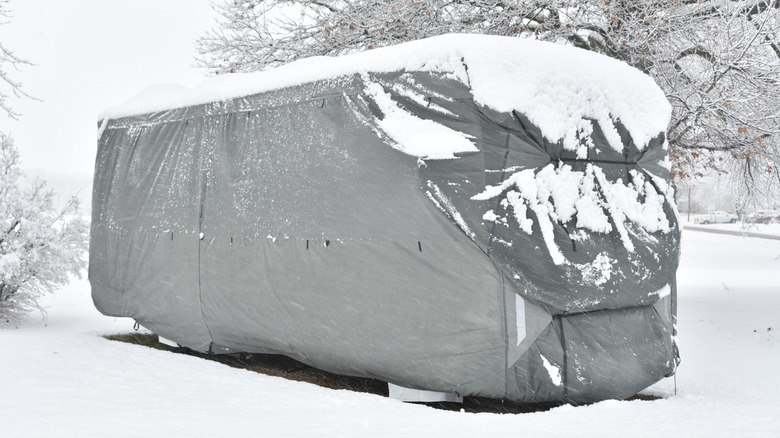
The purpose of winterization is to protect your RV or camper from the ravages of time and the elements. You can't do much about time, but you can put a physical barrier between your rig and the elements to help protect it over the winter.
The ideal place to store your camper or RV long-term is in a covered, climate-controlled garage or storage unit. But those can be expensive and they tend to fill up quickly, so even if you have the means, they can be hard to get your hands on. If you're storing your rig outside over the winter, it's worth investing in a good-quality cover.
A cover protects your RV or camper from UV rays, rain and snow, pests, and minor damage like scratches from falling branches. While RVs and campers are designed to withstand the elements, they'll last a lot longer and you'll have less work in the spring if they're protected at least a little bit from seasonal extremes and daily wear and tear in the off-season.