How To Use Vinegar & Baking Soda To Clean Your Car's Headlights
We've all seen tired, old cars with faded headlights out on the roads. Not only does this look unsightly, but it's also dangerous too, as cloudy or foggy headlights won't be as effective come nightfall as a pair of bright and fresh lights. It's no wonder that older headlights end up like this though, as being right at the front of the car, they do get battered day-in and day-out by splattered bugs, exhaust particles, and any other kind of debris that might fling up from off of the road. It can also be due to the materials in which modern headlights are made out of.
Replacing tired headlights can be expensive, but there are instances where there's no need to fork out money for a new set. There are many different ways in which you can restore your headlights back to their former glory, by using professional products, or even just trying some simple DIY hacks. One of the most popular and effective hacks is to clean them using a vinegar and baking soda formula.
Here's how to restore your headlights using vinegar and baking soda
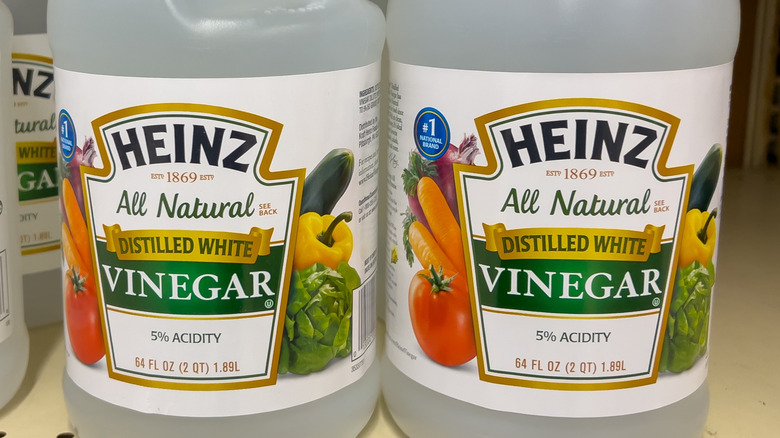
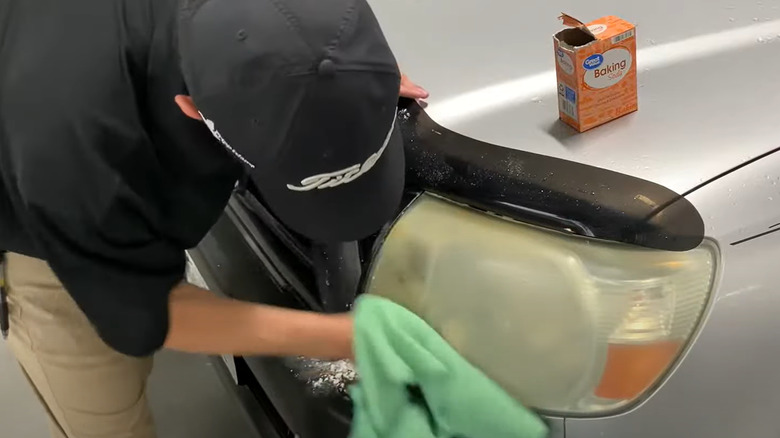
Any baking soda will do for this quick hack, but you'll need a particular vinegar — distilled white vinegar, to be precise. You may be able to brighten them quickly by just using the vinegar to clean them, but if they're hazy or cloudy, then the following steps should help you out. Firstly, get some extra items together — namely a mixing bowl and something to measure the baking soda and vinegar out, plus some dish soap, clean water, and some microfiber cloths.
To start the process, mix two parts baking soda with one part vinegar in the mixing bowl — the solution should start to foam a little at this point. This next part could be messy, so maybe put on some gloves, but dip a cloth into the solution and begin rubbing it into your headlights. No need to spend too long here, just a minute or so per headlight to ensure the mixture is rubbed in thoroughly. Finally, clean the mixture off using water, or soapy water to make it easier. You should be left with much brighter headlights, but if not, it's perfectly fine to try the process again.
Professional alternatives to the vinegar and baking soda method
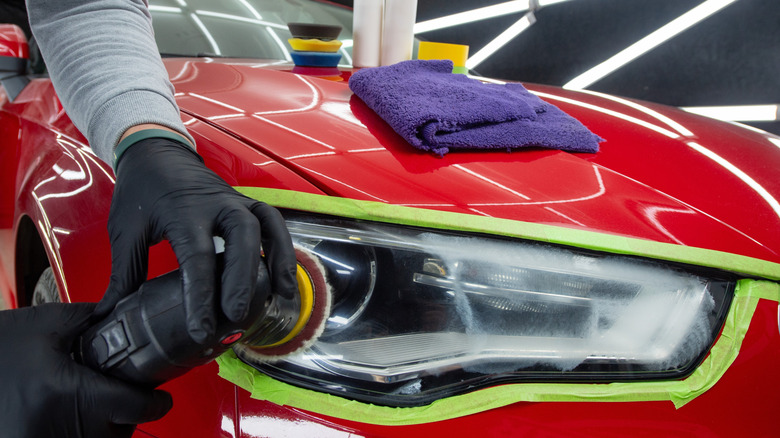
If after giving the above DIY method a go, your headlights are still looking cloudy and a little lackluster, it might be time to try something a little more professional. There are many options you can try here, including headlights kits recommended by users. There are two different approaches you can take when using more advanced products; either a clean and coat restoration kit, or an abrasive-based restoration. The former works by cleaning the headlight first, and then covering the headlight with a separate solution and allowing it to dry. This process is then usually repeated, and then the result is a brighter looking headlight.
Abrasive methods are more vigorous in the way that they are applied, but begin by also cleaning the headlight, before then masking it off to avoid damage to the paintwork. Usually, a drill attachment is required to mechanically buff the headlight using a provided paste or solution. This works to attack the hazy layer on the headlight, which leaves a polished finish. Typically, a final solution is provided to coat the headlight, in order to protect the desired finish for longer. It can be tricky to know which approach is required, so sometimes asking a professional detailer or auto-shop expert for prior advice may be the best way forward.