3 Headlight Cleaning Kits That Actually Work According To User Reviews
If you need to restore your car's dim headlights to their former brilliance, you've likely searched the internet for a solution, or maybe this is your first stop. If you go on searching, you'll find everything from DIY solutions that could irreparably melt the plastic lens covering your headlight to professional kits that cost several hundred dollars. Rest assured that several tried-and-true products lie between those extremes.
If your headlight lenses are scratched, cloudy, or dull, it's best to start with a complete headlight restoration kit. However, not all kits work the same since some require an electric drill, and others rely on hand power. An electric drill makes the work easier and faster, but not everyone has one in their arsenal. If you don't have an electric drill, one of the hand-powered kits will work just as well but requires additional effort. Let's dive into the three headlight restoration kits with the most five-star user ratings.
3M Headlight Lens Restoration System
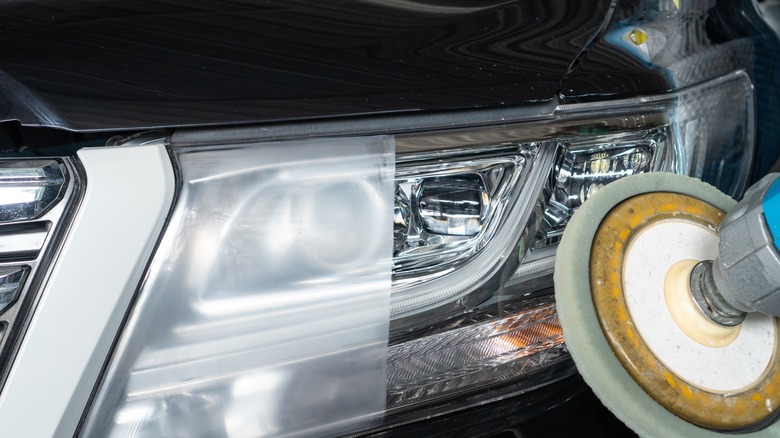
The 3M Headlight Lens Restoration System is safe enough to remove the logo from a smartphone, but its primary function is removing haze and yellowing from plastic automobile headlight lenses. The kit with part number 39008 includes six 500-grit sanding discs, four 800-grit finishing discs, one polishing disc with rubbing compound, and a disc pad holder for use in your power drill. In addition to the abrasives, each kit contains enough masking tape and wax protectant to restore two headlights.
Among the 1,000+ five-star reviews, taking your time, using a constant sweeping motion, and closely following the included directions are recurring themes. The process starts with thoroughly cleaning the headlight lenses and surrounding area with soap and water before using the included tape to mask off nearby painted surfaces. Then, use the progressively finer abrasives to restore clarity to the plastic lens and apply a protective wax (not included in the kit).
Meguiar's G2980 Headlight Restoration Kit

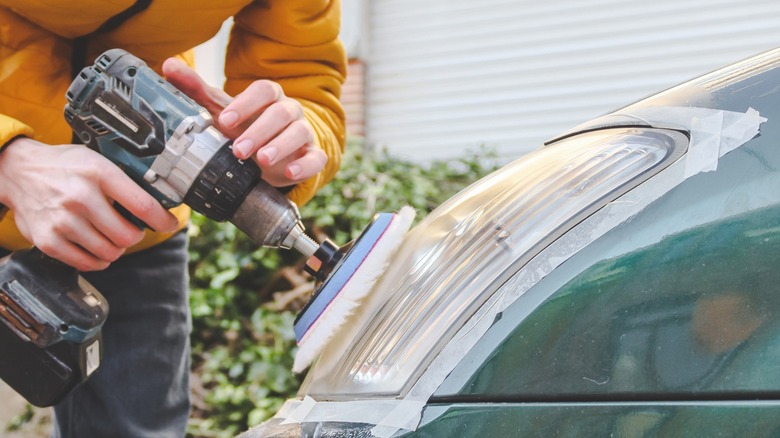
The Meguiar's Headlight Restoration Kit requires hand-powered sanding and an electric drill for polishing. The kit includes one each 1,000-grit and 3.000-grid sanding discs, which attach to the included hand sanding pad, a wool polishing pad with a polishing compound that attaches to your electric dill, and a bottle of protective headlight coating. Users report the kit contains enough materials to restore the headlights on two to three cars.
First, park the car in a shaded area where it won't get wet from rain or dew for at least 24 hours after applying the protective coating at the end. Then, use masking tape to protect the painted surfaces around the headlights and start sanding side-to-side with the 1,000-grit disc, covering the entire headlight lens while frequently wetting the sanding disc. Once the lens looks uniformly foggy, switch to the 3,000-grit disc and sand up and down until the lens appears clear.
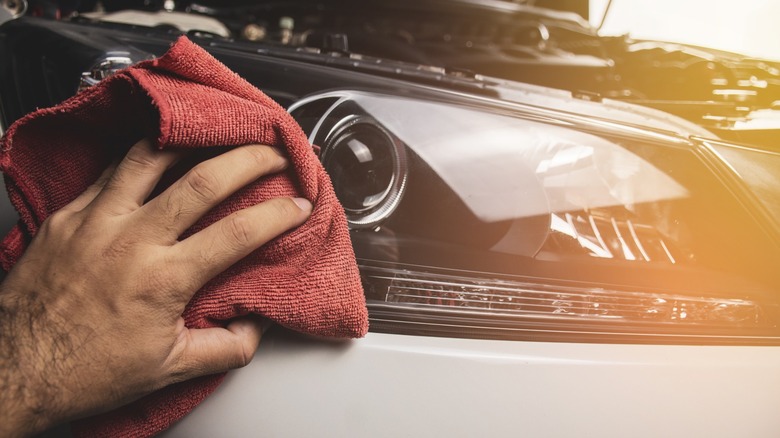
Place the polishing pad into your drill and apply the polishing compound to it. Maintain medium pressure and keep the polishing pad as flat as possible while polishing the lens. When the lens is clear, apply some polishing compound with a clean microfiber towel for a final buff before thoroughly cleaning the restored lens.
Finally, apply the protective headlight coating to the clean, dry lens using the supplied applicator. Apply the coating in even overlapping strokes, working from top to bottom. The coating dries to the touch in 15 minutes and cures in 24 hours.
Sylvania Headlight Restoration Kit
If you don't own an electric drill, the Sylvania Headlight Restoration Kit is an excellent option. Sylvania's kit includes masking tape, vinyl gloves, application cloths, a proprietary surface activator, three progressively finer grits of waterproof sandpaper, a polishing compound, and a UV-blocking coating.
Sylvania claims three easy steps to headlight restoration. That claim is only valid if you count three sanding operations and polishing as one step and don't count preparation. Regardless of the actual number of steps, the kit provides reliably satisfactory results with over 400 five-star reviews.
Before you begin, ensure the headlight lenses are clean and dry, then apply masking tape to the painted surfaces surrounding the headlights. Sylvania's first step requires the application of its proprietary surface activator, which softens the lens plastic. Step two: uniformly sand each lens with progressively finer sandpaper, keeping it wet at all times, and then apply the polishing compound with the provided polishing cloth. After thoroughly cleaning the now transparent lenses, proceed to step three, applying the UV-blocking clear coat protectant.