Want The Ice In Your Yeti Cooler To Last Longer? Try This
While an electric cooler could come in handy for a camping trip, a good ice chest, with thick insulation on all six sides; top, bottom, and all four walls, is an excellent choice when you're far from an electrical socket. A hard-sided Yeti cooler is better than a soft cooler, but either type will benefit from the following tips for keeping ice longer.
Start by pre-cooling your Yeti cooler and its planned contents. When you bring your cooler out of storage, the inside, including the insulation, is the same temperature as where it was stored. If that was inside a garage, shed, or attic, it will mean a short life for the first round of ice you put in it because the ice will have to cool the interior first. So, bring your cooler into the air conditioning a few days before you need to use it, and then put a bag or two of ice in it the night before you plan to load it with supplies.
While the cooler is cooling down, put all the things you plan to load it with in the refrigerator, or buy them cold the day you plan to load them up and keep them cool until you're ready. Putting hot drinks in a cold cooler will only use up more ice. You should also freeze any artificial ice packs you plan to use at this time.
Strategically load your Yeti
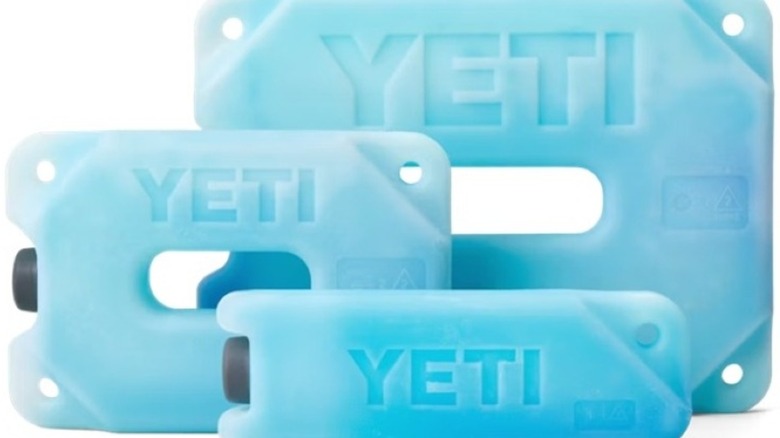
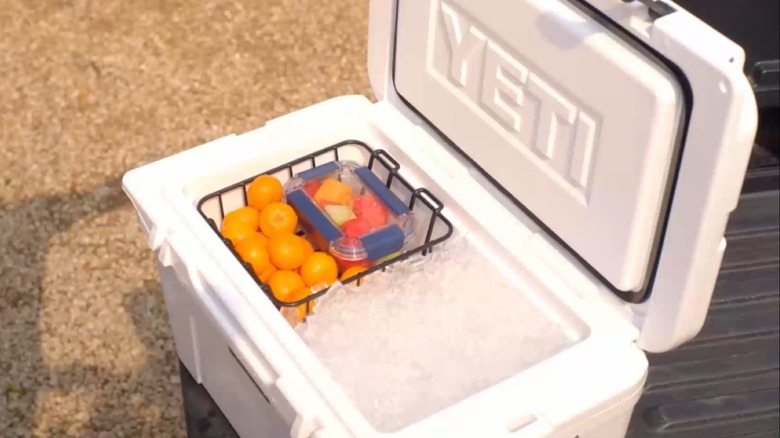
Once everything is pre-cooled, it's time to start loading your Yeti. Yeti recommends the use of its Yeti Ice Blocks on the bottom of the cooler as a way to enhance your next camping trip. If you don't have those, a layer of good quality ice will suffice. When buying ice, look for ice that is uniform in shape, large pieces, and not wet or already starting to melt.
With a good base layer of ice covering the bottom of the cooler, start loading cans and bottles in a single layer before adding another layer of ice. Food should go on top to minimize the chances of it getting wet as the ice melts.
Ideally, we want a ratio of two-parts ice to one-part contents at a minimum, the more ice the better. Once the cooler is approaching its limit, top it off with ice, eliminating any dead airspace while still allowing the cooler to close properly. If all the contents are in sealed containers, you can sprinkle a little rock salt on top of the last layer of ice for additional cooling action.
Using your cooler during an event
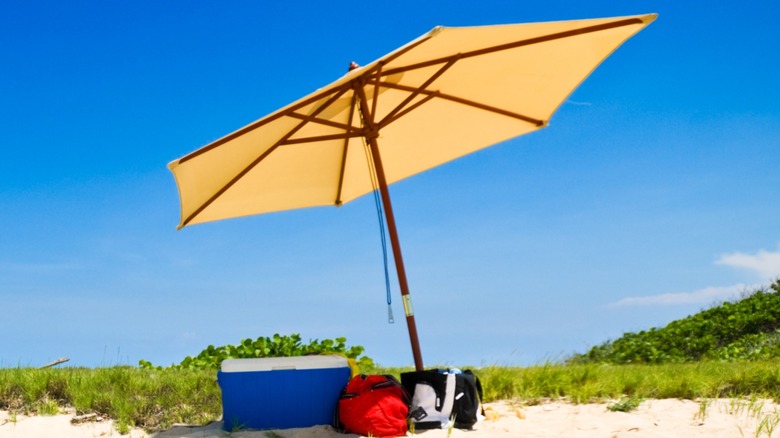
There are a couple of things to keep in mind while using your cooler outdoors that can help it keep ice, and its contents cold, longer. First, you'll want to keep your cooler in the shade at least. It's even better if you can keep it inside an air-conditioned RV, but keeping it out of the direct sun will help, much in the same way parking in the shade keeps your car cool in the summer.
Another key to keeping ice in your cooler longer is to limit opening it as much as possible. One strategy is to ask if anyone else wants anything from the cooler. Not only is it polite and good camping and party etiquette, but it reduces the amount of time people will stare into an open cooler trying to decide what they want.
The ice in your cooler is going to melt, it's inevitable. The only thing you can do is slow the process by following these tips. However, as it melts, avoid the temptation to drain the ice water from your cooler as doing so allows warm air to replace it. Of course, you'll have to keep the water level below any unsealed food or meat, but if the contents are bottles and cans, let them float.