Here's How You Can Easily Adjust Your Electric Trailer Brakes
If you are towing a trailer weighing more than 1,650 pounds (750kg), it is likely a braked trailer. These heavier trailers, often with two or more axles, have their own electric brakes, which are applied via an electromagnetic switch whenever the towing vehicle's brake is applied. An electric trailer brake helps avoid dangerous swaying or jackknifing by sharing the braking load, which is especially handy during a steep descent or an emergency braking situation.
An electric trailer brake is almost invariably a drum brake, not a disc brake, and as such will need adjusting as its brake shoes wear down. Electric trailer brakes should be manually adjusted 200 miles after the initial setup and every 3,000 miles thereafter. Given trailers do not come with their own odometer, adjusting the brakes every three months is a safe alternative — or you could even fit an aftermarket GPS odometer, tracker or hubodometer to your trailer.
If you have the manual dexterity required to use a car jack and a screwdriver, you will find adjusting your electric trailer brakes to be a simple task. You will need a jack, some wheel chocks, axle stands, a flashlight or head torch, and a flat-head screwdriver or two. You can use a dedicated brake spoon in place of the screwdriver, but it is not an essential tool.
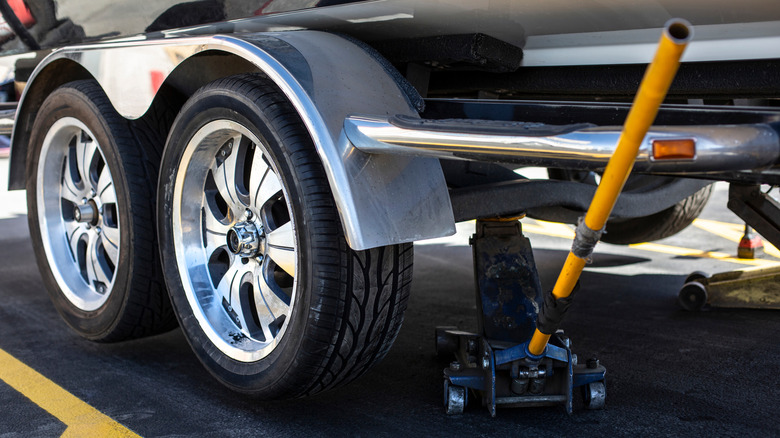
Preparation and safety come first
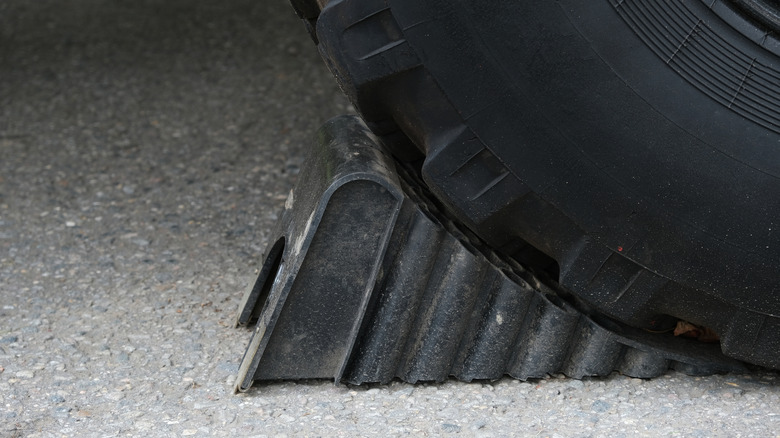
The electric trailer brake adjustment can be performed with the wheel in place or removed for better access to the brake drum backing plate. Either way, be sure to support the trailer with a stand before getting underneath. Ensure the trailer hand brake is released, and chock a wheel on one side of the trailer, then jack up a wheel on the opposite side until it rotates freely. If the wheel and its drum are difficult to turn, you may need to replace the wheel bearings or repack them with grease.
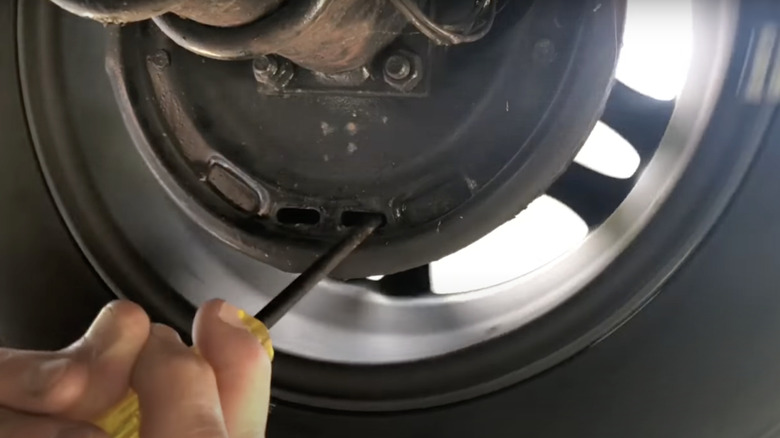
Slide under the trailer, using the flashlight as needed to find the adjustment slot on the bottom of the backing plate. There may be two slots, with the adjuster wheel behind the left or right, depending on which side of the trailer you are on. Each and every slot should be covered with a rubber plug. Pull or pry out these plugs, but be sure to replace them, as they keep out grease and oil that can adversely affect braking. If any plugs are missing, buy replacements from the manufacturer or an auto parts store.
Looking through the slot, you will see a toothed brake adjuster, or star wheel, which is the adjustment point for the brakes. If you find it difficult to see, you may be able to feel it with the screwdriver. This star wheel can be adjusted by levering it up or down using the blade of a screwdriver or a brake spoon.
Performing the adjustment
Start by rotating the wheel or brake drum, setting it spinning as you adjust the brakes. As the drum spins, turn the star wheel with the screwdriver, using it as a lever on the star wheel's teeth to turn it up or down. You want to tighten the brake until it starts to slow the spinning drum. If you hear the brake shoes scraping on metal, you need to replace them and machine or replace the drum.
Turn the star wheel in the direction it turns most easily: it should make a slight click as it tightens up. The star wheel is on a ratchet and turns more easily in one direction than the other. Backing it out will take more force than tightening it, as the ratchet may sit against a spring or a catch lever that may need to be pushed back with a smaller screwdriver to turn the wheel back. Try to get the adjustment right as you tighten the star wheel: if the rotating drum binds and stops, you will need to loosen the brakes by backing off the star wheel.
With the drum rotating, tighten the star wheel until you feel the brakes just starting to act on the drum. The brake resistance should be even all the way around the drum, with the drum turning smoothly, without binding. At this point, the brake is properly adjusted. Repeat the process on the other wheels, adjusting the brakes evenly on both sides.