How To Transfer Ownership Of A Used MacBook
While MacBooks are known to last for up to eight years on average, it's never wrong to upgrade to a newer release before the end of your current laptop's lifespan. Maybe you're now working with more demanding apps and need a more capable machine. Or perhaps your used MacBook can no longer hold a charge as long as you need. To avoid adding to the ever-growing problem of e-waste, you can always sell or give away your old laptop. This way, it gets a new life and won't cause any harmful effects to the environment.
But of course, you shouldn't get rid of your used MacBook that easily. Make sure to clean and prepare your laptop before selling or giving it away. Your job also doesn't end with making it look all shiny and new again. There's one more important thing you need to do: transfer the ownership of your used MacBook.
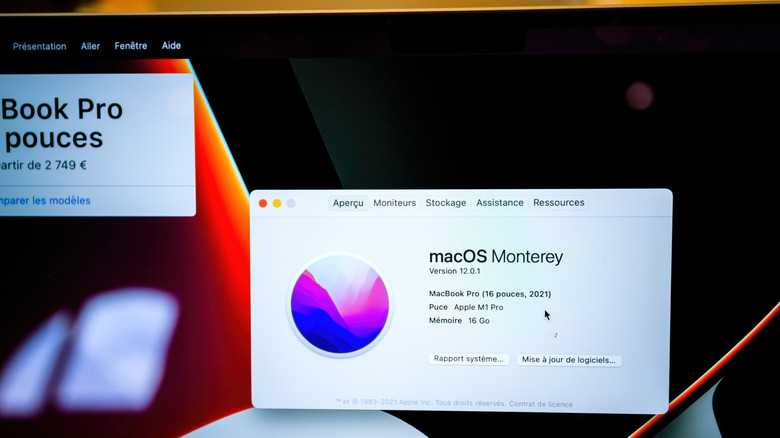
For MacBooks running on Apple silicon or T2 Security Chip with at least macOS Monterey 12
Before the new owner can take full ownership of your used MacBook, you have to remove all traces of your personal data from the device first. Here's how:
- Transfer your AppleCare plan to the new owner if the MacBook is covered. If you prefer not to do so, simply cancel the plan altogether by reaching out to Apple Support.
- Backup your files using Time Machine. Plug in your external storage. Navigate to Apple menu > System Settings > General > Time Machine, press Add Backup Disk, and click on your external storage. Then, hit Set Up Disk. Type a password to encrypt your backup. Otherwise, turn off Encrypt Backup. Press Done to start the backup process.
- Erase your data:
- Open the Erase Assistant by clicking on the Apple menu > System Settings > General > Transfer or Reset, and then selecting Erase All Content and Settings. If you're on macOS Monterey, simply go to the Apple menu > System Preferences. Then, press System Preferences at the top again and choose Erase All Content and Settings.
- Type your password.
- Hit Unlock.
- Press Continue.
- Enter your password to sign out of Apple.
- Click on Continue.
- When prompted, select Erase All Content & Settings. Your used MacBook should automatically restart and display a progress bar against a black screen.
- Once the Activate Mac screen shows up, long-press on the power button to turn off the laptop.
From here, you can let the new owner sign in to your used MacBook with their Apple ID to complete the transfer of ownership.
For all other MacBooks
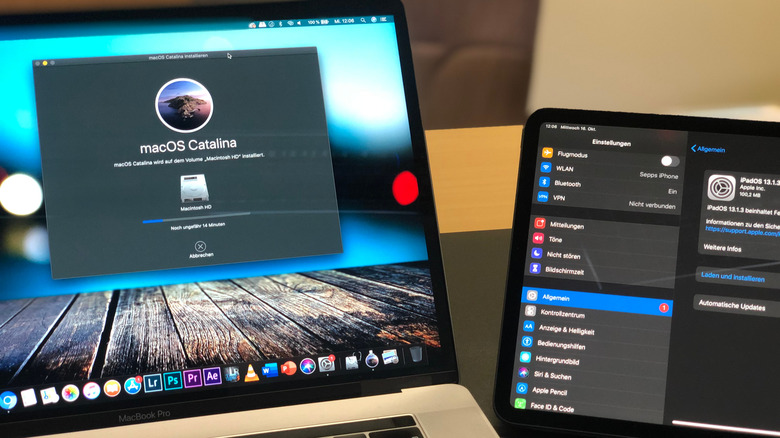
Older MacBooks don't come with the convenient Erase Assistant, so the erase process is a bit more tedious. Follow these steps to factory reset your used MacBook:
- Back up your data using either Time Machine, iCloud, or manually dragging the files to an external storage.
- Log out of iTunes by going to Account > Authorizations > Deauthorize This Computer. Then, type your Apple ID name and password and hit Deauthorize.
- Sign out of iCloud from the System Settings or System Preferences. Depending on your macOS version, you'll find the sign out button under your name, Apple ID section, or iCloud option.
- Log off of iMessage. From the Messages app, navigate to Messages > Settings/Preferences > iMessage. Then, press Sign Out.
- Remove your paired Bluetooth devices. Go to the Apple menu > System Settings/System Preferences > Bluetooth. Hit Disconnect or the X icon next to all the devices. When prompted, confirm by clicking Remove.
- Shut down your used MacBook.
- Hit the power button and quickly press and hold Command + R until you see the Apple logo.
- Follow the prompts until the macOS Utilities screen shows up.
- Select Disk Utility.
- Go to Macintosh HD on the left side panel.
- Press Erase at the top.
- In the popup, hit Erase to proceed.
- Once the operation is successful, click on Done and close the Disk Utility.
- Back on the macOS Utilities window, choose Reinstall macOS.
- Press Continue.
- On the installation setup page, click on Continue.
- Agree to the software license agreement.
- Choose Macintosh HD as your drive.
- Hit Install.
- Once you see the Welcome page, shut down the MacBook with keyboard shortcut Command + Q.
- Reset the NVRAM if your used MacBook is Intel-based. Press the power button to turn on your laptop and quickly long-press Option + Command + P + R for 20 seconds.
Your MacBook will then reboot multiple times. When you see the Welcome page or setup assistant, turn off the laptop with Command + Q.