What Is A Rabbet Joint In Woodworking? (And How Did It Get Its Name?)
If you've ever peeked inside a kitchen cabinet or admired a well-built drawer, there's a good chance you've seen a rabbet joint, whether you knew it or not. This classic woodworking joint has been around since at least medieval Europe, and today, it's earned a solid place in both traditional and modern cabinetry.
No, the term "rabbet" has nothing to do with the furry animal. It actually comes from the French word rabat, which refers to a recess or offset — a fitting name for a joint that's literally a groove cut into the edge or end of a board. In the UK, it's also known as a rebate joint. The names may differ, but the purpose remains the same: to create strong, clean corners where wood meets wood.
As for why woodworkers prefer a rabbet joint, it's stronger than just gluing two pieces together (like with a simple butt joint). It also looks a lot better, with less visible end grain and cleaner lines. So it's no wonder it's one of the first joints cabinetmakers learn.
How to tell it apart from a dado joint
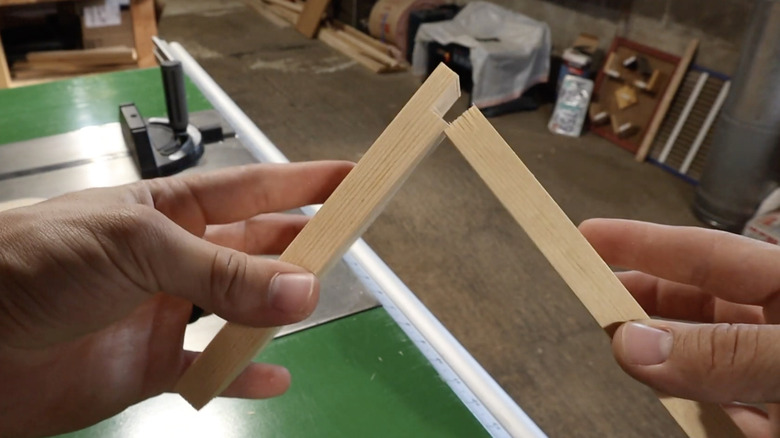
Rabbets and dadoes are like cousins in the world of joinery, though the latter is generally more popular. Similar tools can cut them, and they're often used side by side in furniture projects. But the differences between them matter. A rabbet is basically an L-shaped groove sliced into the edge or end of a piece of wood. A dado, on the other hand, is a U-shaped groove cut straight across the face of a board, typically to support the edge of another board inside it, like a shelf slotting into the side of a bookcase.
The big difference is where and how each joint is used. Dados are great when you want support along the full width of a shelf or partition. They're three-sided, which means more surface area and more glue strength. Meanwhile, rabbets are usually found at the back of cabinets or around drawer sides. In some cases, woodworkers combine the two for extra strength.
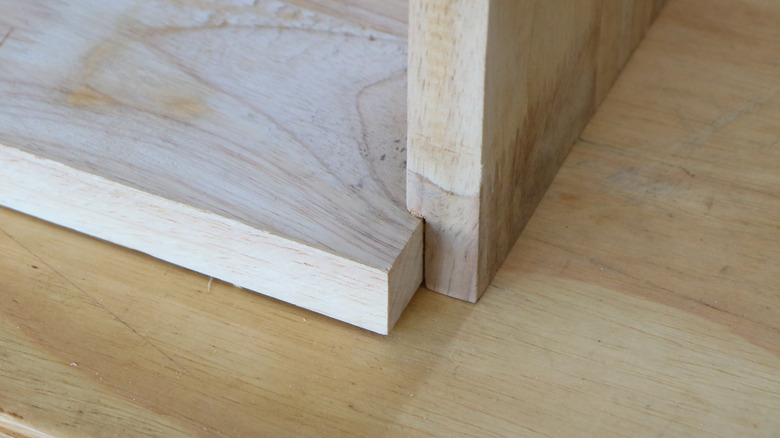
What a well-done rabbet joint looks like
Cutting a rabbet joint isn't rocket science, but it does require some attention to detail. A blog by M.T. Copeland Technologies highlights that most folks use a table saw equipped with a dado stack, which is a series of blades that can be adjusted to match the width of your cut. The process typically starts with swapping out your standard saw blade and setting up a sacrificial fence to keep the cut clean. After some test passes, dial in your depth (usually no more than a third of the wood's thickness) and start carving out that perfect L-shaped groove.
But if you don't have a table saw, a router with a rabbeting bit works great too. Handheld routers are perfect for quick jobs or on-site adjustments. For a cleaner fit, make multiple shallow passes rather than trying to hog out all the material at once. Once your rabbets are cut, check the fit, add glue, clamp it up, and you're done. If you're just getting started, there are plenty of small woodworking projects for beginners where you could put your rabbet-carving skills to good use.
All told, rabbet joints are strong, relatively easy to make, and look sharp when done right. You just have to be precise, as this isn't the kind of joint that forgives sloppy measuring. For a look at which tools truly earn their keep in a woodworking setup, check out our dedicated list.