What The Unable To Connect To NVIDIA GeForce Experience Error Means (And How To Fix It)

The GeForce Experience app is a must-have for anyone using a PC or laptop with an NVIDIA graphics card. With it, you can optimize game performance, automate driver updates, and even stream your gameplay to platforms like Facebook, YouTube, and Twitch. That is, of course, not possible if the GeForce Experience app keeps showing the 'Unable to connect to NVIDIA' error on your PC. So, what causes this vague error to appear?
NVIDIA offers two separate apps tweaking the GPU settings: GeForce Experience and NVIDIA Control Panel. In 2024, NVIDIA launched the new "NVIDIA" app to replace GeForce Experience. The new app boasts a modern UI and also integrates several key features from the NVIDIA Control Panel, so users can manage everything in one place. With this launch, NVIDIA also encouraged users to migrate to the new app. If you're still using the older GeForce Experience app, you're likely to encounter errors like the 'Unable to connect to NVIDIA,' as the app is no longer supported.
To avoid this, all you need to do is uninstall the GeForce Experience app from your PC and then download the new NVIDIA app. Once done, you should be able to access all the essential features previously offered by the GeForce Experience app, but with a more modern and unified interface.
Fixing the 'Unable to connect to NVIDIA' error in the new NVIDIA app

The new NVIDIA app is also not exactly flawless, so you could still encounter the dreaded "Unable to connect to NVIDIA" error even after switching to it. If that happens, the first thing you should do is rule out any issues with your internet connection. You can do this by loading a few websites or running an internet speed test. If there is a problem, it's a good idea to restart your router or switch to a different network.
If you see the error despite having a working internet connection, there may be a problem with one of the NVIDIA services running in the background. In that case, you can try restarting those services and see if that solves the error. Here's how to do that:
- Press Win + S to open the search menu on your PC.
- Type services in the box and select the first result that appears.
- In the Services app, scroll through the list to locate NVIDIA Display Container LS, NVIDIA FrameView SDK, and NVIDIA LocalSystem Container services.
- Right-click on each of these services one by one and choose Restart. If they are not running already, select Start.
- Restart the NVIDIA app after this and try using it.
If nothing works, reinstall the app
If you still get the "Unable to connect to NVIDIA" error even after restarting the services, your next best option is to uninstall and reinstall the app. This should help get rid of any corrupt files that may be causing the problem. To uninstall the NVIDIA app from your Windows PC, follow these steps:
- Press Win + R to open the Run dialog box.
- Type control in the text box and hit Enter to open the Control Panel.
- Locate and select the NVIDIA App on the list.
- Click the Uninstall/Change button at the top.
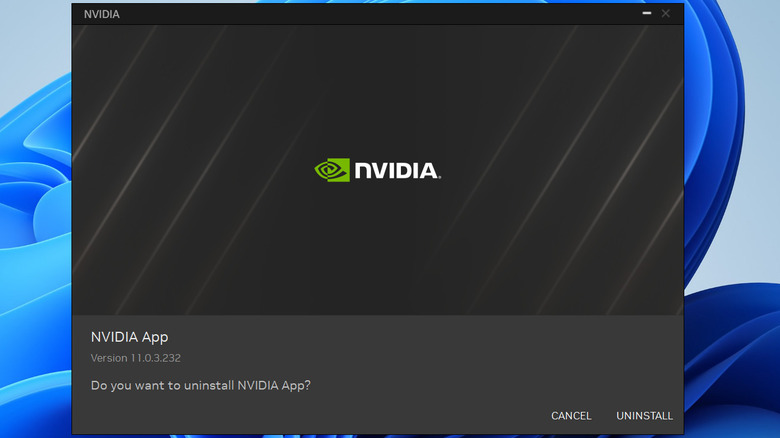
- Finally, click the Uninstall button to remove the app and wait for the process to complete.
Once you've removed the NVIDIA app, download the installer file from NVIDIA's official website. Then, double-click the installer file to run it and complete the installation. After this, you should not face the 'Unable to connect to NVIDIA' error while using the app.