How To Get Started On Your Own Custom DIY Drone Project
We may receive a commission on purchases made from links.
If you're handy enough, you can save a bit of money on virtually any purchase. No matter what you're buying, there's usually a premium tied to a brand or for the convenience of a preassembled product. Drones from the popular company DJI, for example, can cost close to $1,000 for a decent mid-range or high-grade model. Even smaller ones can cost several hundred dollars, raising questions of whether mini drones are worth the buzz or a waste of money. Of course, when you buy a pre-made drone, it often includes features like specialized apps, community forums of enthusiastic users, and a warranty.
If you don't want to spend that much, but would still like the functionality of a quality recreational drone, you can try building one yourself.
Projects like this may seem intimidating. After all, a drone looks complex and fragile. The reality is that, yes, a bit goes into making a drone, but it's a perfectly manageable DIY project if you start with this beginner's guide.
Understanding the anatomy of a drone
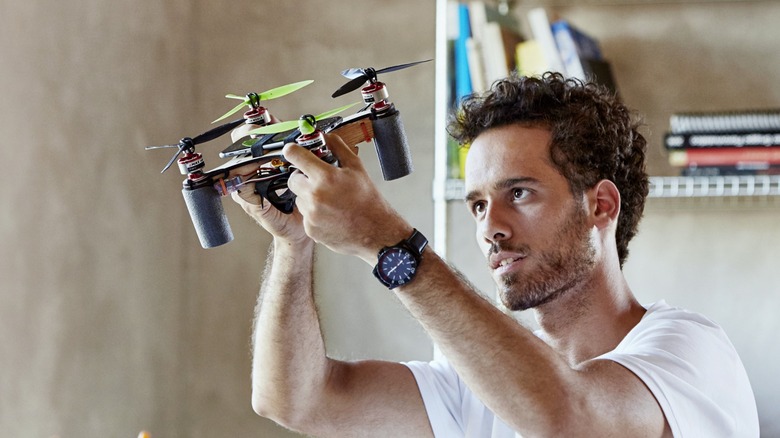
Before you make the decision to build your own drone, you should understand all the components that go into these aerial devices. At first glance, it just looks like a frame, some propellers, and an engine, but there's quite a bit more that gets it off the ground.
The frame is the primary component, and you can use various materials for a base. An engineer in Yemen created a functional drone frame built from a bundle of sticks, proving that you can make a drone out of pretty much anything with the right know-how. The frame is simply where everything connects, after all. So long as it's solid and has the space for the drone's various parts, chances are it will work.
Attached to whatever frame you decide on are:
- Propellers
- Motors (one per propeller)
- Electronic speed controller (ESC)
- Flight controller
- Power distribution board (PDB)
- Battery
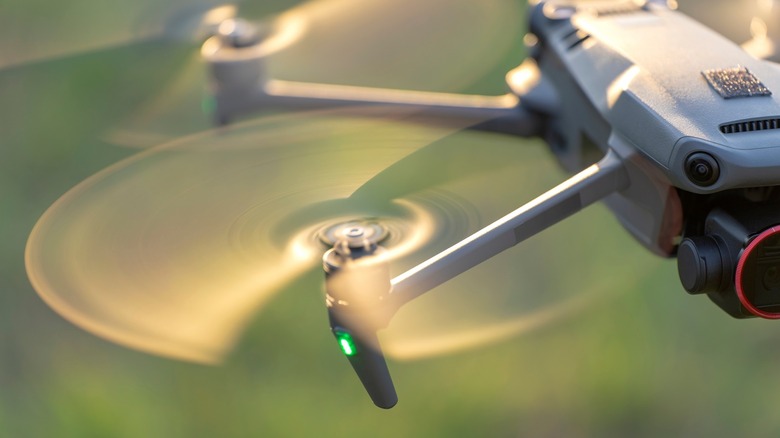
If you're building a large enough drone, you may want to consider adding a camera. If you want a live feed from the camera, you will also need a video antenna and video transmitter.
You can find drone components on Amazon, but there are specialty stores too, such as RobotShop, which has a drone parts and accessories section. Specialty stores often offer a greater variety of brands and models, and the item descriptions are typically more thorough.
Also, consider adding a Raspberry Pi single-board computer to your DIY drone. It doesn't replace the flight controller or power distribution board, but it can help with other features like GPS navigation, data logging, and image processing from an onboard camera.
Prepare your tools, adhesives, and ties
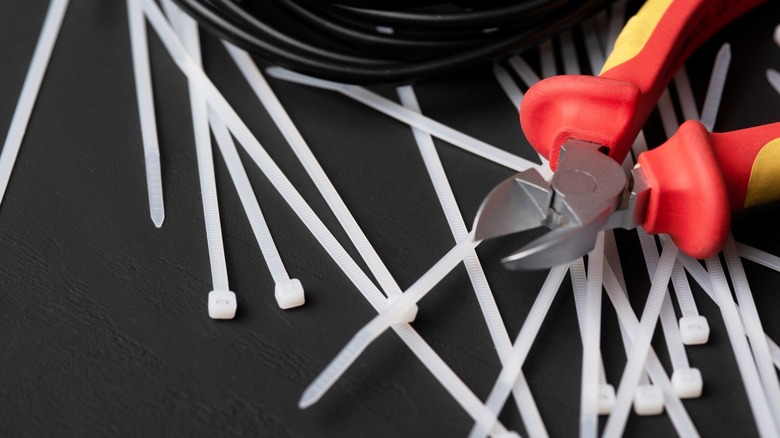
We covered the main components of a drone, but that's only half of the supplies. You also may need several tools like a soldering iron to affix electronic components to one another, and a set of wire cutters or wire strippers for any wiring that's too long or not properly prepared.
Along with a few tools, you'll also need cable ties, double-sided tape, or strong hook-and-loop tape (velcro) to keep components attached to your drone. Double-sided tape can be used for the input module for your remote control and, if screws aren't included, the flight controller. Your PDB and ESC can be secured with zip ties.
You should also have electrical tape or some polyolefin heat shrink tubing on hand to better secure connected wires and protect the antenna for your remote control. Don't use electrical tape to adhere any components to the frame, as it's only meant to act as a protective layer for electronics.
Determining the drone frame size
Since the frame is the base of the entire drone, you need to decide on a size. The size will determine whether you can add a camera, how big the propellers need to be, how many propellers you may need, and how you'll configure the necessary components.
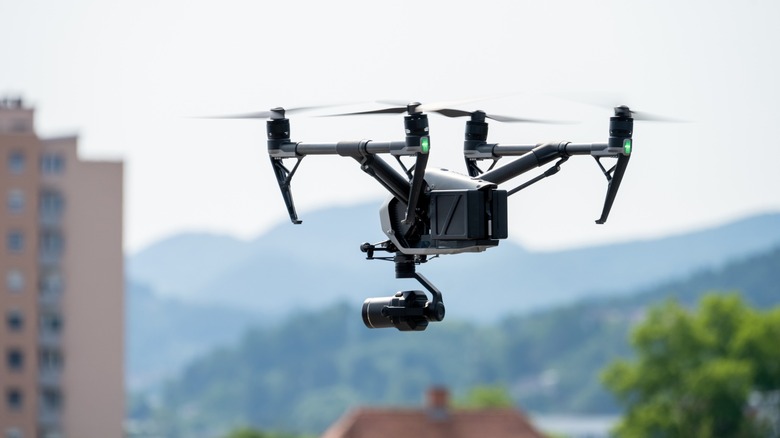
Generally, the size won't change where you can fly based on the U.S. Department of Defense classifications and Federal Aviation Administration recreation drone guidelines. Even larger drones like the 34-lb DJI's Matrice 600 Pro fall within the FAA's weight limit of 55 lbs. Still, it's a good idea to familiarize yourself with the laws and regulations around drones before you fly.
With a size in mind, you have to decide how to make it a reality. One of the most common methods is 3D printing. This affords the most customizability and makes it easy to design a quadcopter or fixed-wing body. A big perk of 3D printing your frame is the material is often lightweight.
You can also purchase a premade drone frame. Some companies like YoungRC offer four-axis quadcopters, complete with built-in landing gears. There are also bigger hexacopters from companies like FPVDrone, which offer six-axis alternatives and possibly unfoldable landing gear.
Calculate the thrust-to-weight ratio

Building a drone isn't as easy as just buying parts and piecing them together. Don't forget, this thing needs to get off the ground, which means you need motors that are strong enough to carry the total weight of the unmanned aerial vehicle. You'll need to determine a thrust-to-weight (TW) ratio to better guarantee that your drone will take flight.
The TW ratio is the relationship between the total weight of the drone (with all components installed) and the power needed to keep it afloat. While the TW ratio will differ based on the drone's purpose, we'll use a camera-equipped first-person view (FPV) drone, which often requires more maneuverability, for our example. For an FPV drone, you typically want a minimum TW ratio of four, which means your upward thrust should be four times the weight of the drone.
Let's say you've calculated the weight of all parts, adding a few extra grams to account for zip ties and tape, and your drone weighs 1,500 grams. That means the drone would need to produce an upward thrust of 6,000 grams, or 1,500 grams per motor on a quadcopter.
Things get a little more complicated when it comes to picking out the best parts for the thrust you need. The motor and battery are what ultimately make the thrust, so consider sticking with companies like the EMAX Multicopter motor, which includes a thrust table, so you can more easily calculate what's needed.
Consider a pre-assembled kit

Shopping for individual components can be daunting. You have to figure out if the battery you're looking at has enough power for each motor, for example. You have to make sure your camera is small enough. And there's always that nagging sensation that you've forgotten to purchase a crucial component.
If you don't want these concerns weighing on you, then opt for a DIY kit. It may take some of "yourself" out of DIY, but it's still plenty more work than purchasing a manufactured model. DIY kits come with all the components you need to construct your drone. It's just up to you to determine the configuration.
There are child-friendly kits, which are a little less intensive but still customizable. You can also find kits that are more involved, like one from Hawk's Work that includes everything you need to get the drone off the ground, including a remote control, pre-soldered wiring, a battery, and a power module.
The biggest drawback of a pre-built DIY kit is you have no control over the components you receive. You just have to trust that they'll work.